Simply Webinar Plugin Tutorials:
Webinar Settings:
This tutorial will explain the settings page for Simply Webinar Plugin.
1. Introduction
From customizing email header logos to integrating social icons, this guide will help you seamlessly configure your webinar settings.
2. Click “Settings”
Click the settings option from the sidebar menu. Hover on “Simply Webinar” and click on the “Settings“.
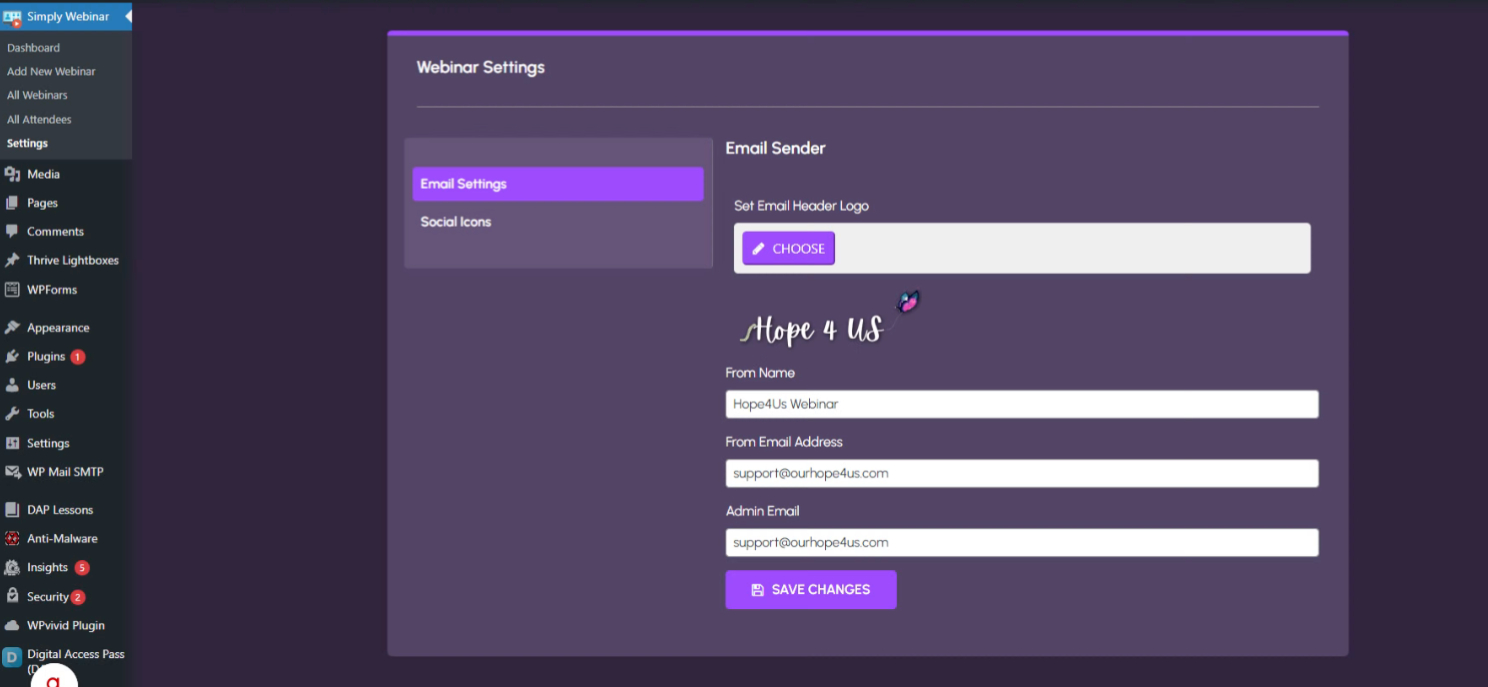
3. Click “Set Email Header Logo”
Navigate to set the email header logo.
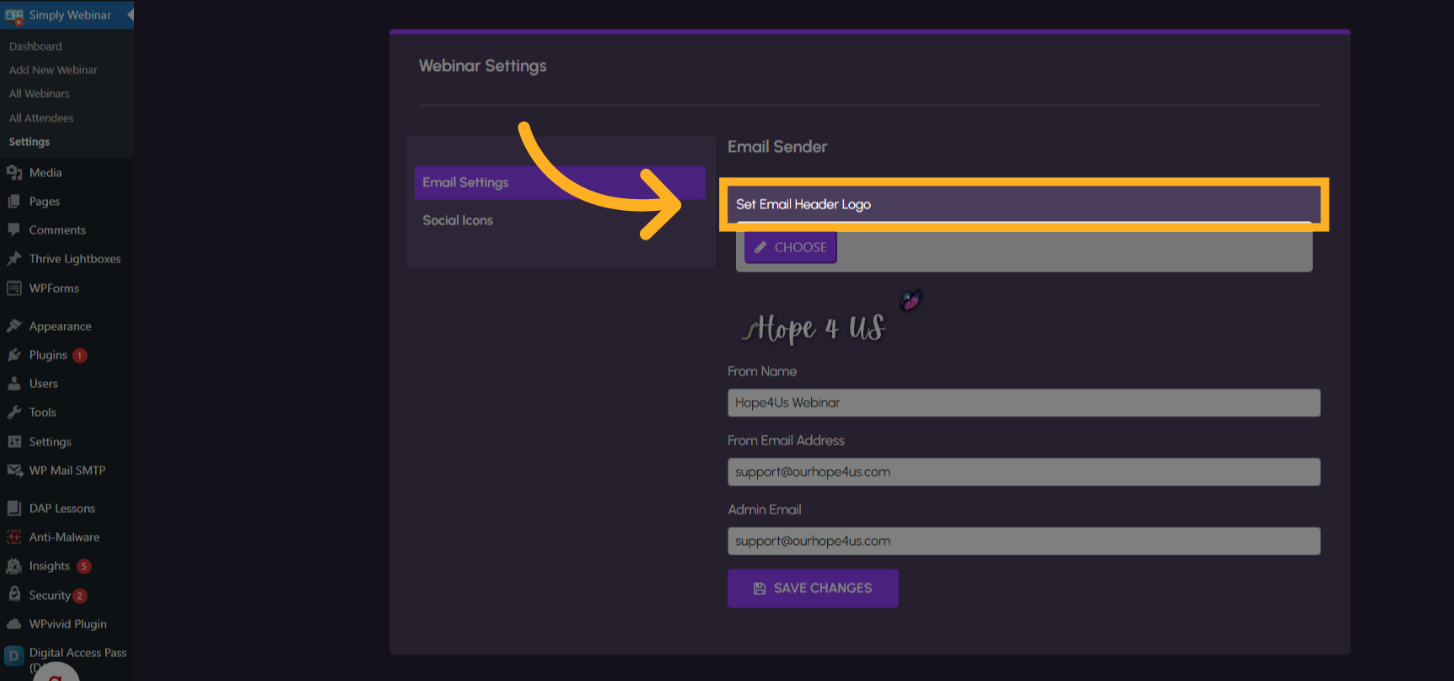
4. Click “Set Email Header Logo”
Select the option to set the email header logo.
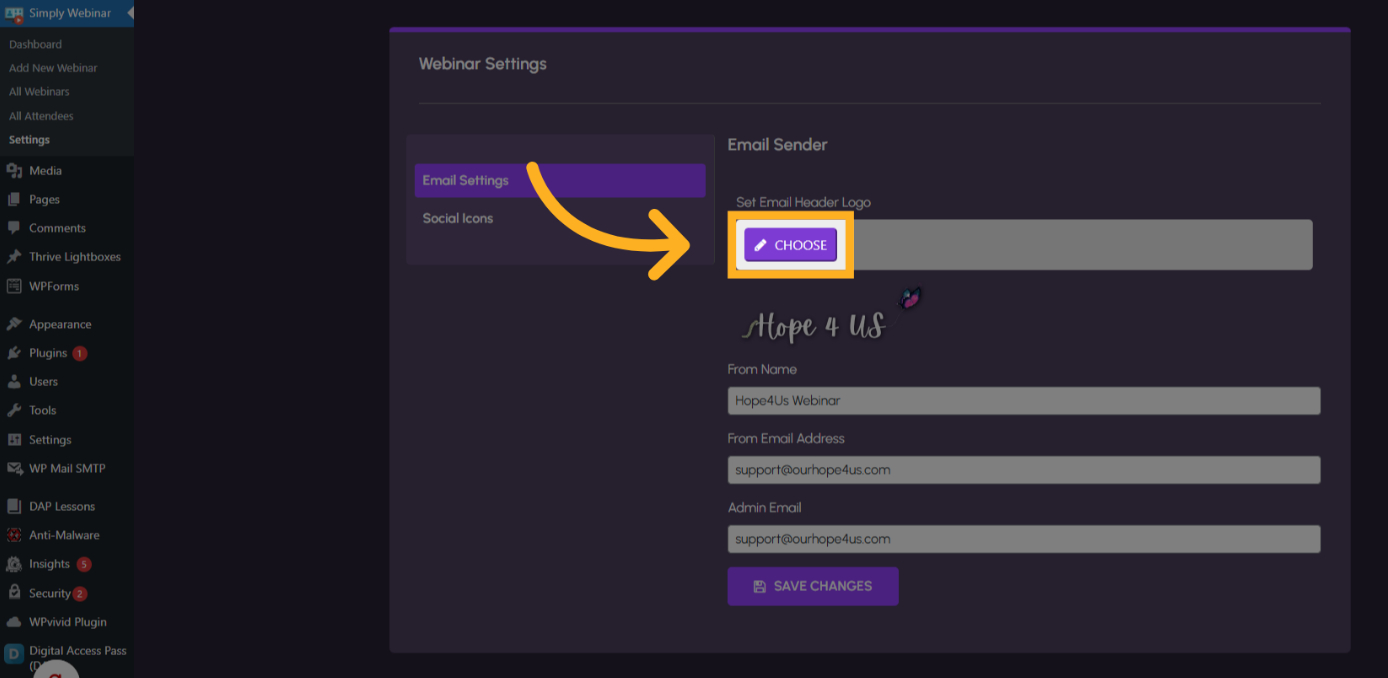
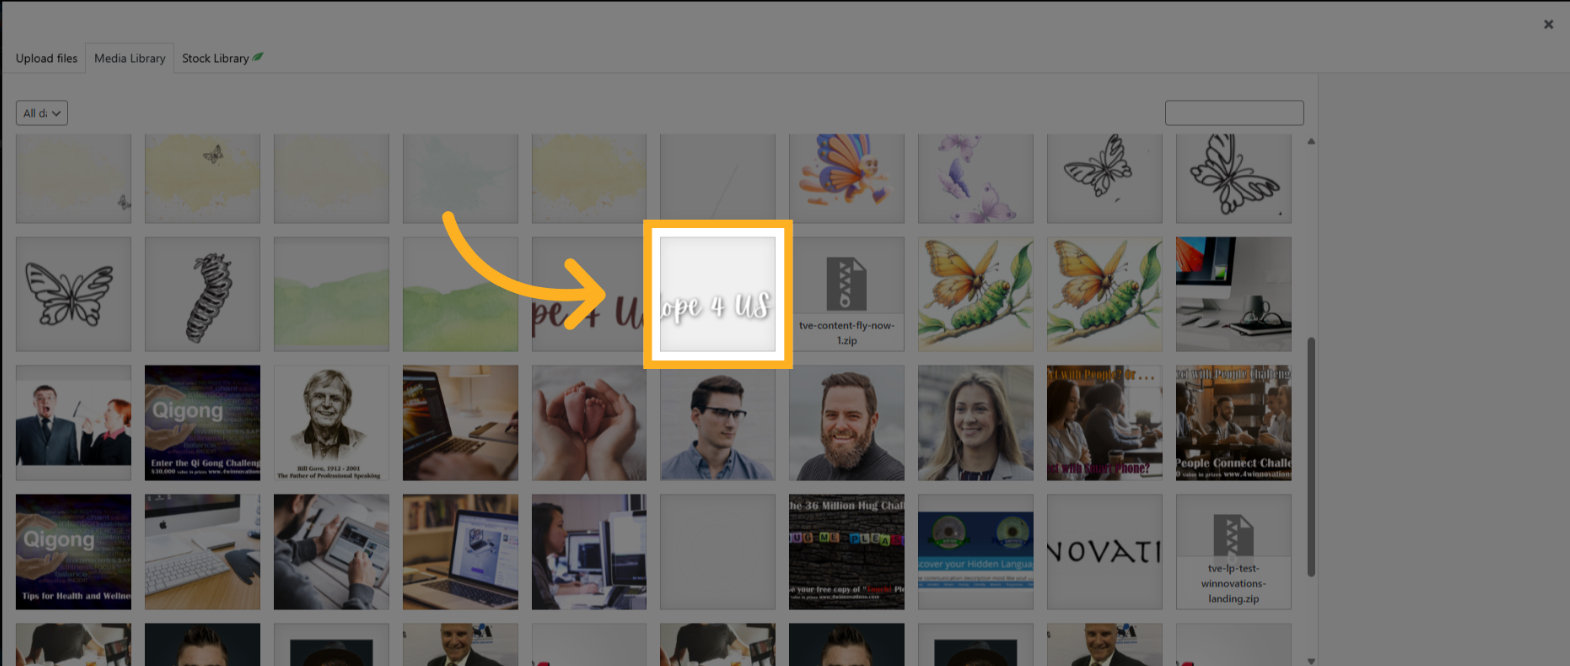
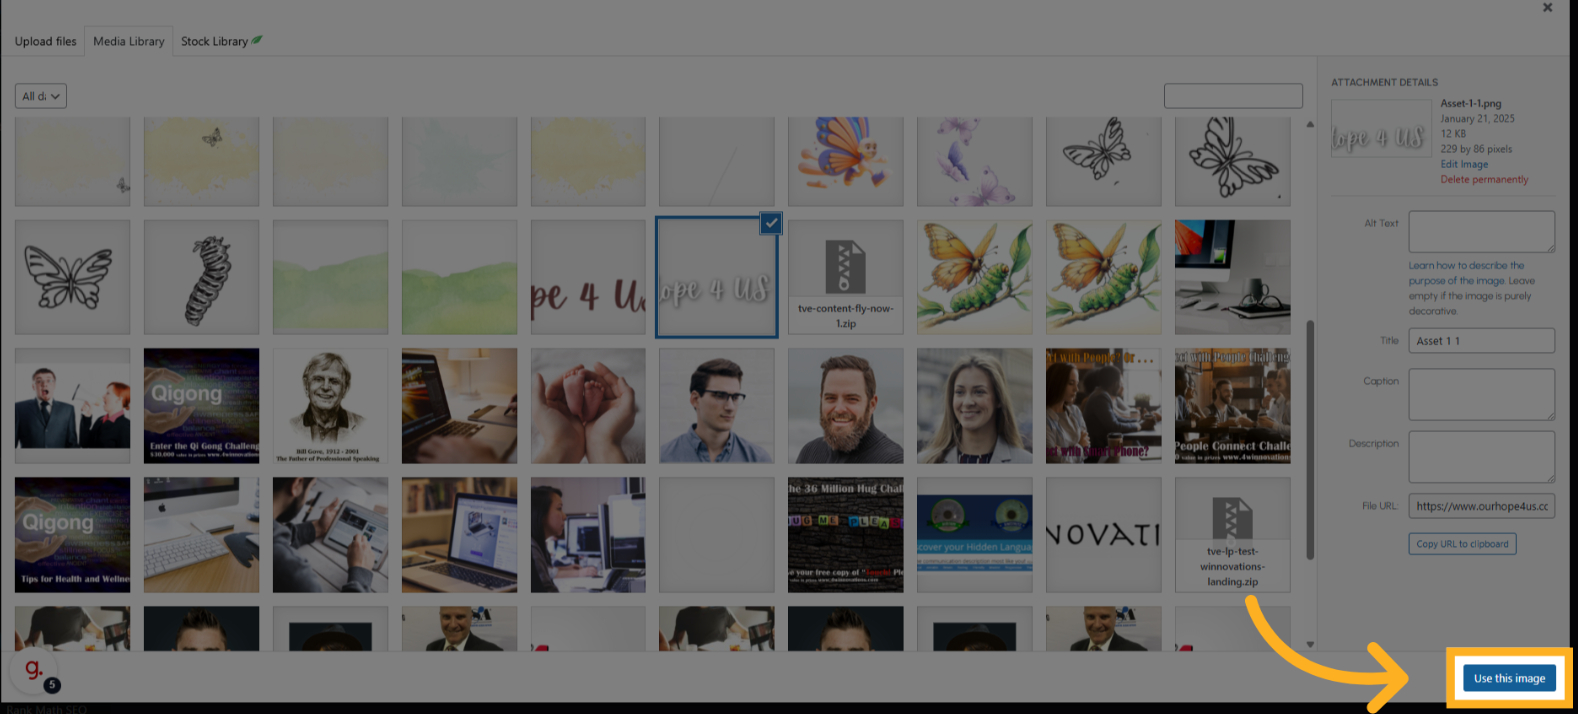
5. Click “CHOOSE” and Select Image
Click on Choose and choose desired logo for the email header logo
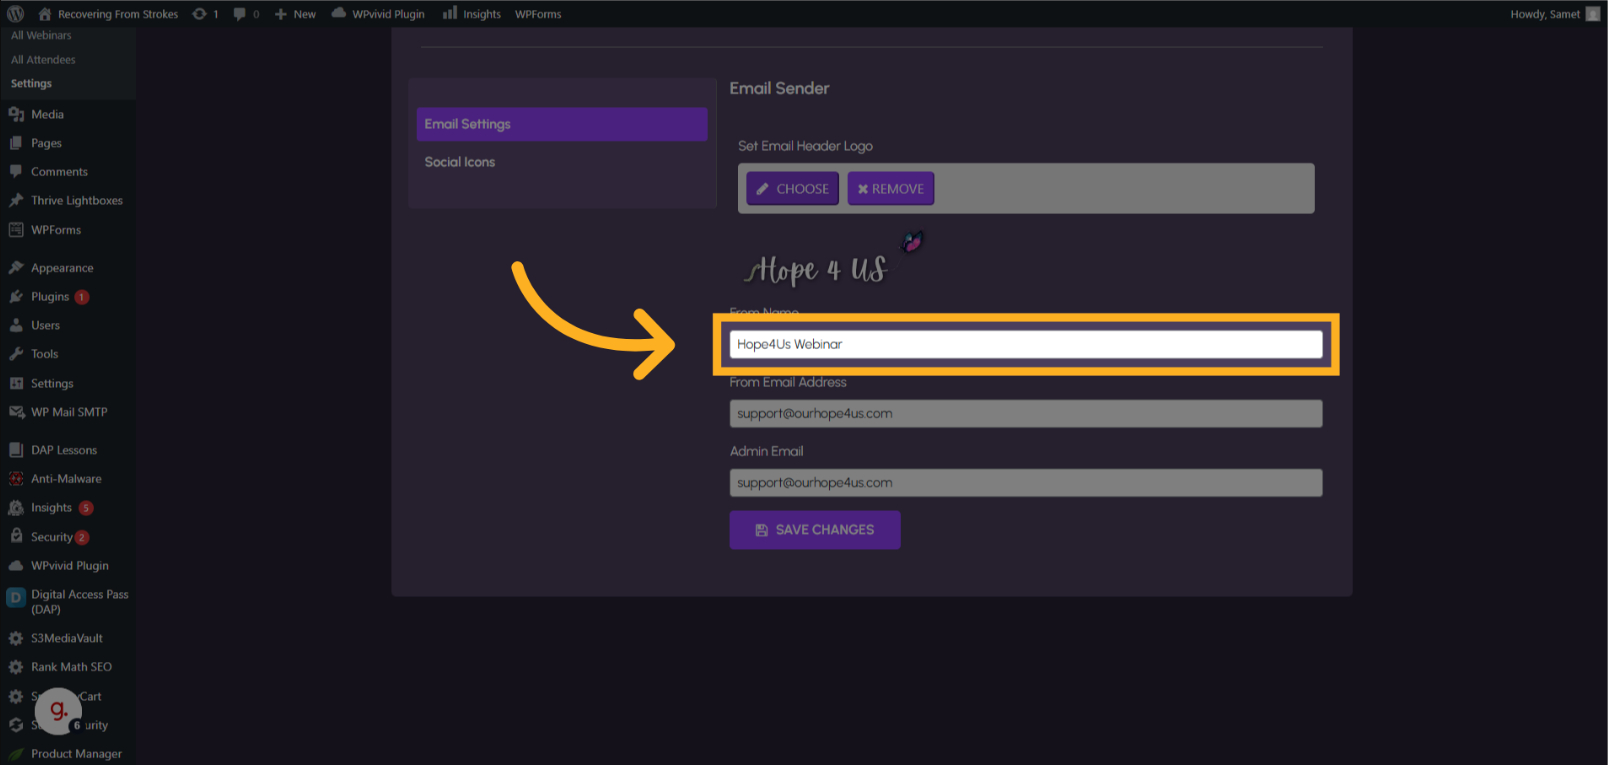
6. From name
Click the “From Name” field and enter the header name of the email.
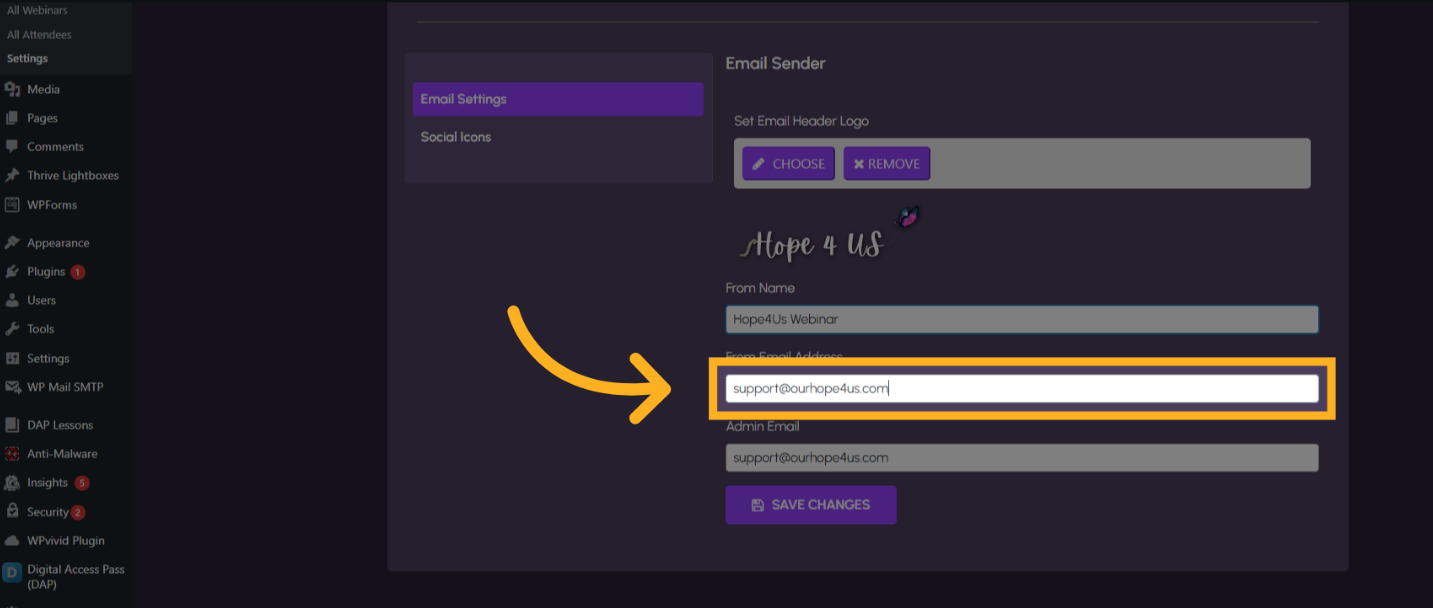
7. From Email Address
Navigate to the “From Email Address” section and enter desired “From email” address.
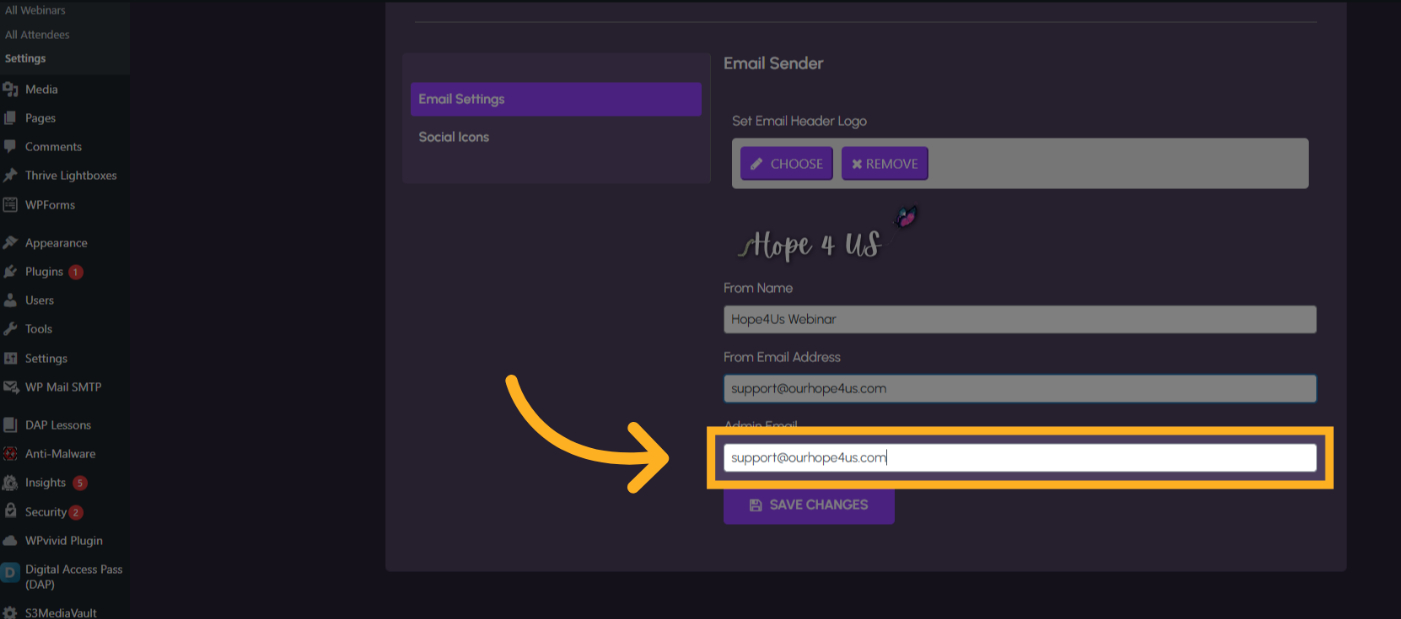
8. Admin Email
Navigate to “Admin Email” section and enter the email which is represents Admin email
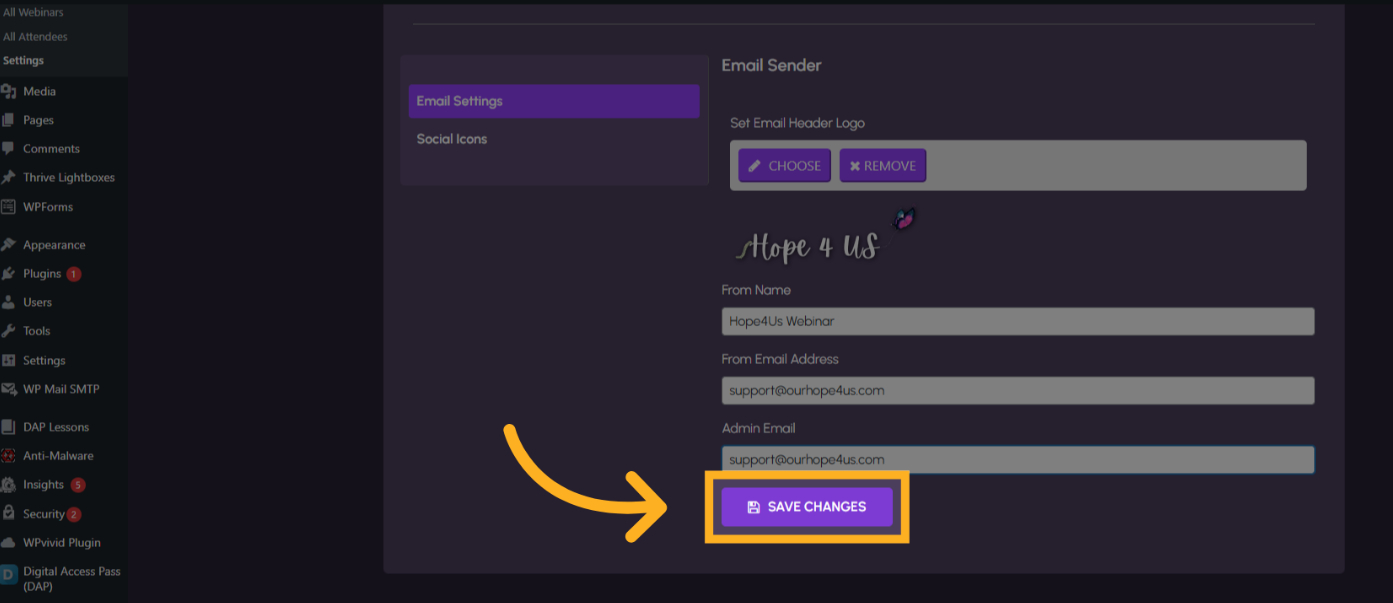
9. Save changes
Save the modifications.
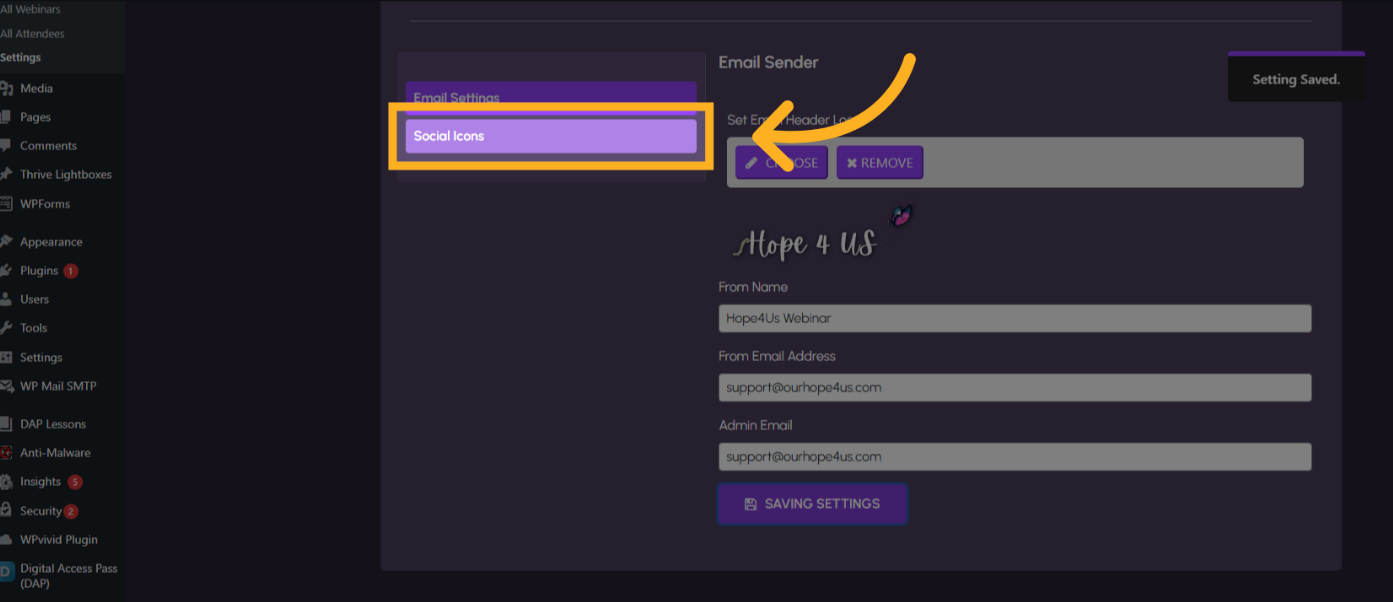
10. Navigate to Social Icons section
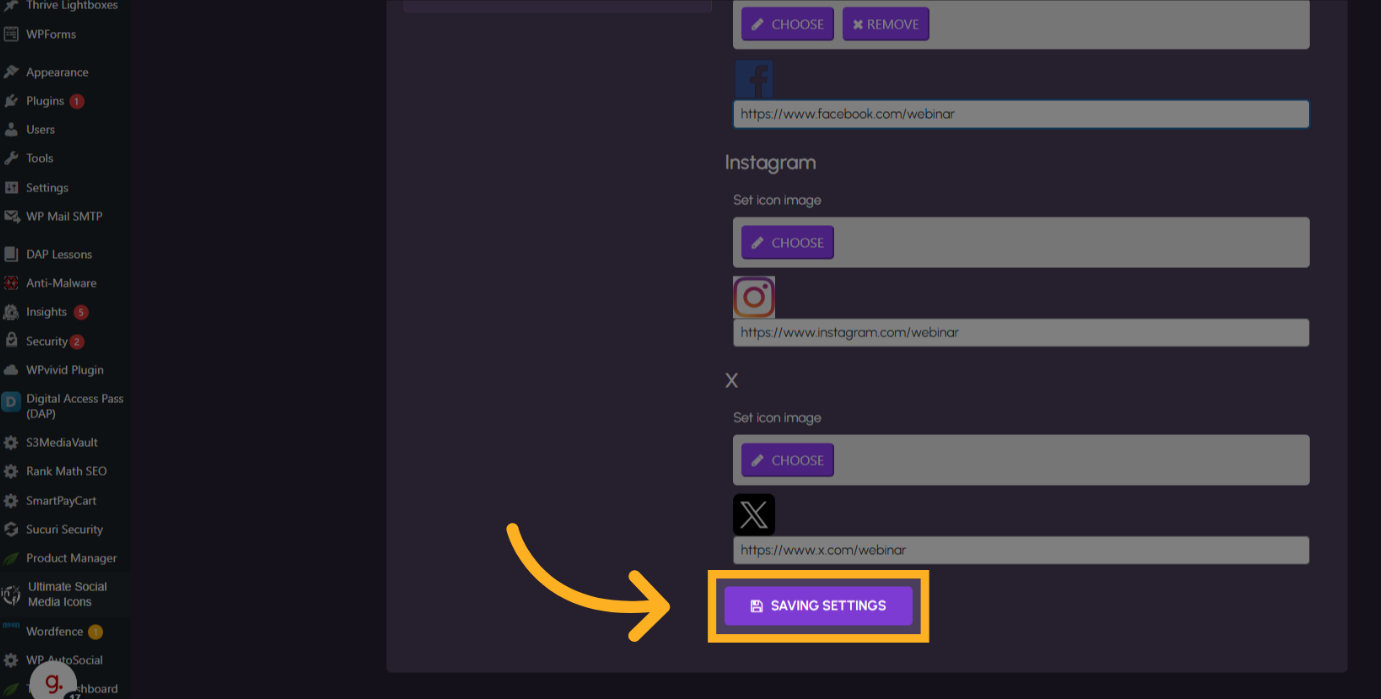
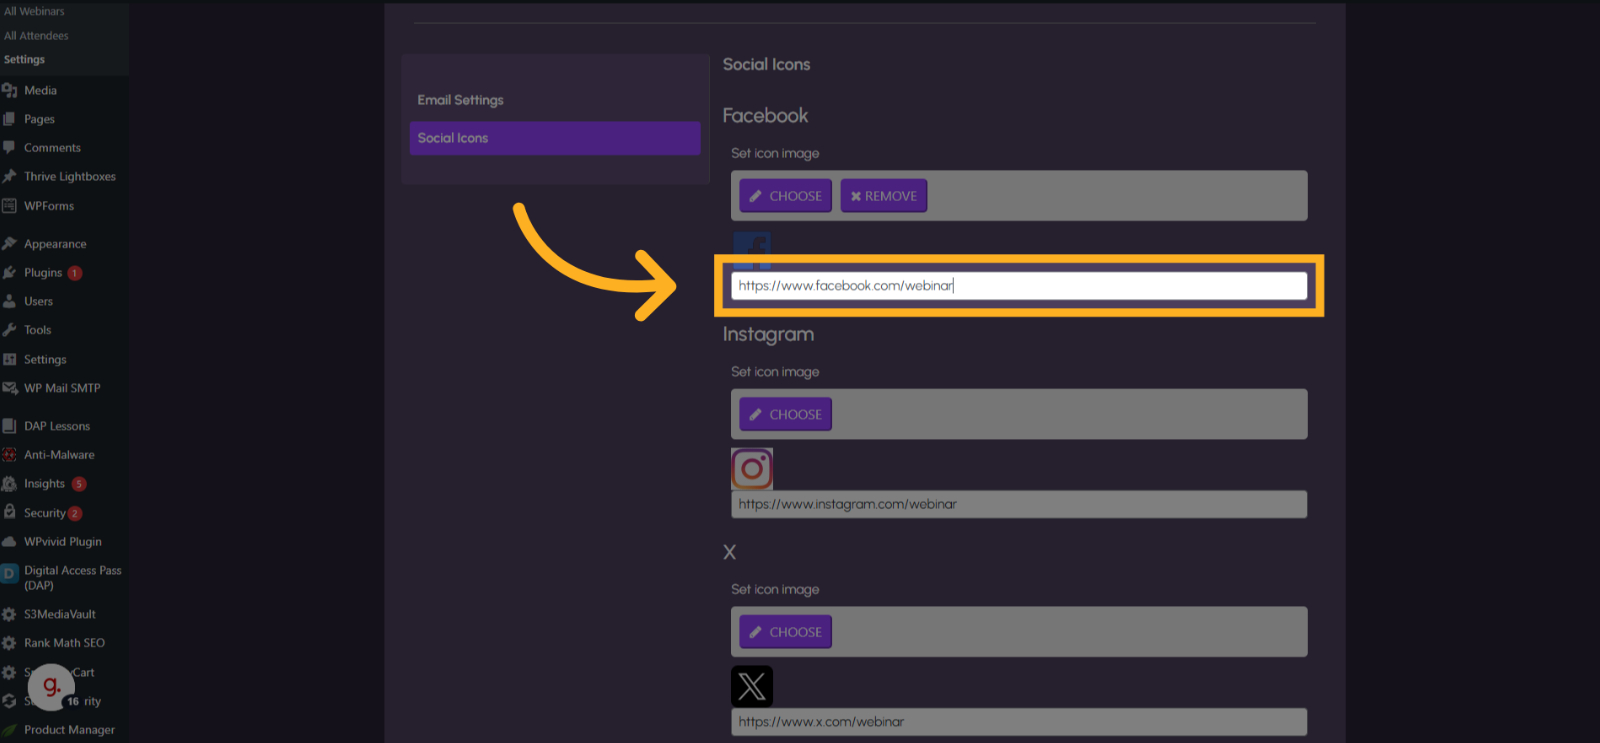
Here you can choose the image and URL of your social handle for Facebook, Instagram and X.
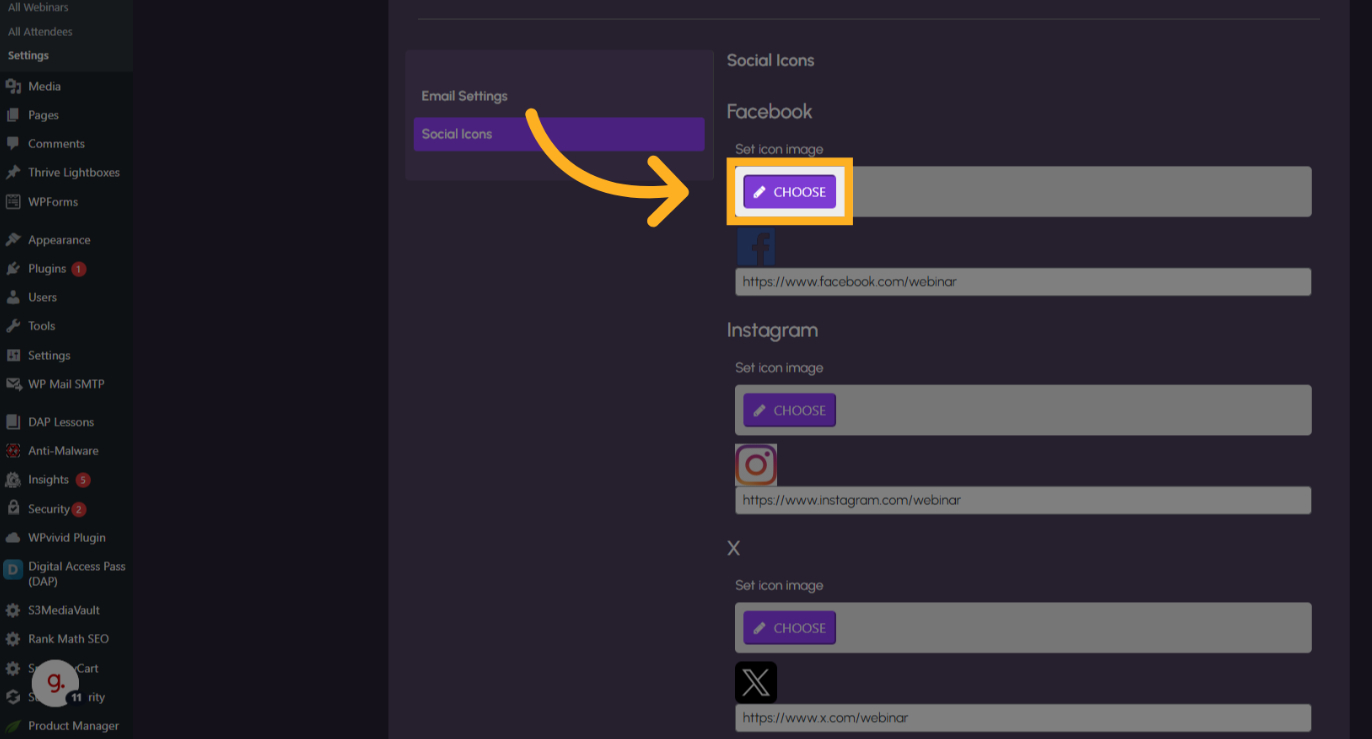
11. Click “CHOOSE”
Choose the desired logo for Facebook.
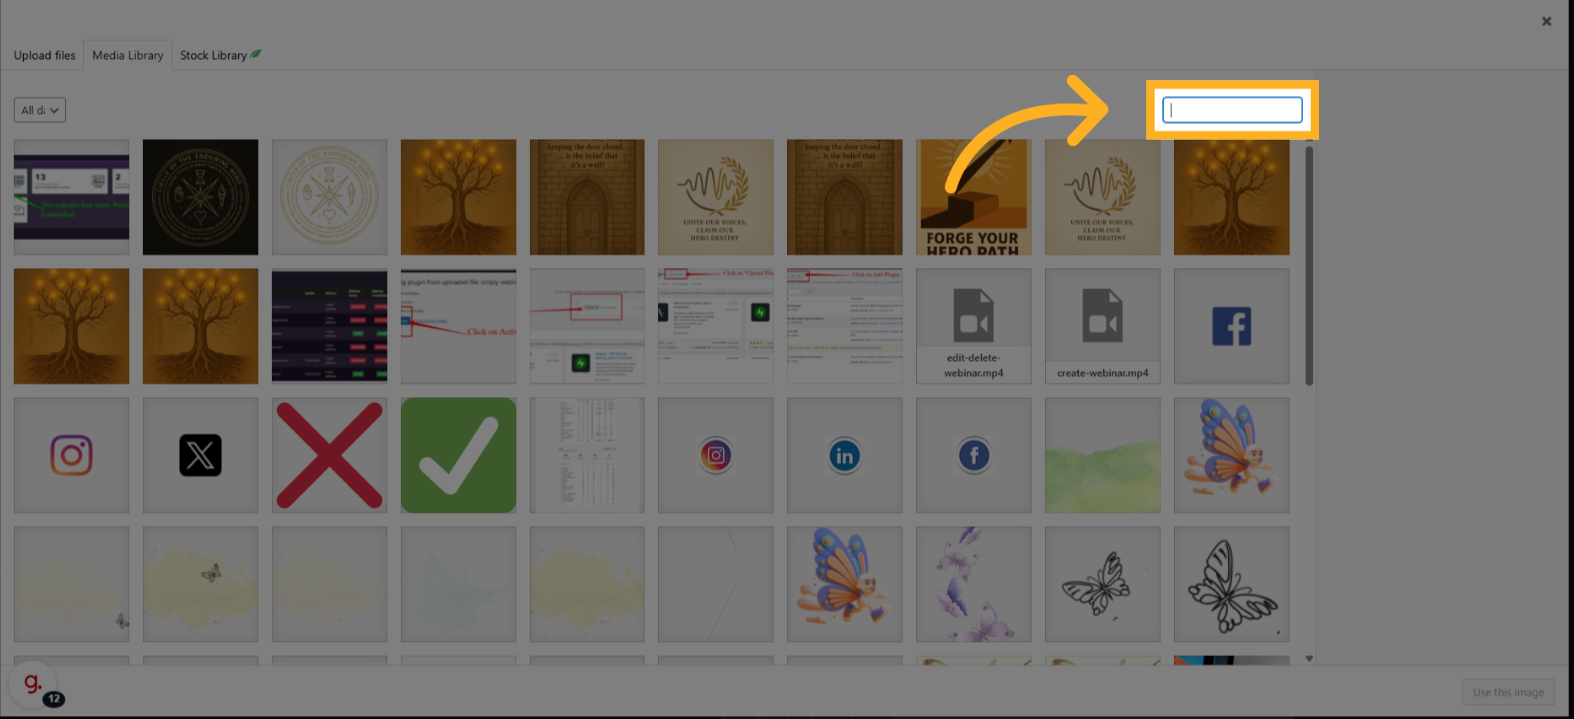
12. Click on “Search media” field
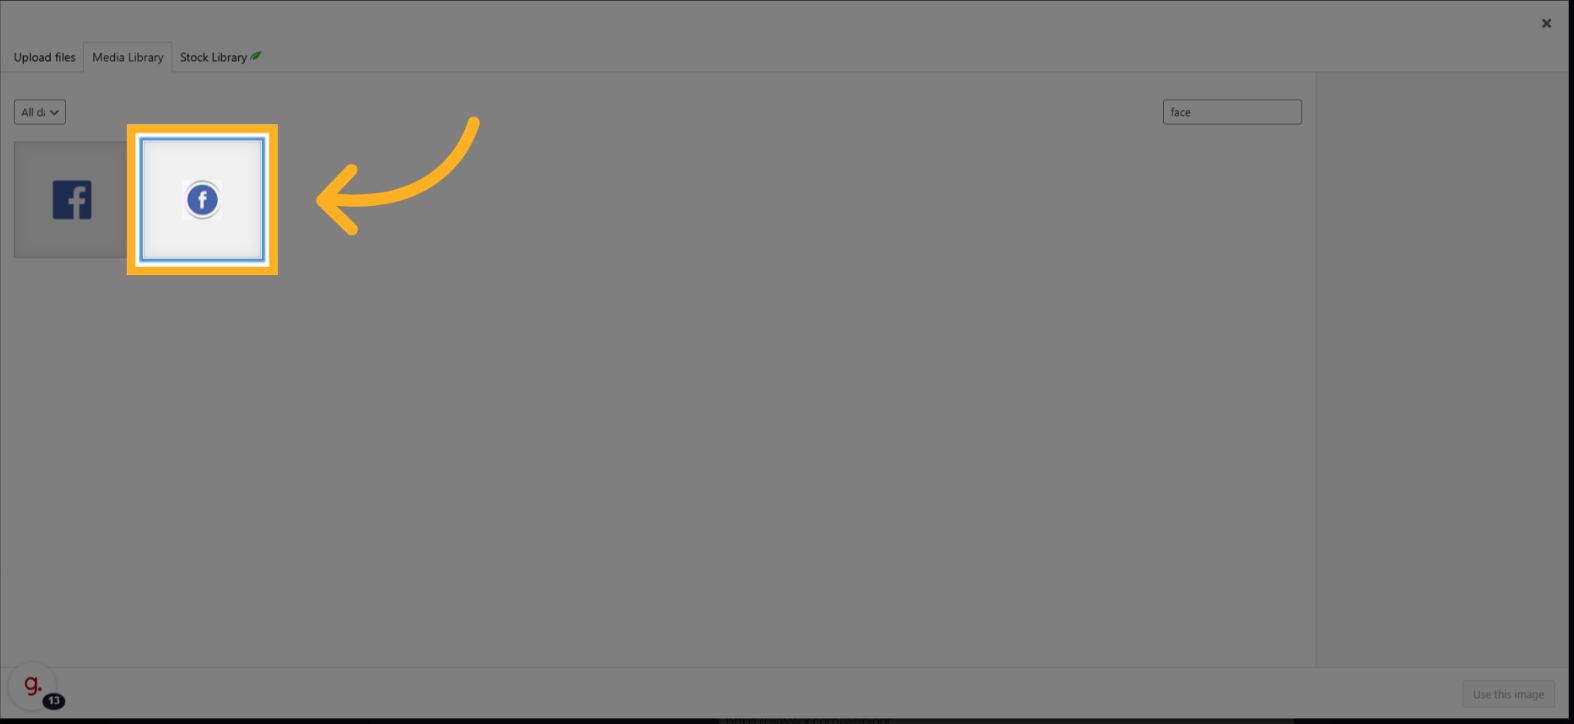
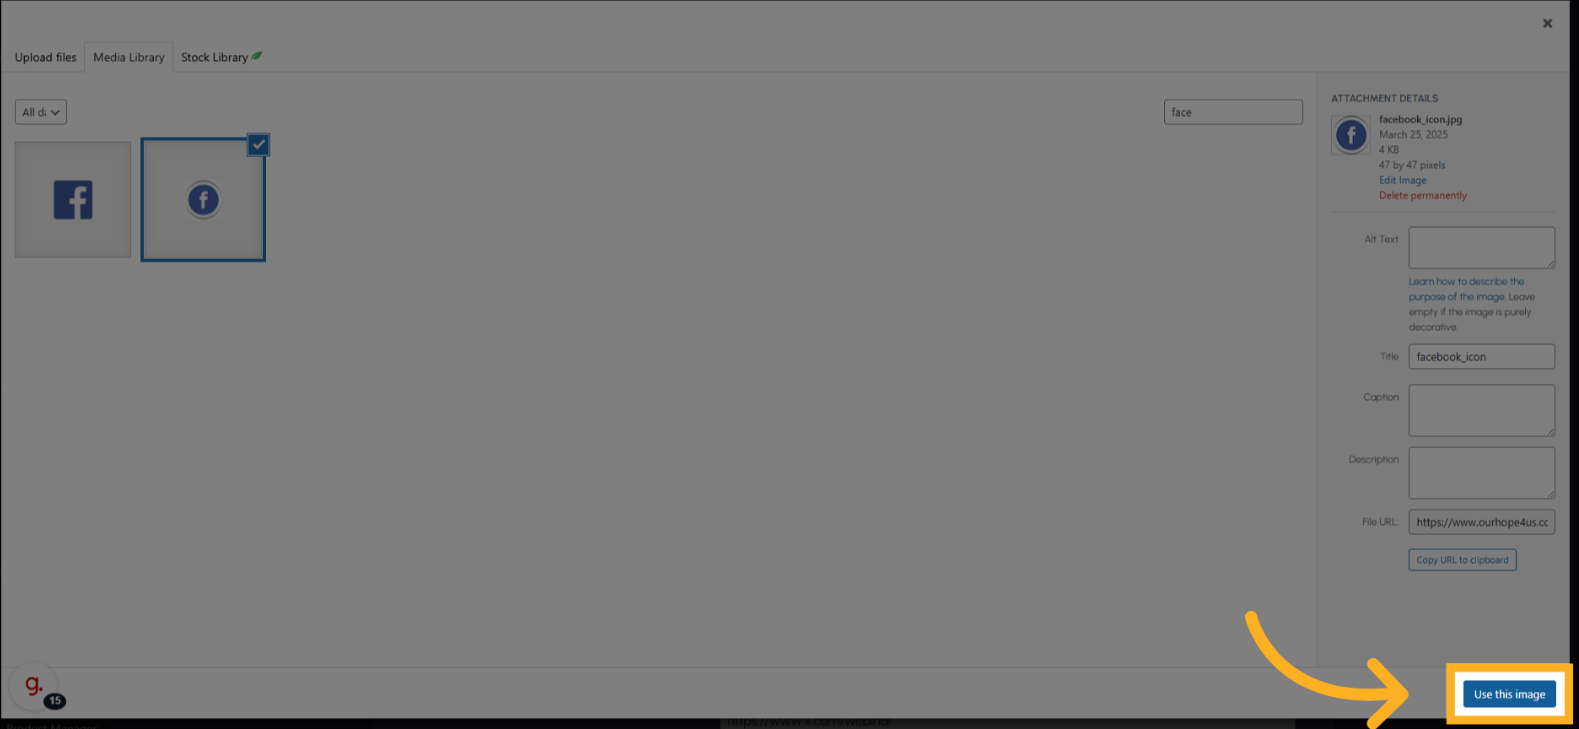
Search or upload the Facebook icon
13. Click on the text field
Enter the Facebook handle URL. You can set the same thing for Instagram and Twitter.
14. Click on “Save Changes”
Initiate the process of saving the settings.