Simply Webinar Plugin Tutorials:
Create A Webinar:
1. Introduction
In this tutorial, we will know how to create and publish a webinar. 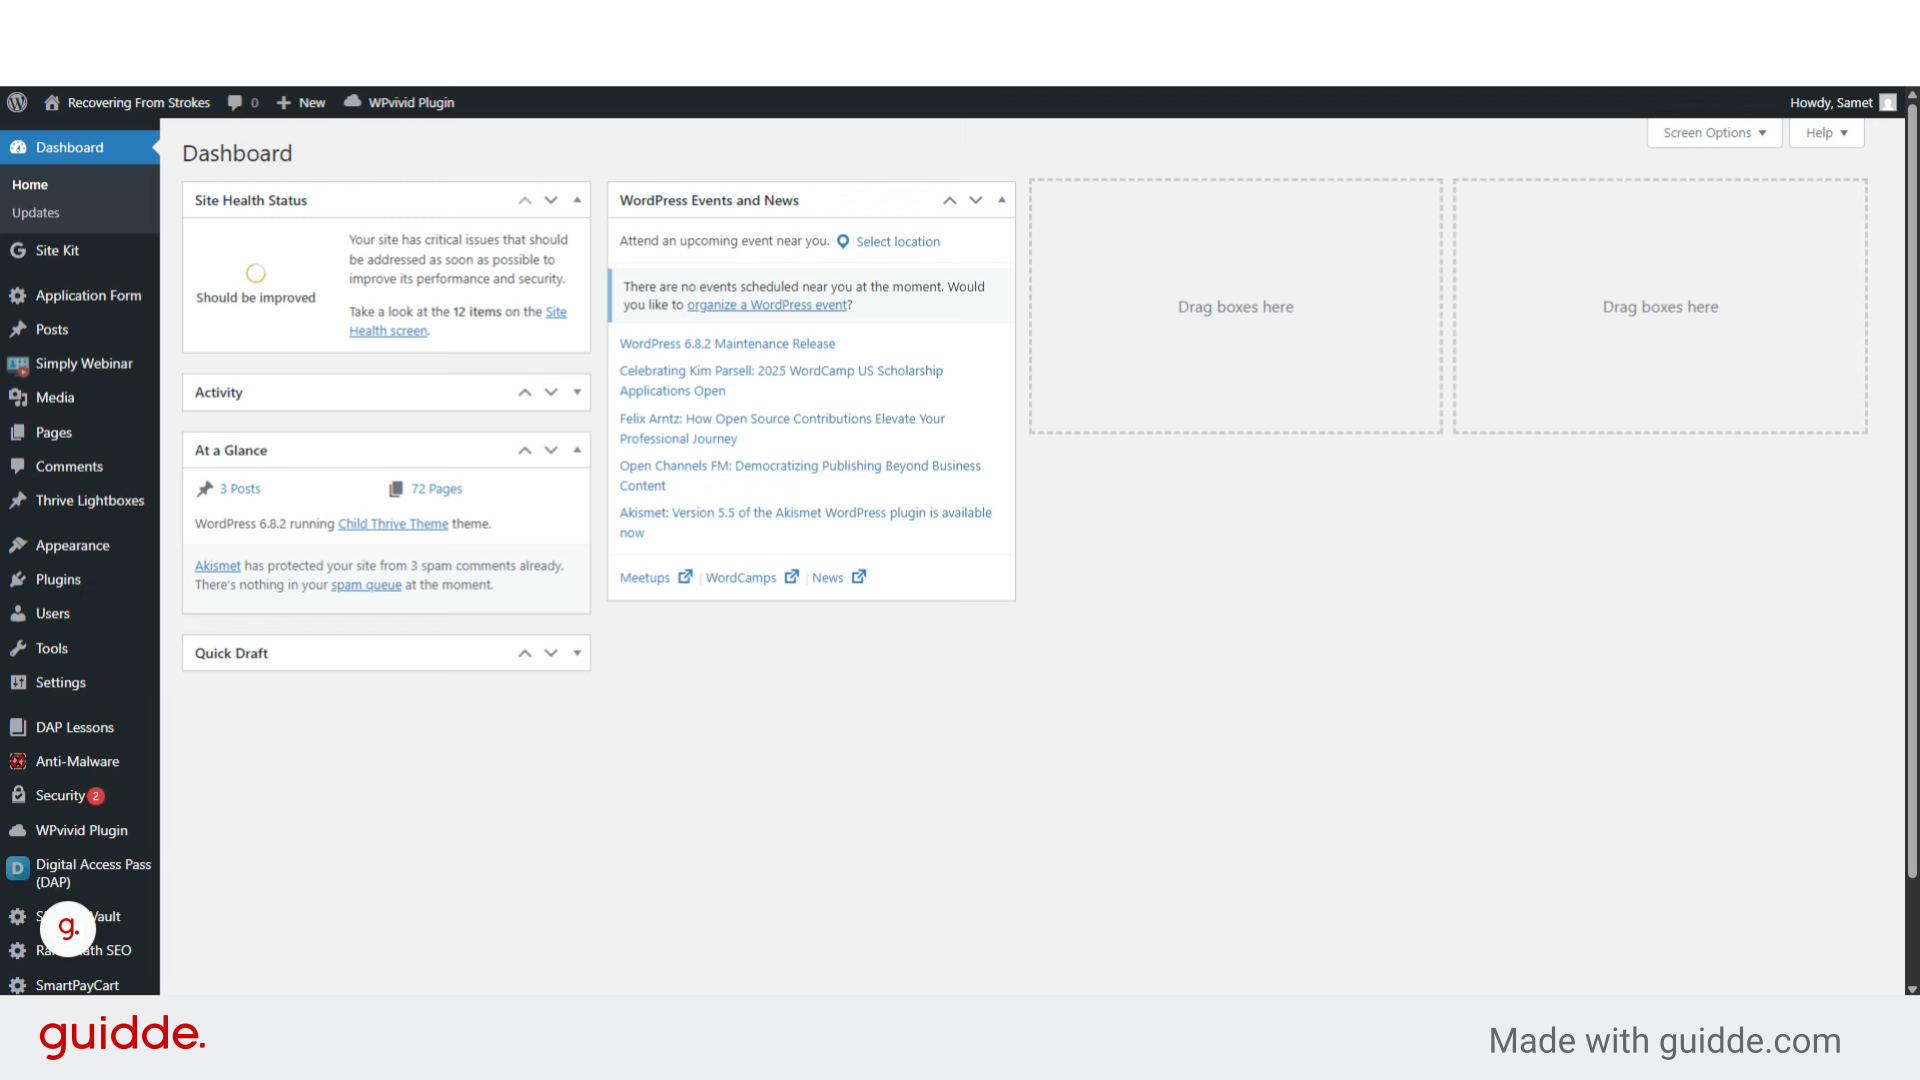
2. Click and navigate to “Simply Webinar”
Click on “Simply Webinar” 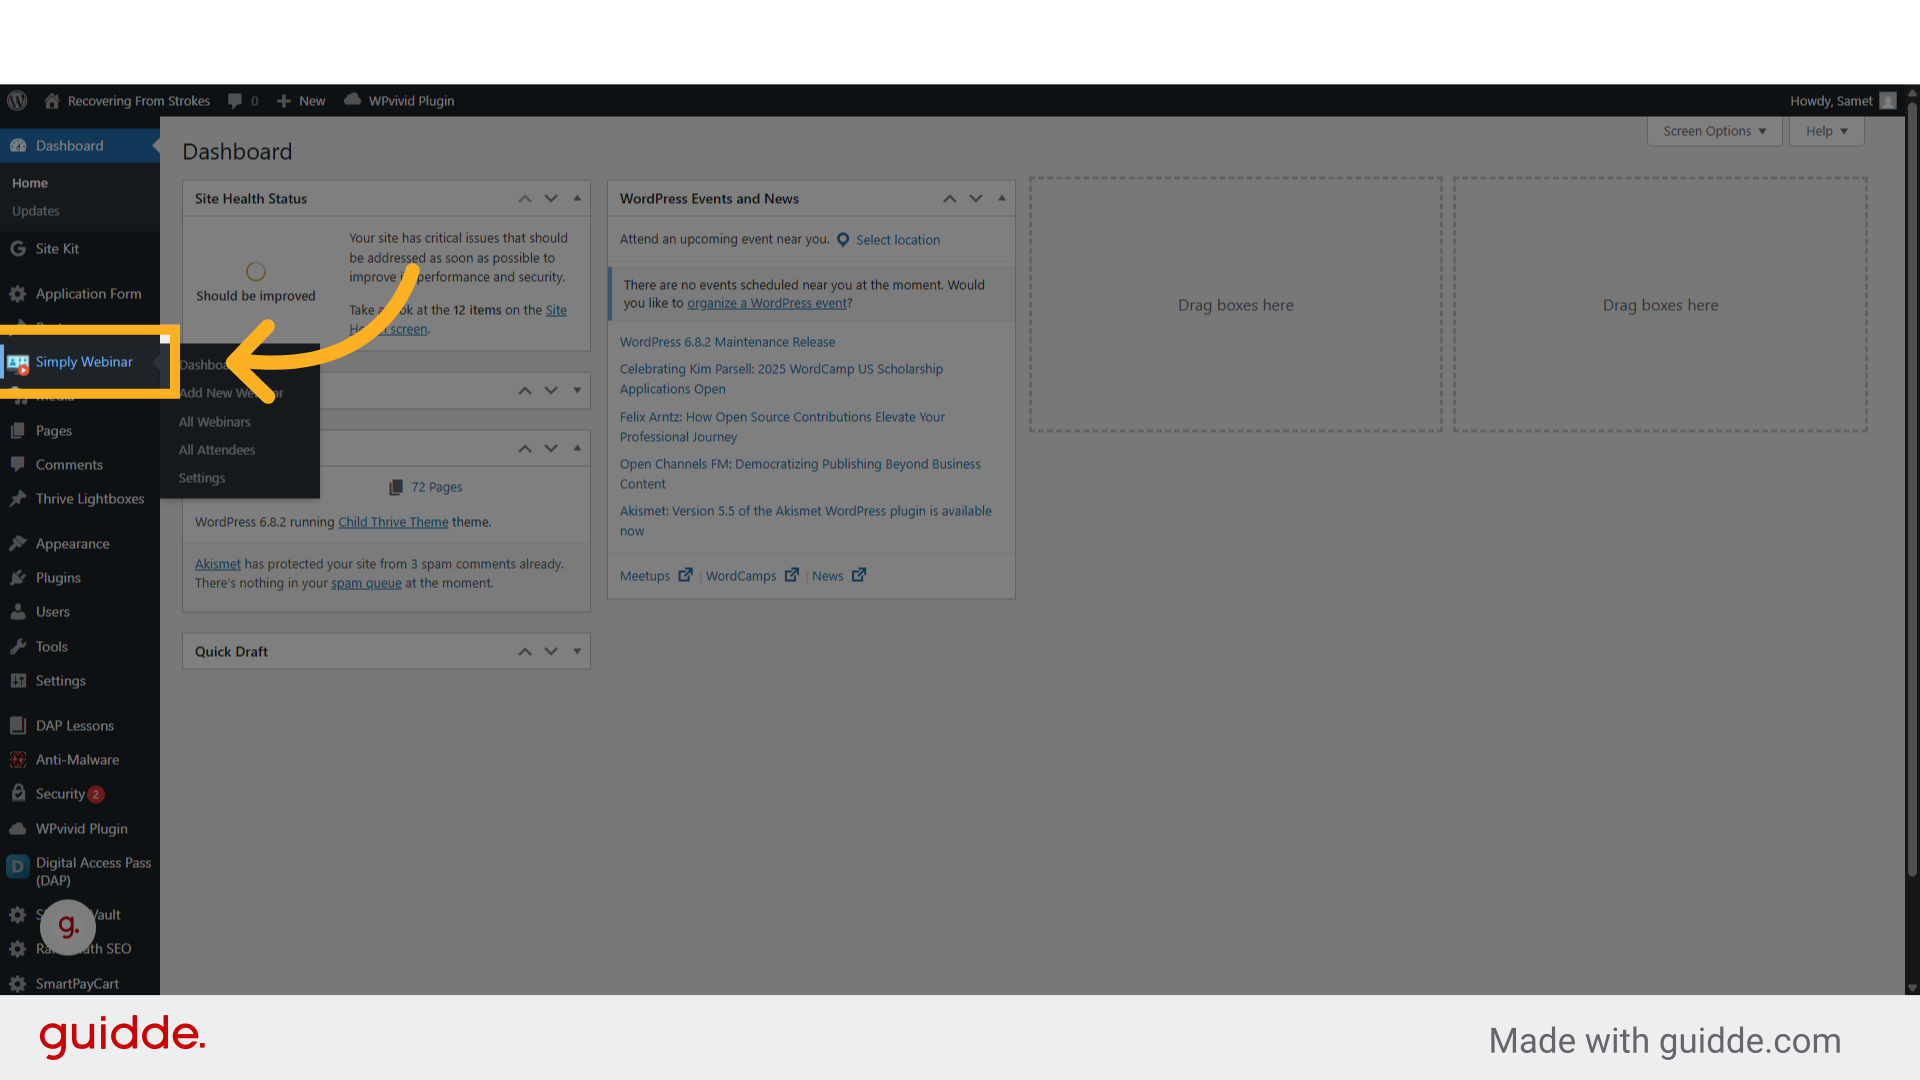
3. Click on “Add New Webinar”
Navigate to “Add New Webinar” 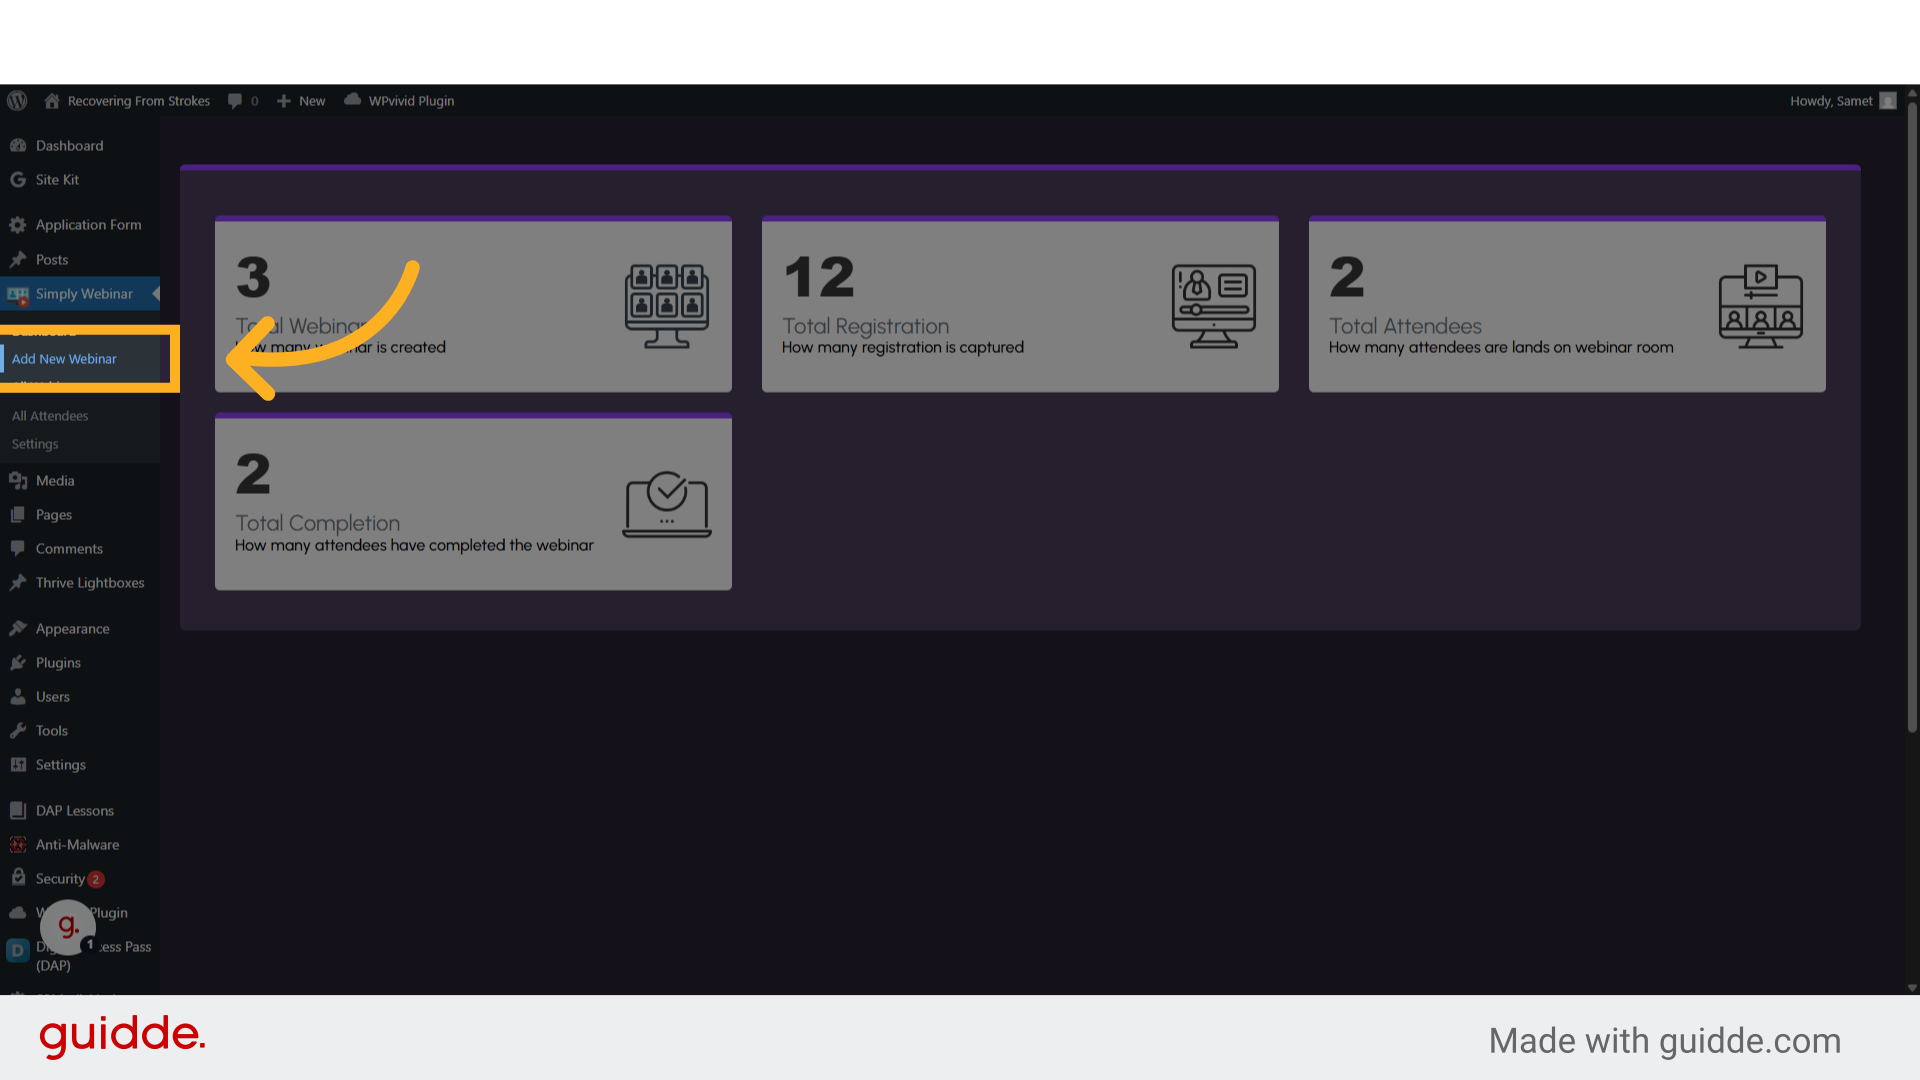
4. Click “Webinar Title”
Select the “Webinar Title” option 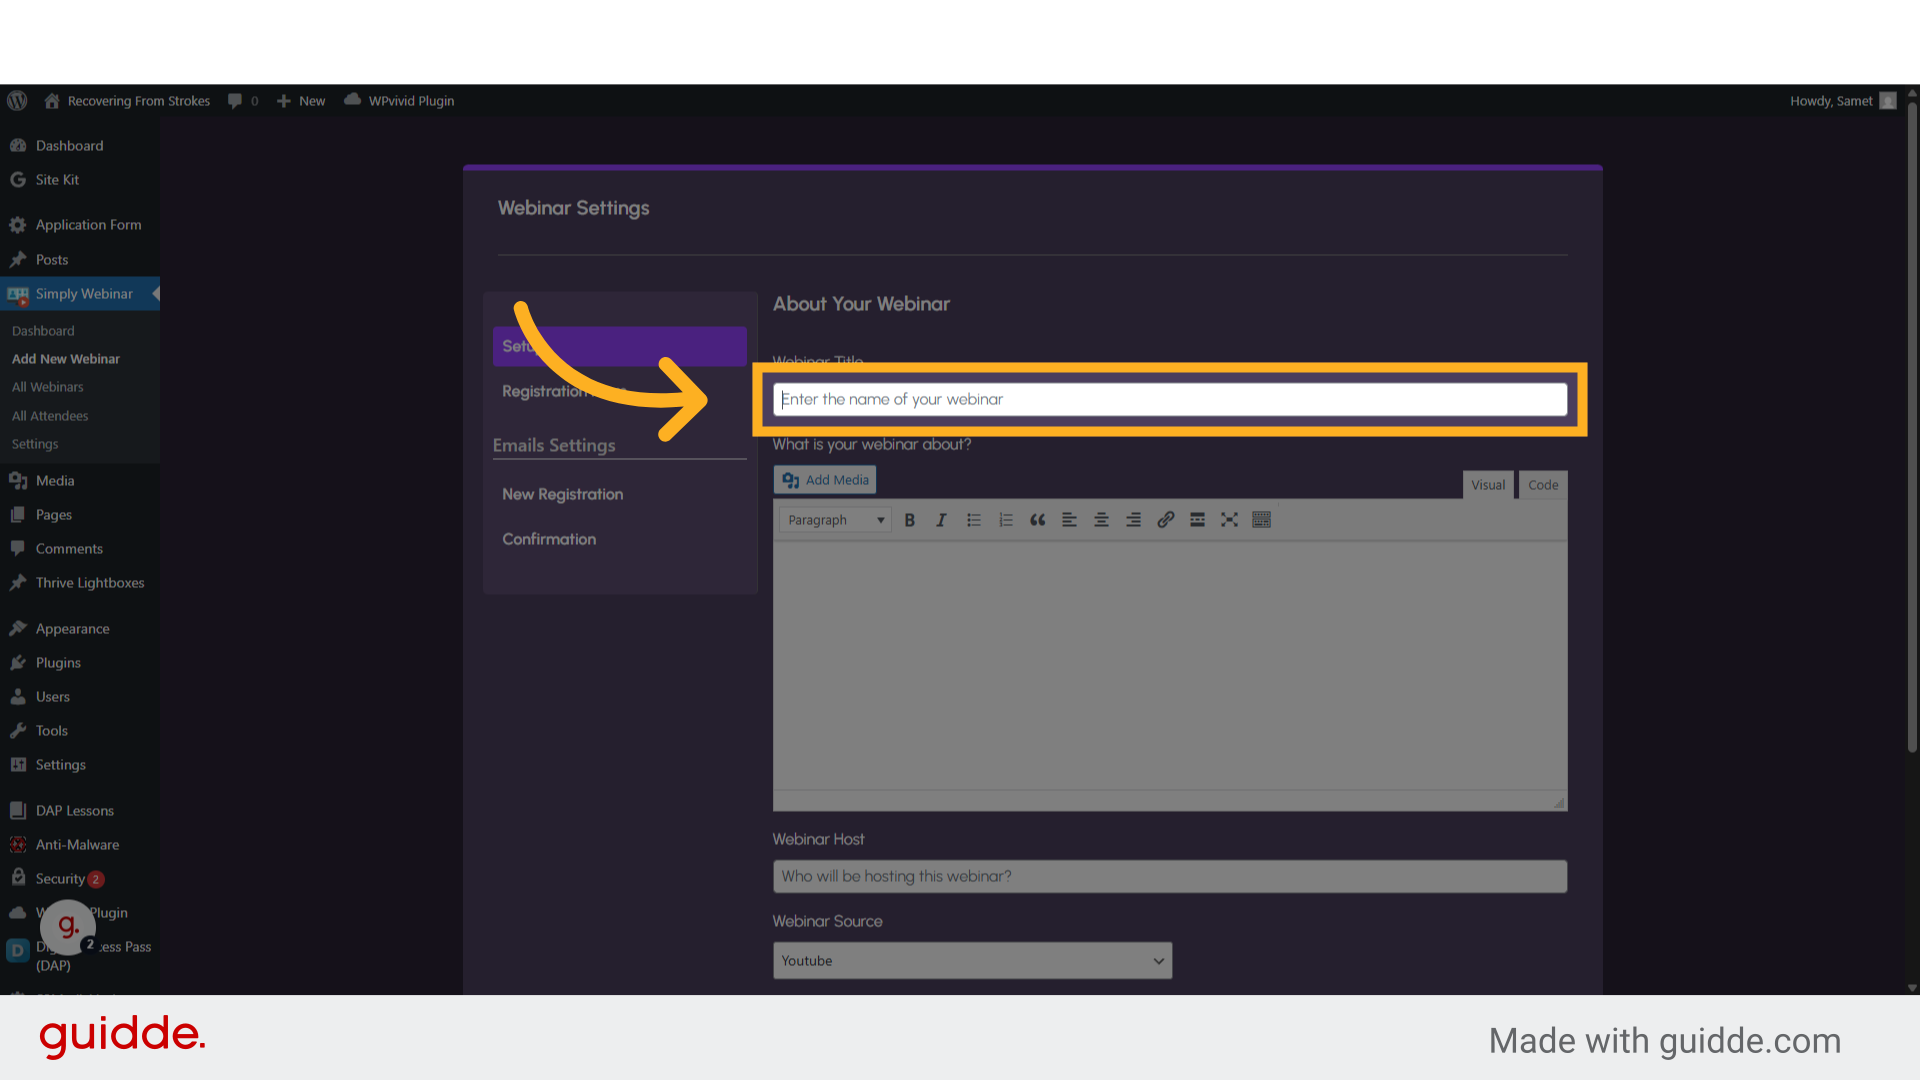
5. Fill “Webinar title”
Fill your suitable webinar title 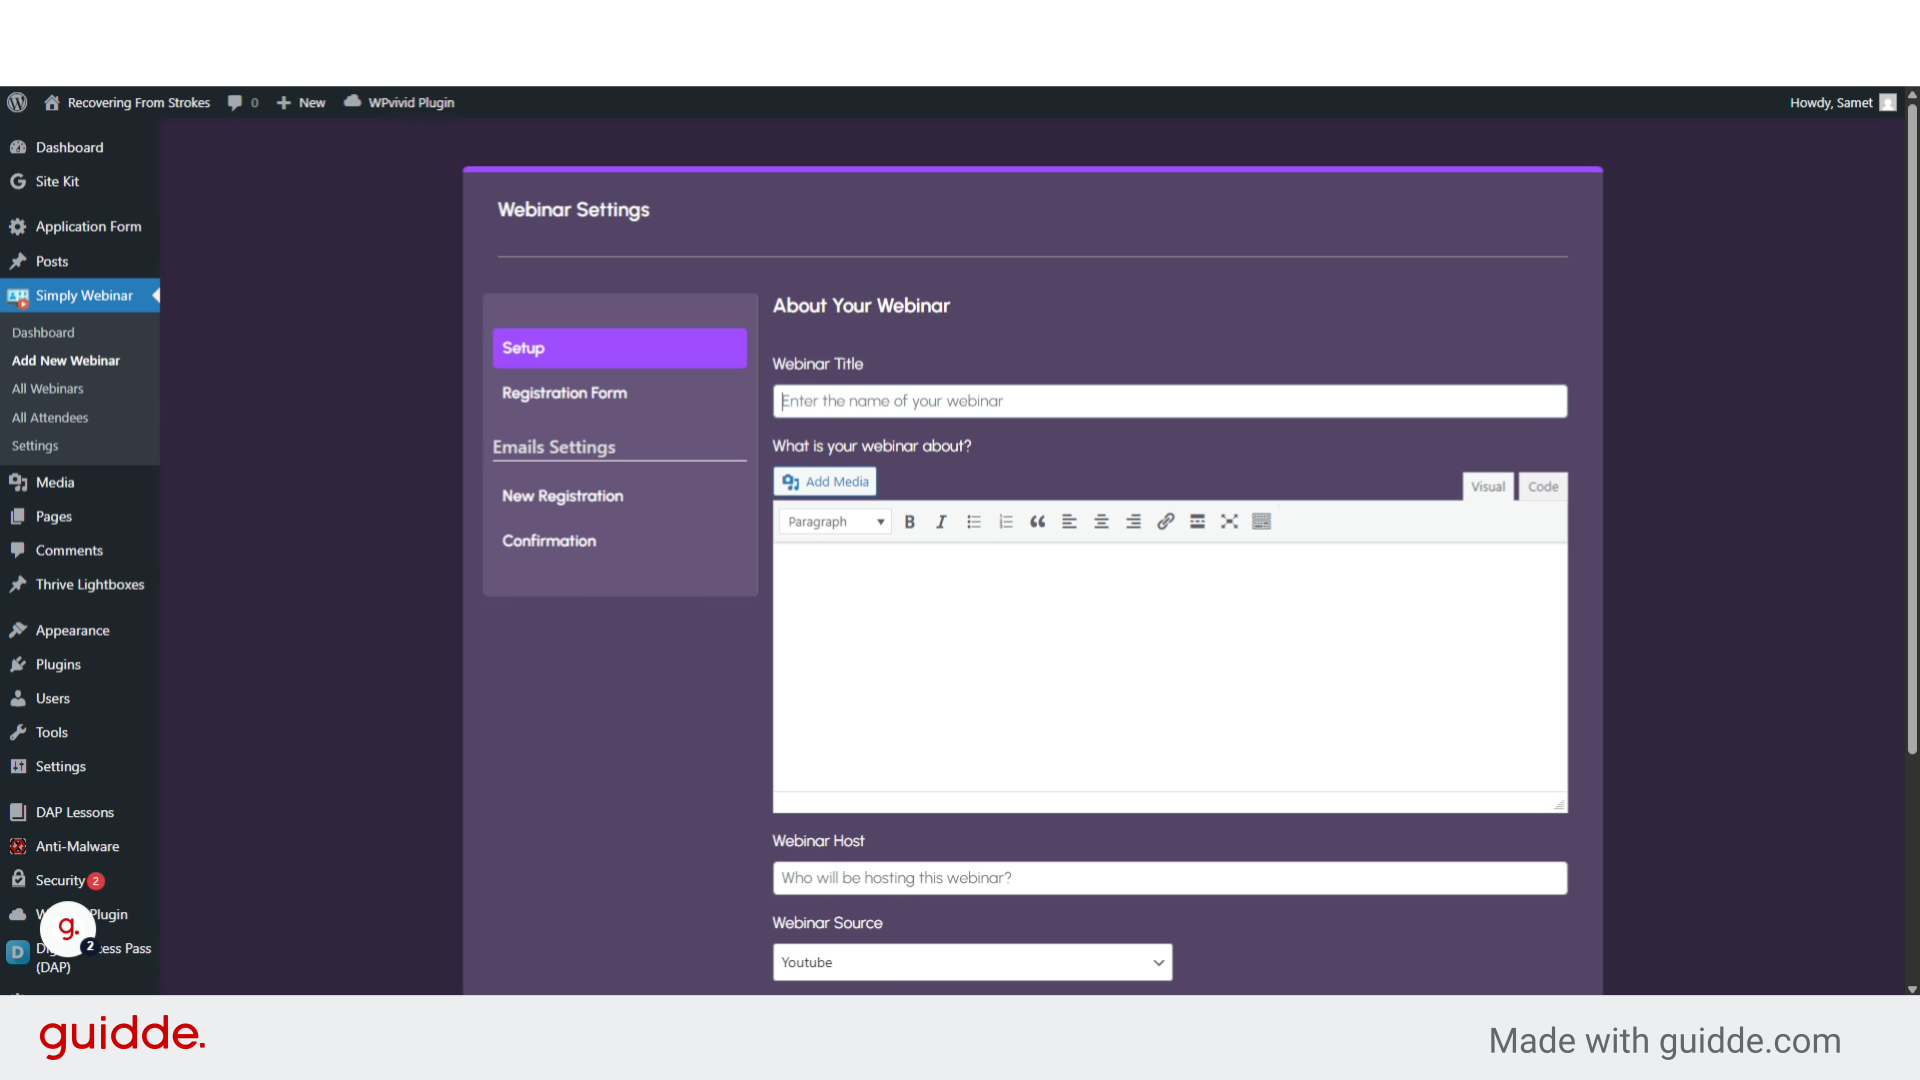
6. Fill “Describe your webinar”
Write a brief of your webinar 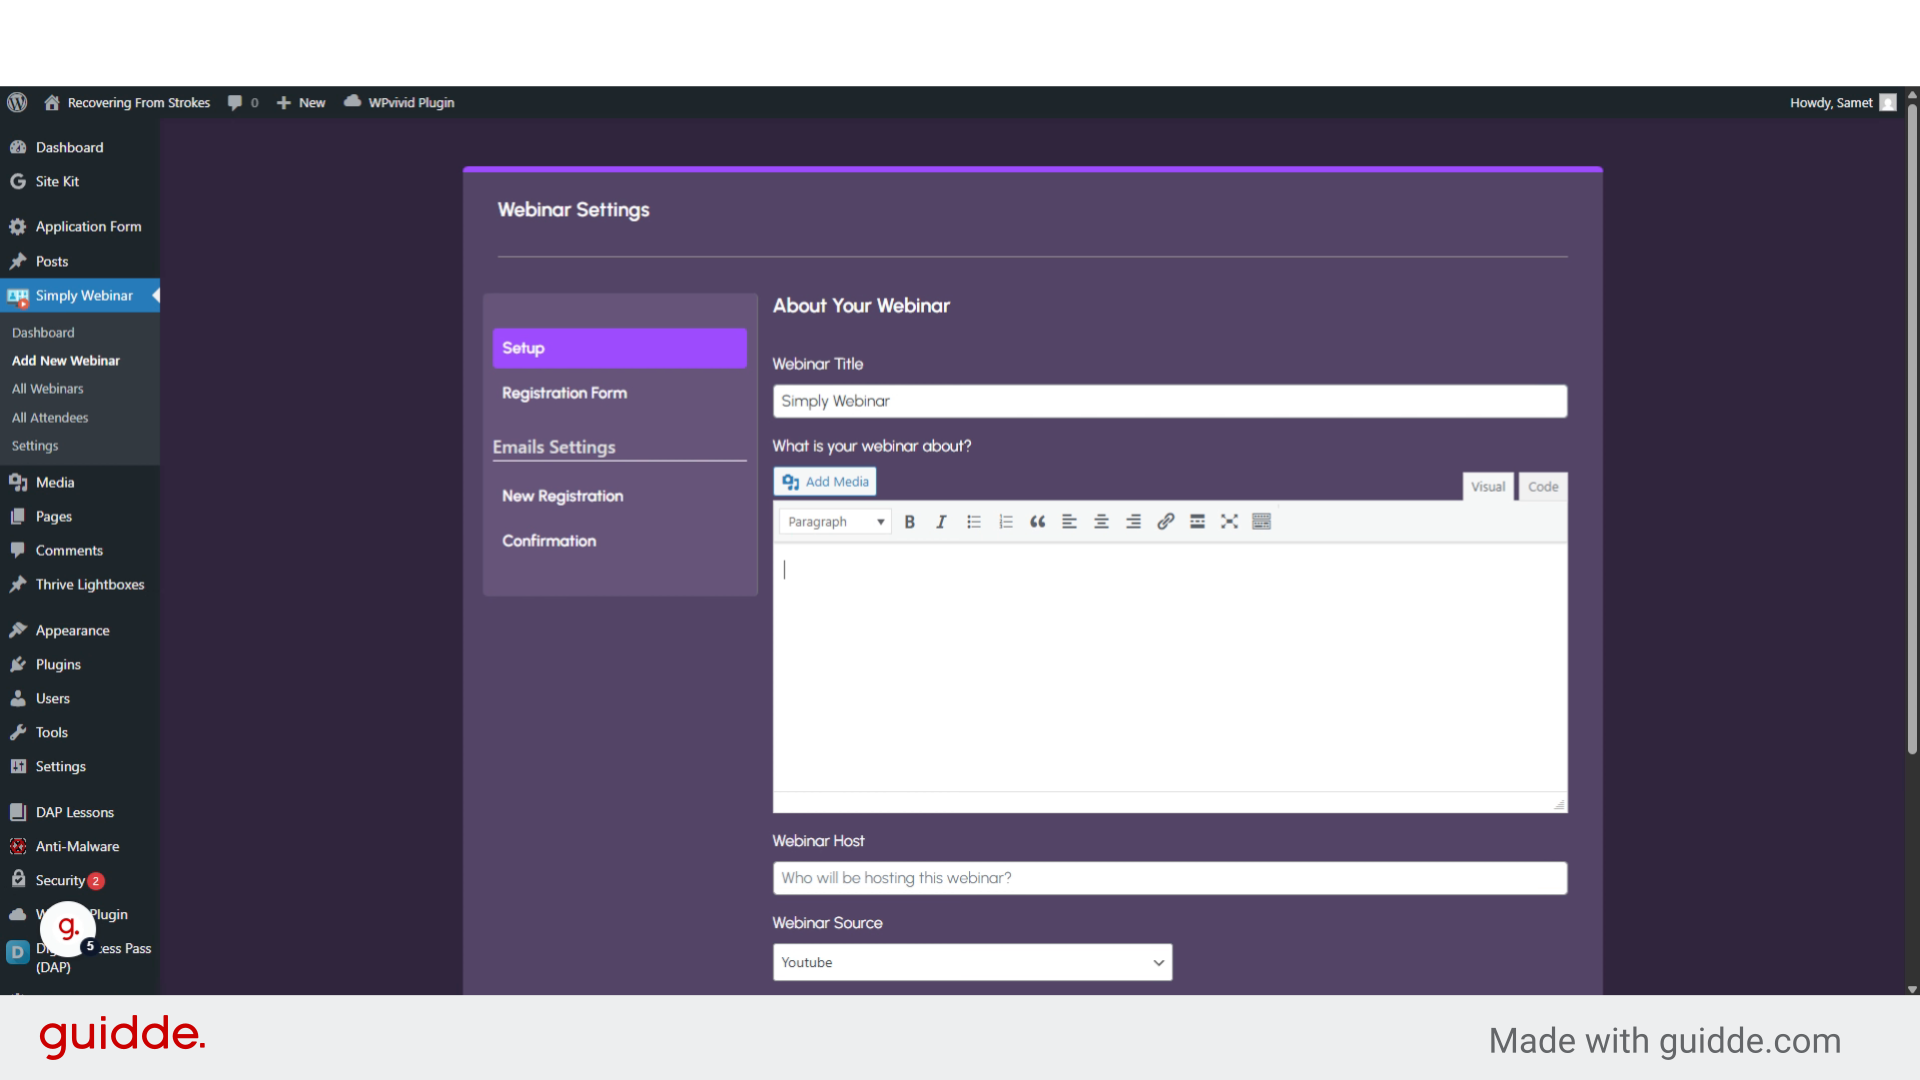
7. Click “Webinar Host”
Click on the “Webinar Host” field 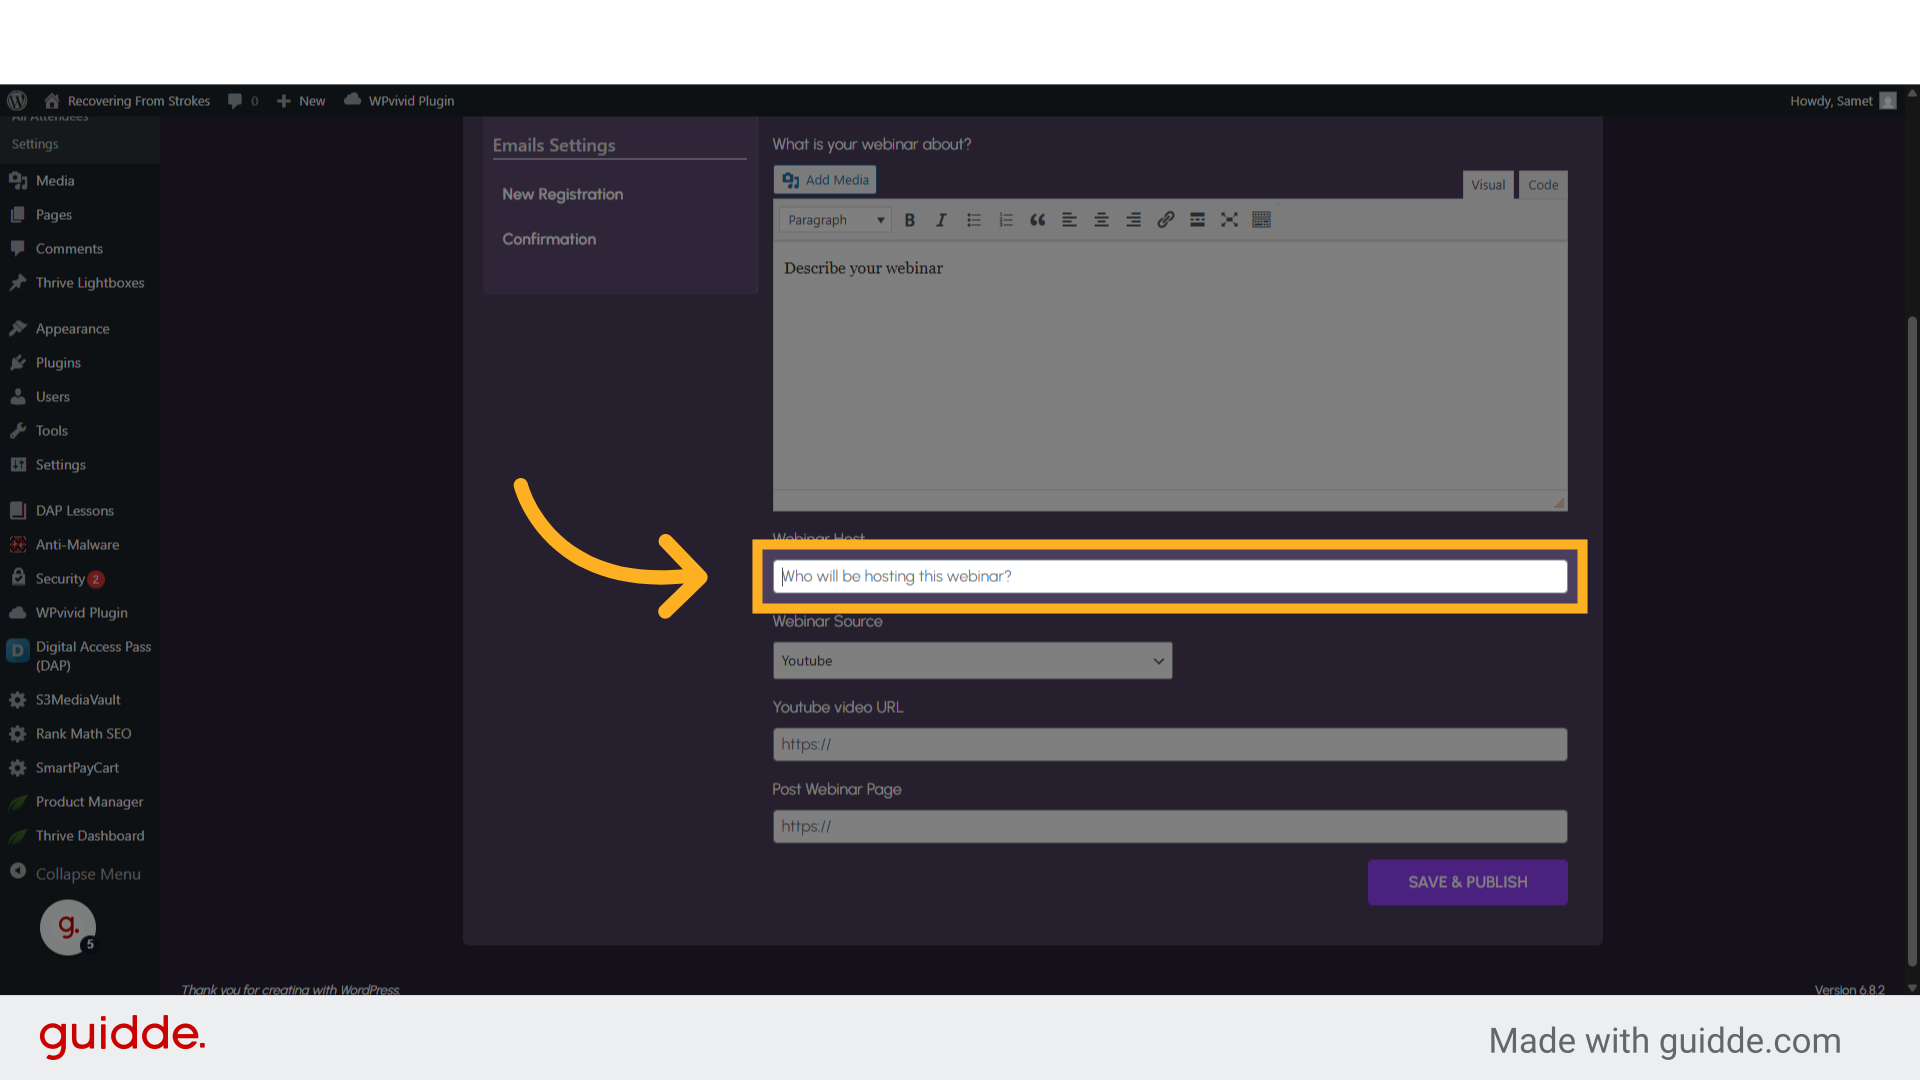
8. Fill “John Doe”
Enter the name of the Host who will represent the webinar 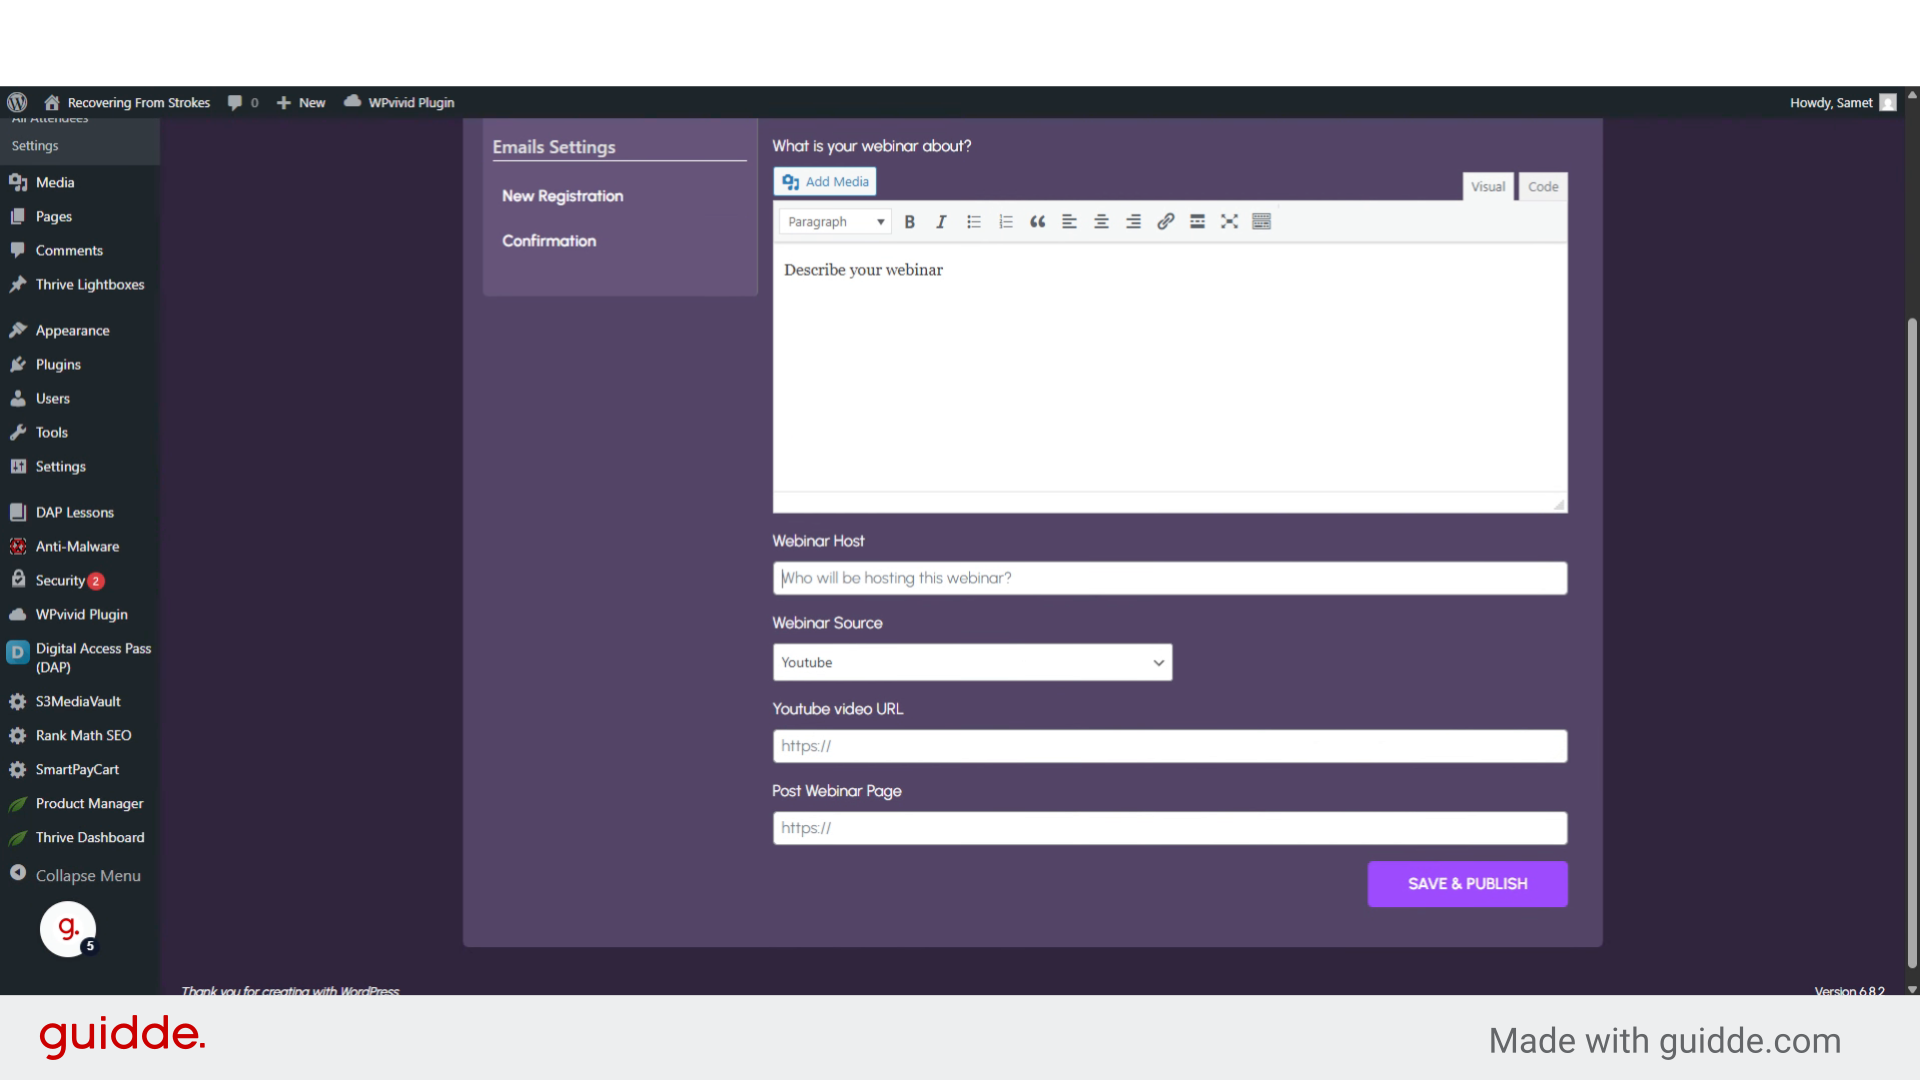
9. Select an option among
Select an option among “Youtube, Vimeo, Amazon S3, or Self Hosted” for the webinar video 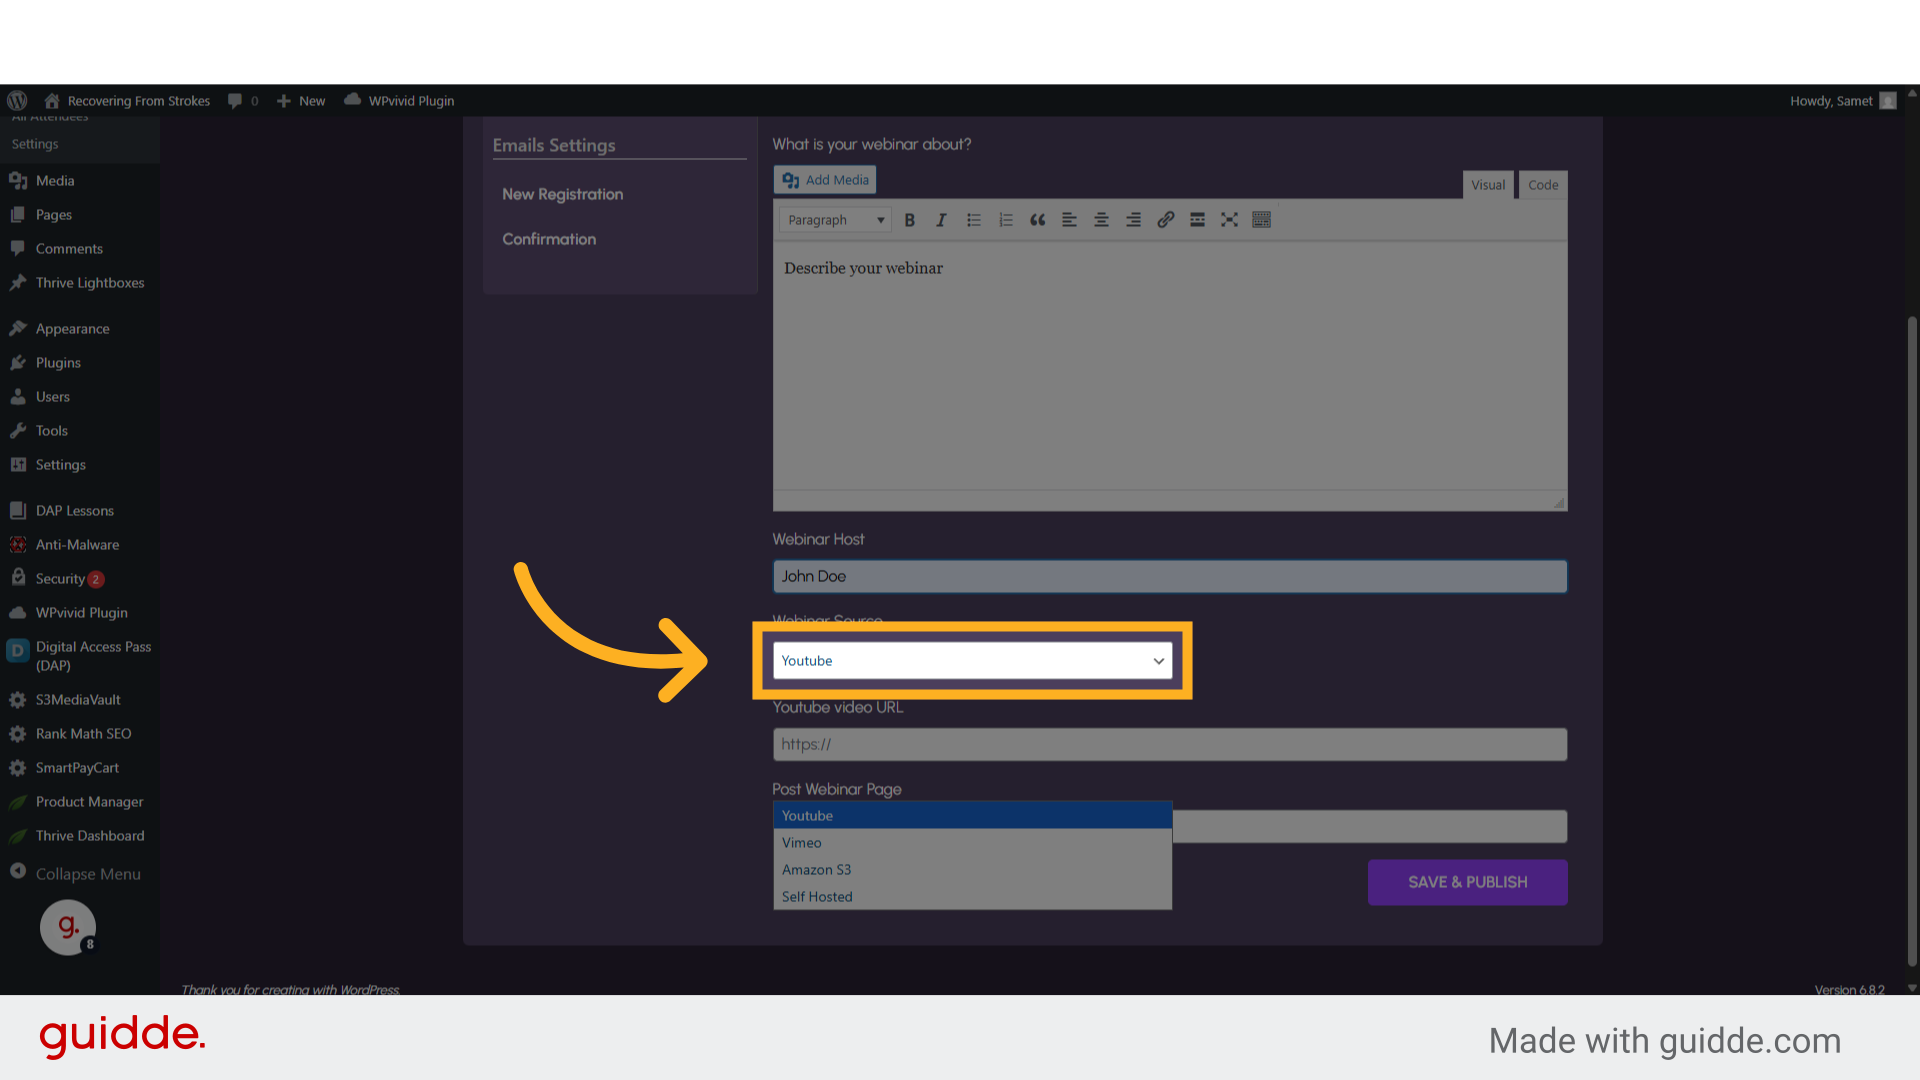
10. Click “Youtube Vimeo Amazon S3 Self Hosted”
Navigate to the “YoutubeVimeoAmazon S3Self Hosted” section 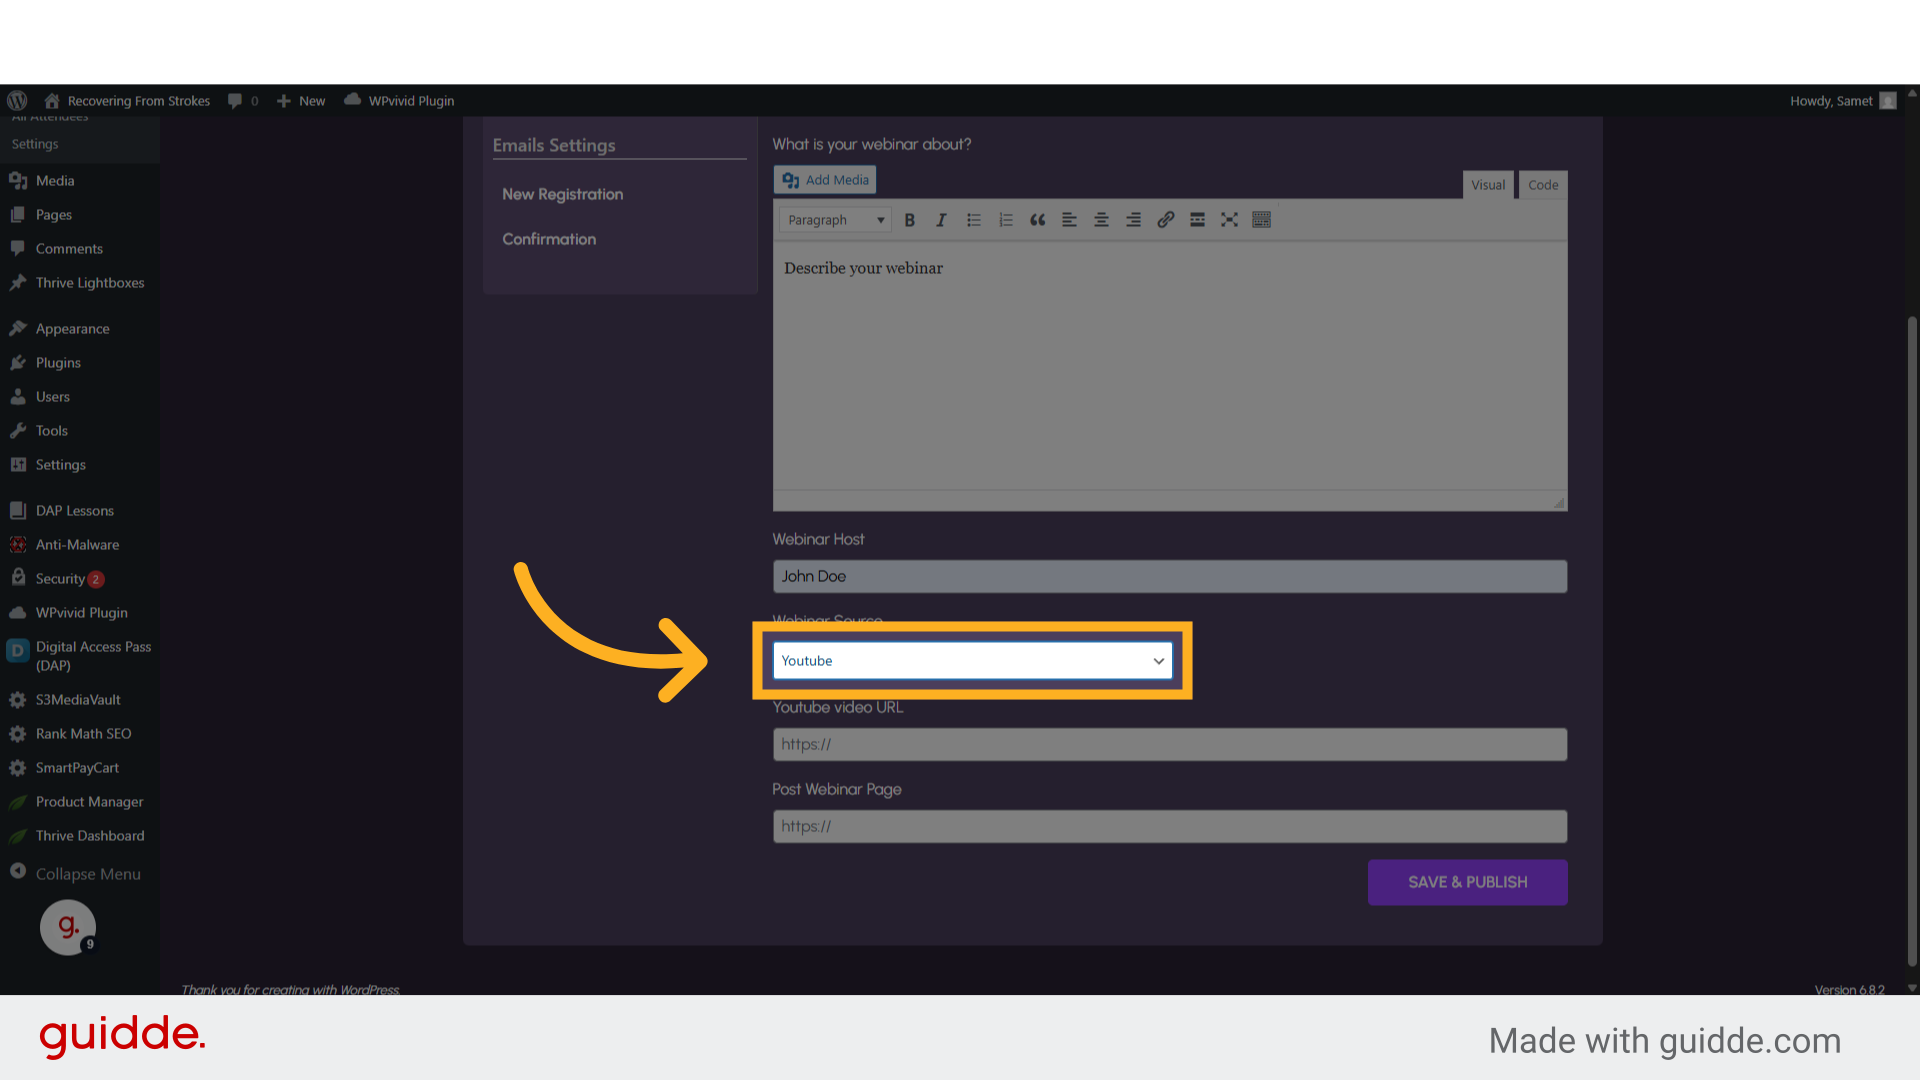
11. Click “Youtube video URL”
Click the selected location 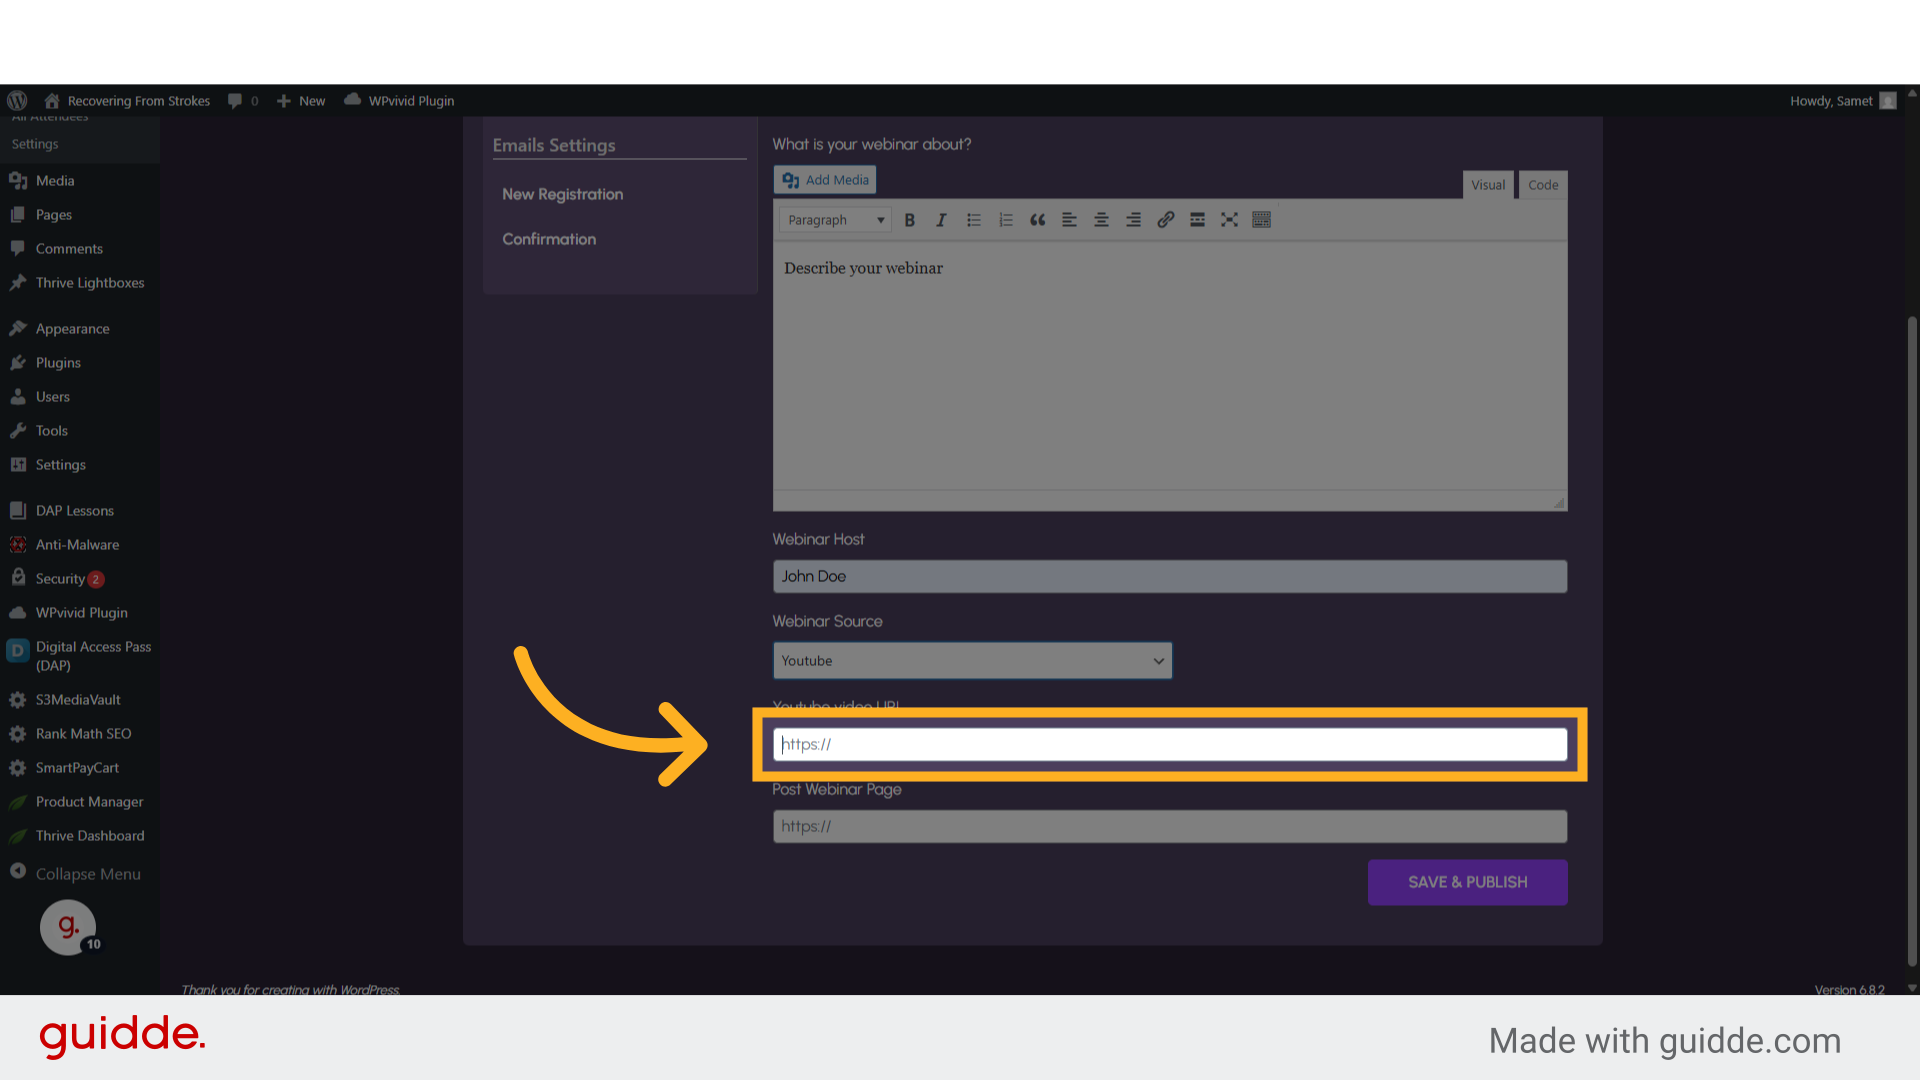
12. Enter the video URL where it hosted
Enter the video URL where it hosted 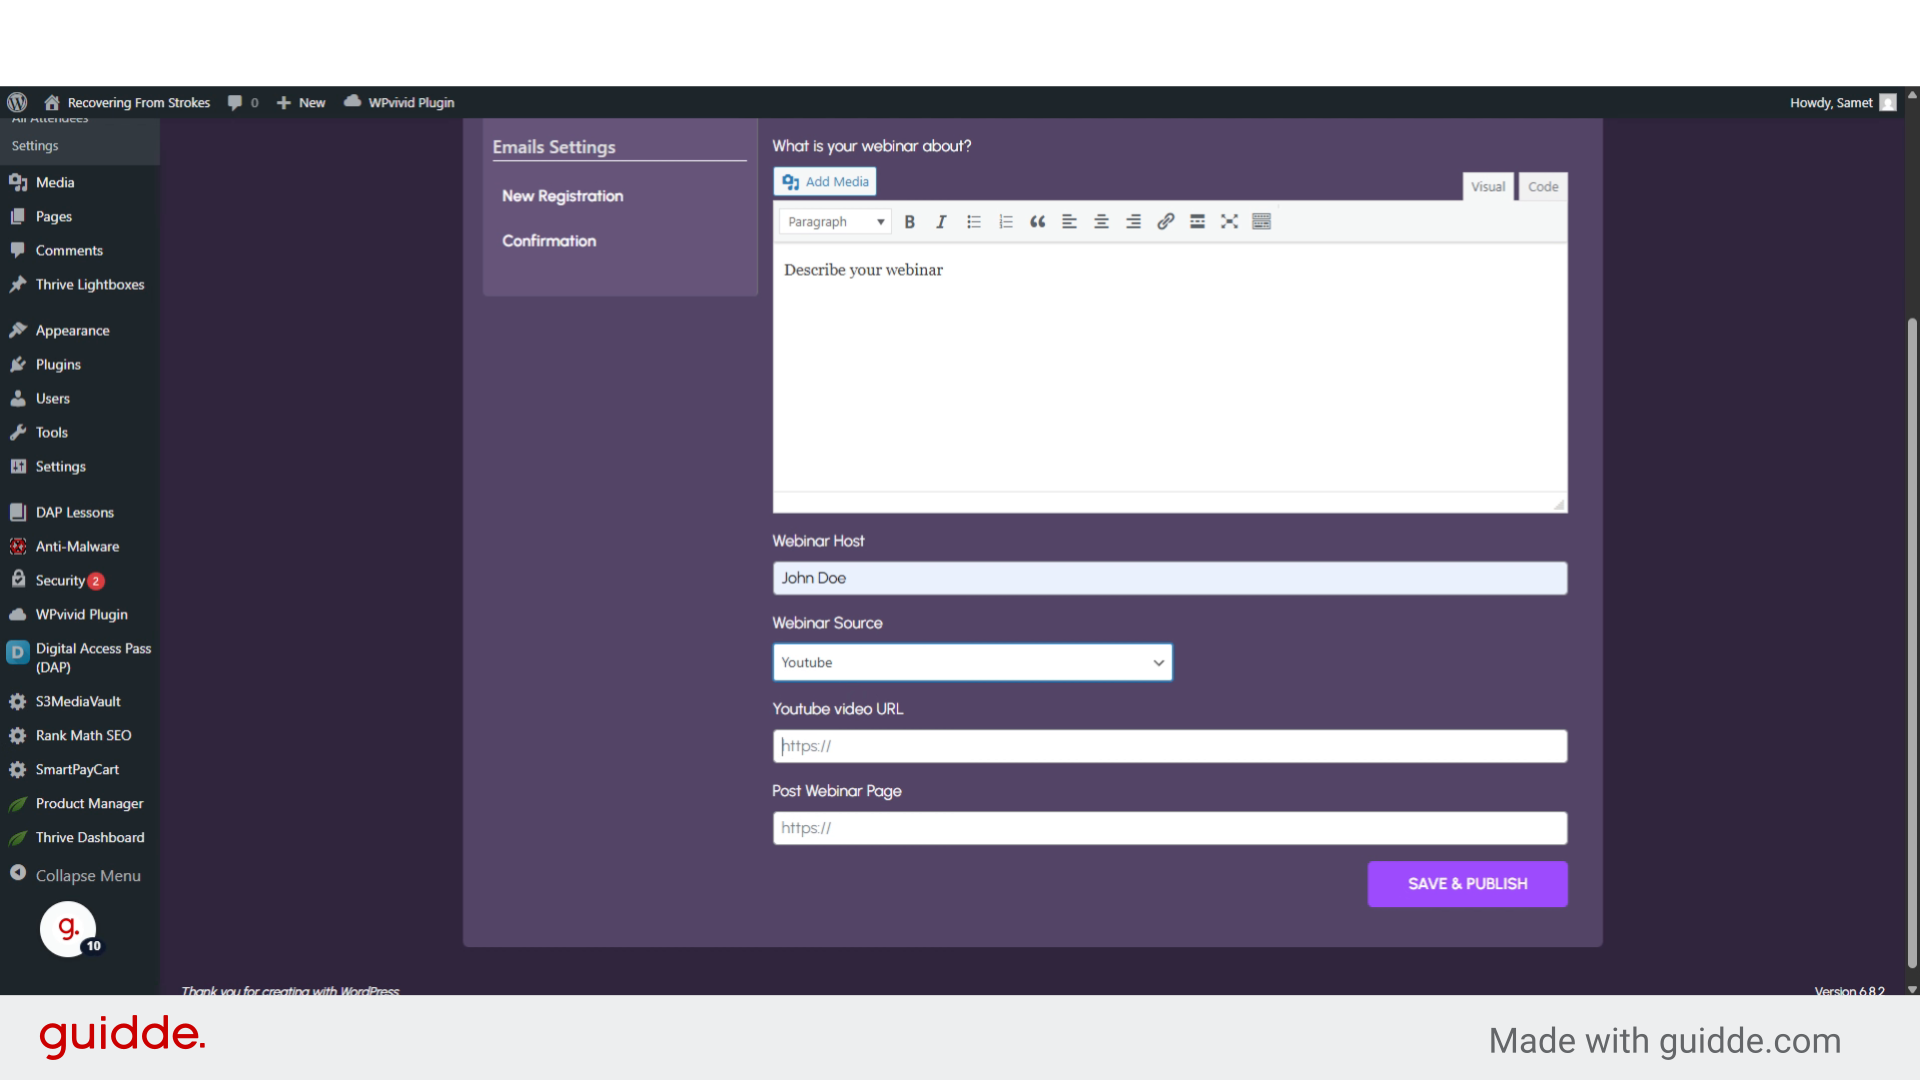
13. Click The URL Field
Click on Post Webinar Page field 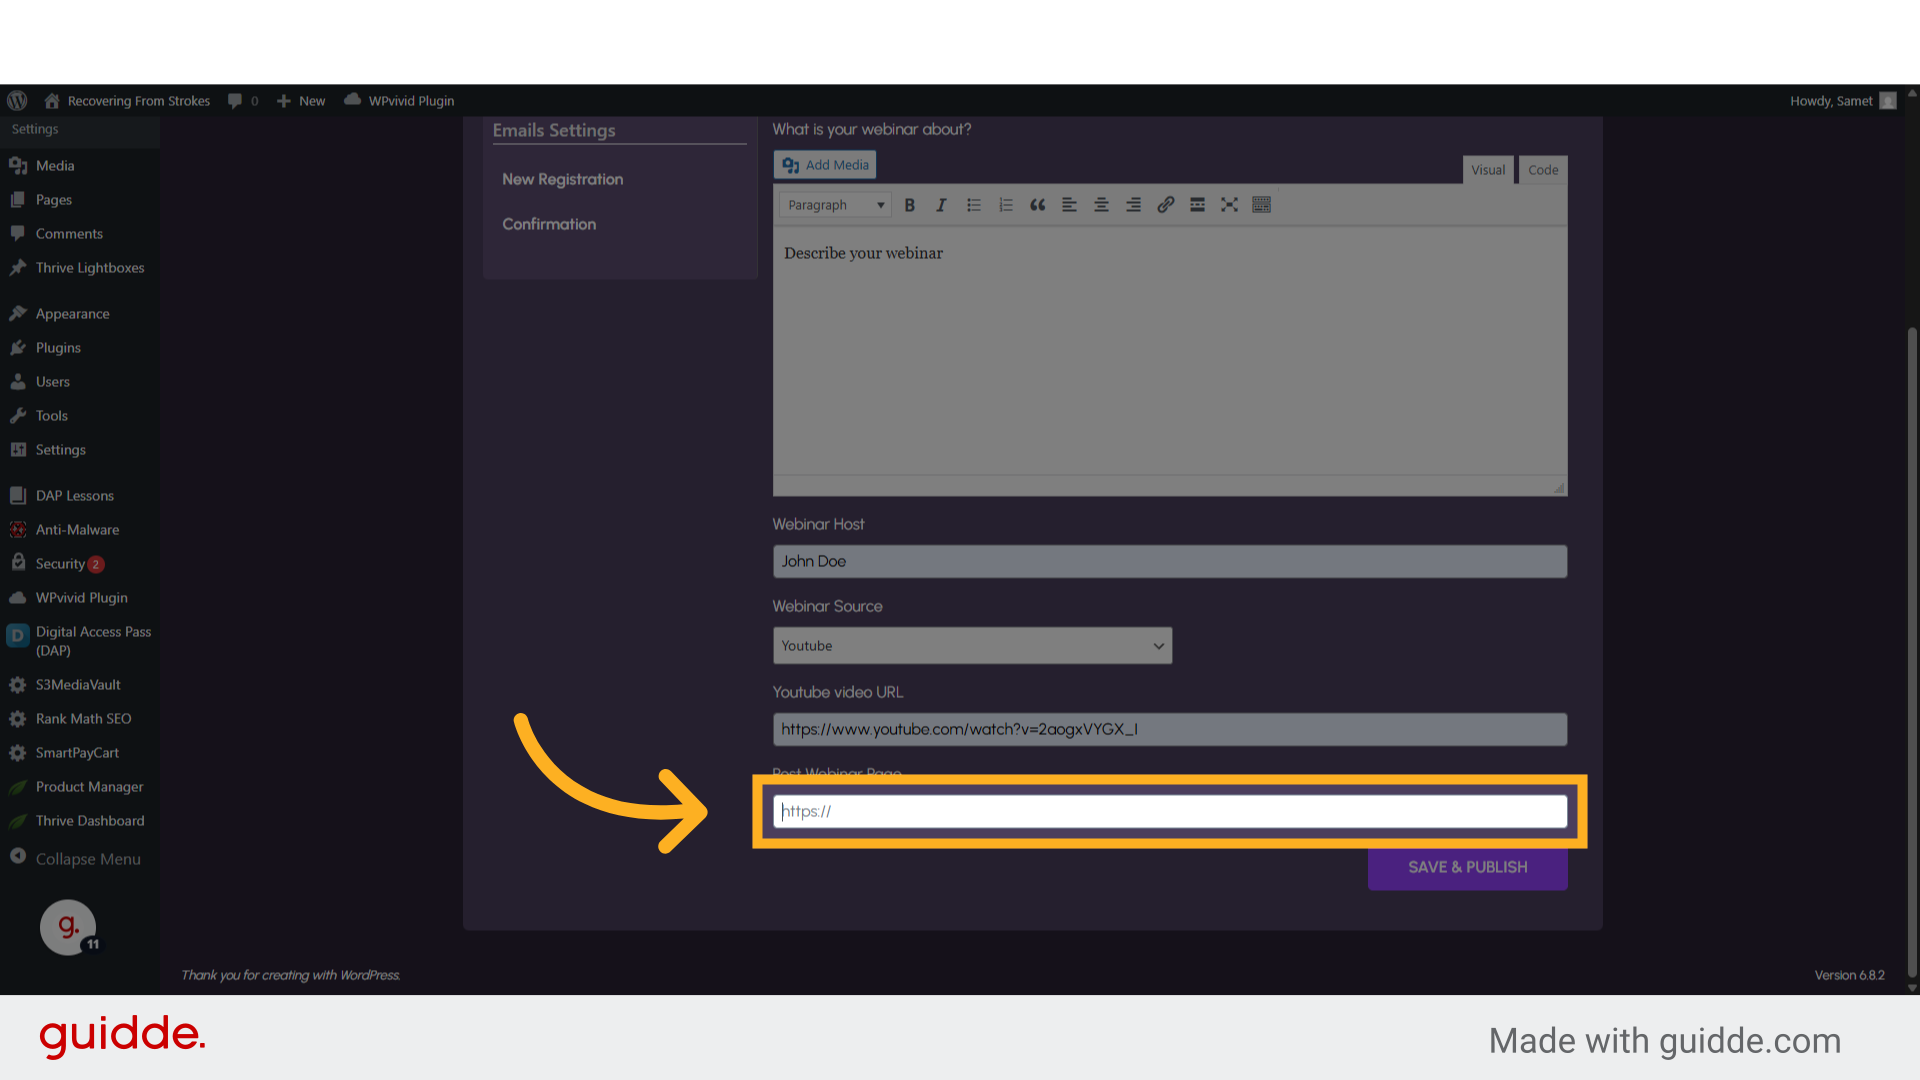
14. Fill “https://www.4touchplease.com/application-form/”
Enter the URL of the page which people will get redirected after the webinar 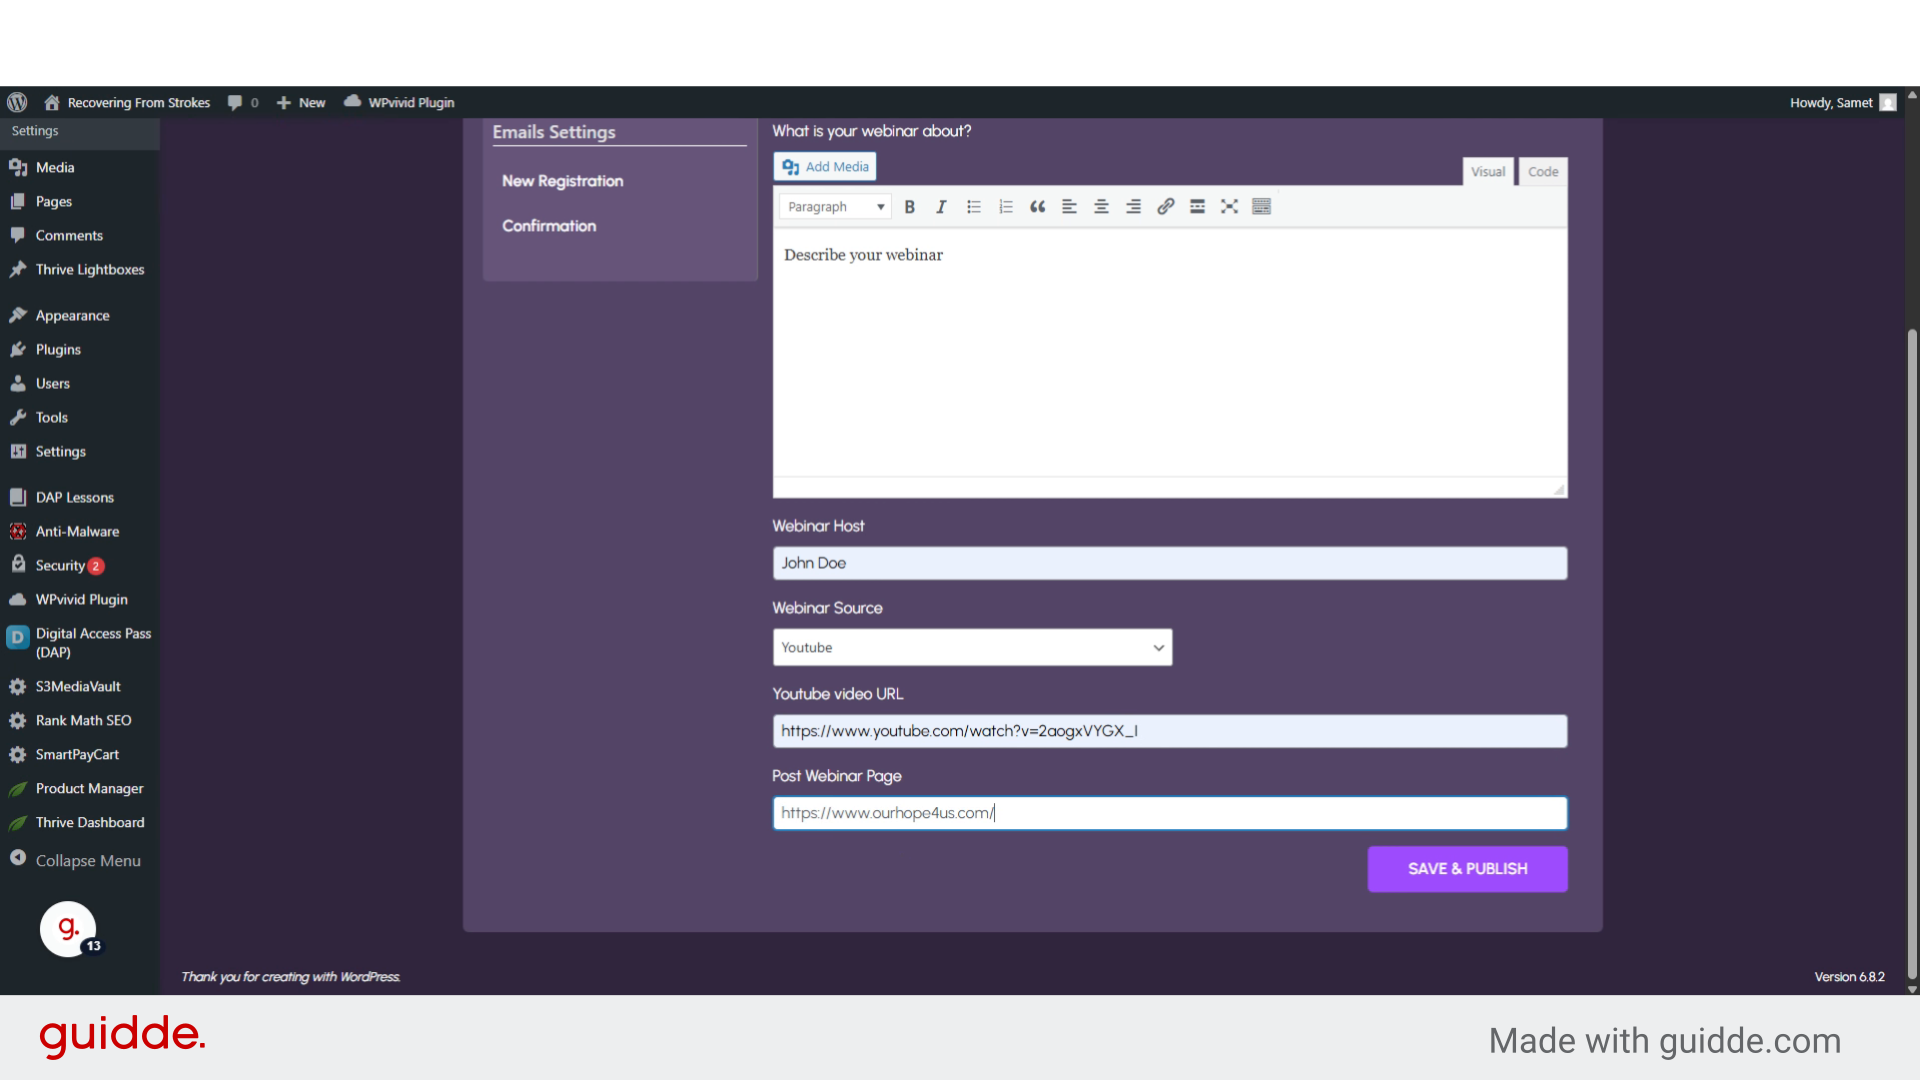
15. Click “Registration Form”
Navigate to “Registration Form” 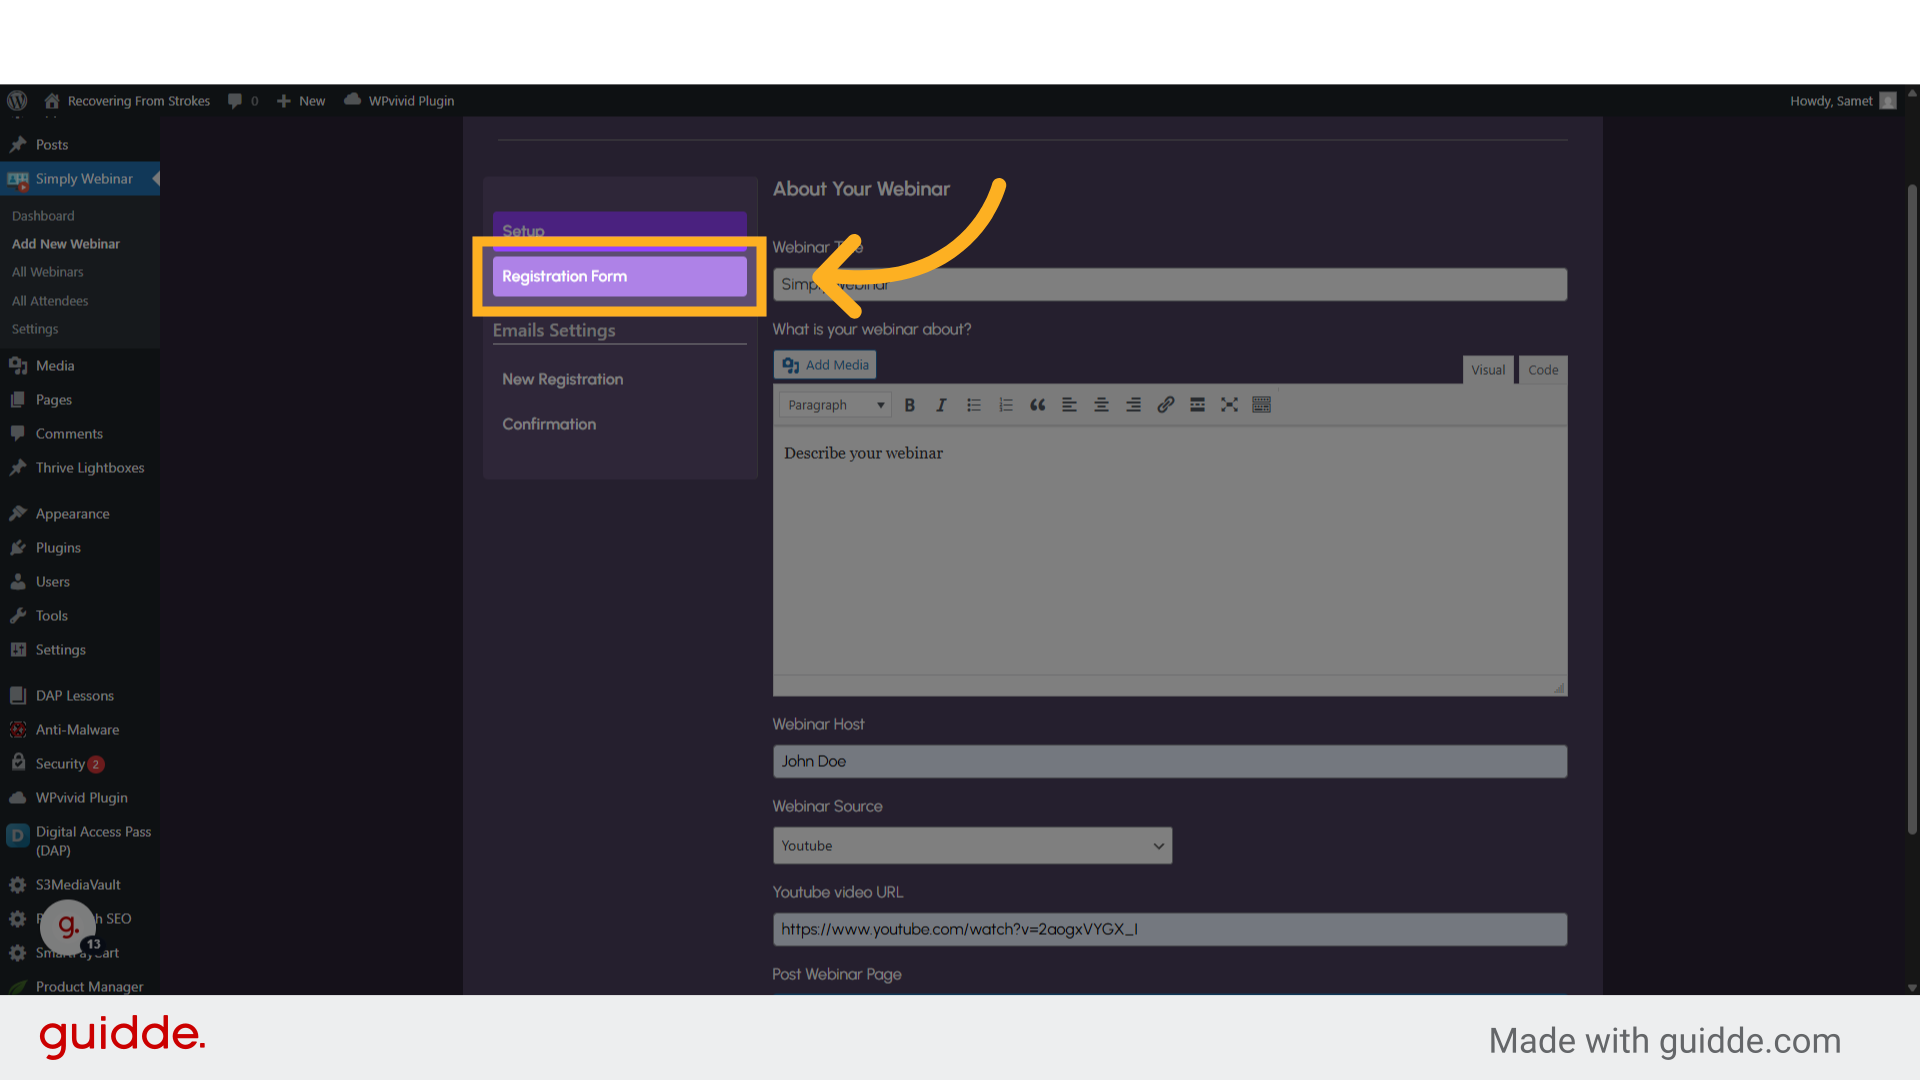
16. Click “CHOOSE”
Select the “CHOOSE” option to select a header logo of the registration page 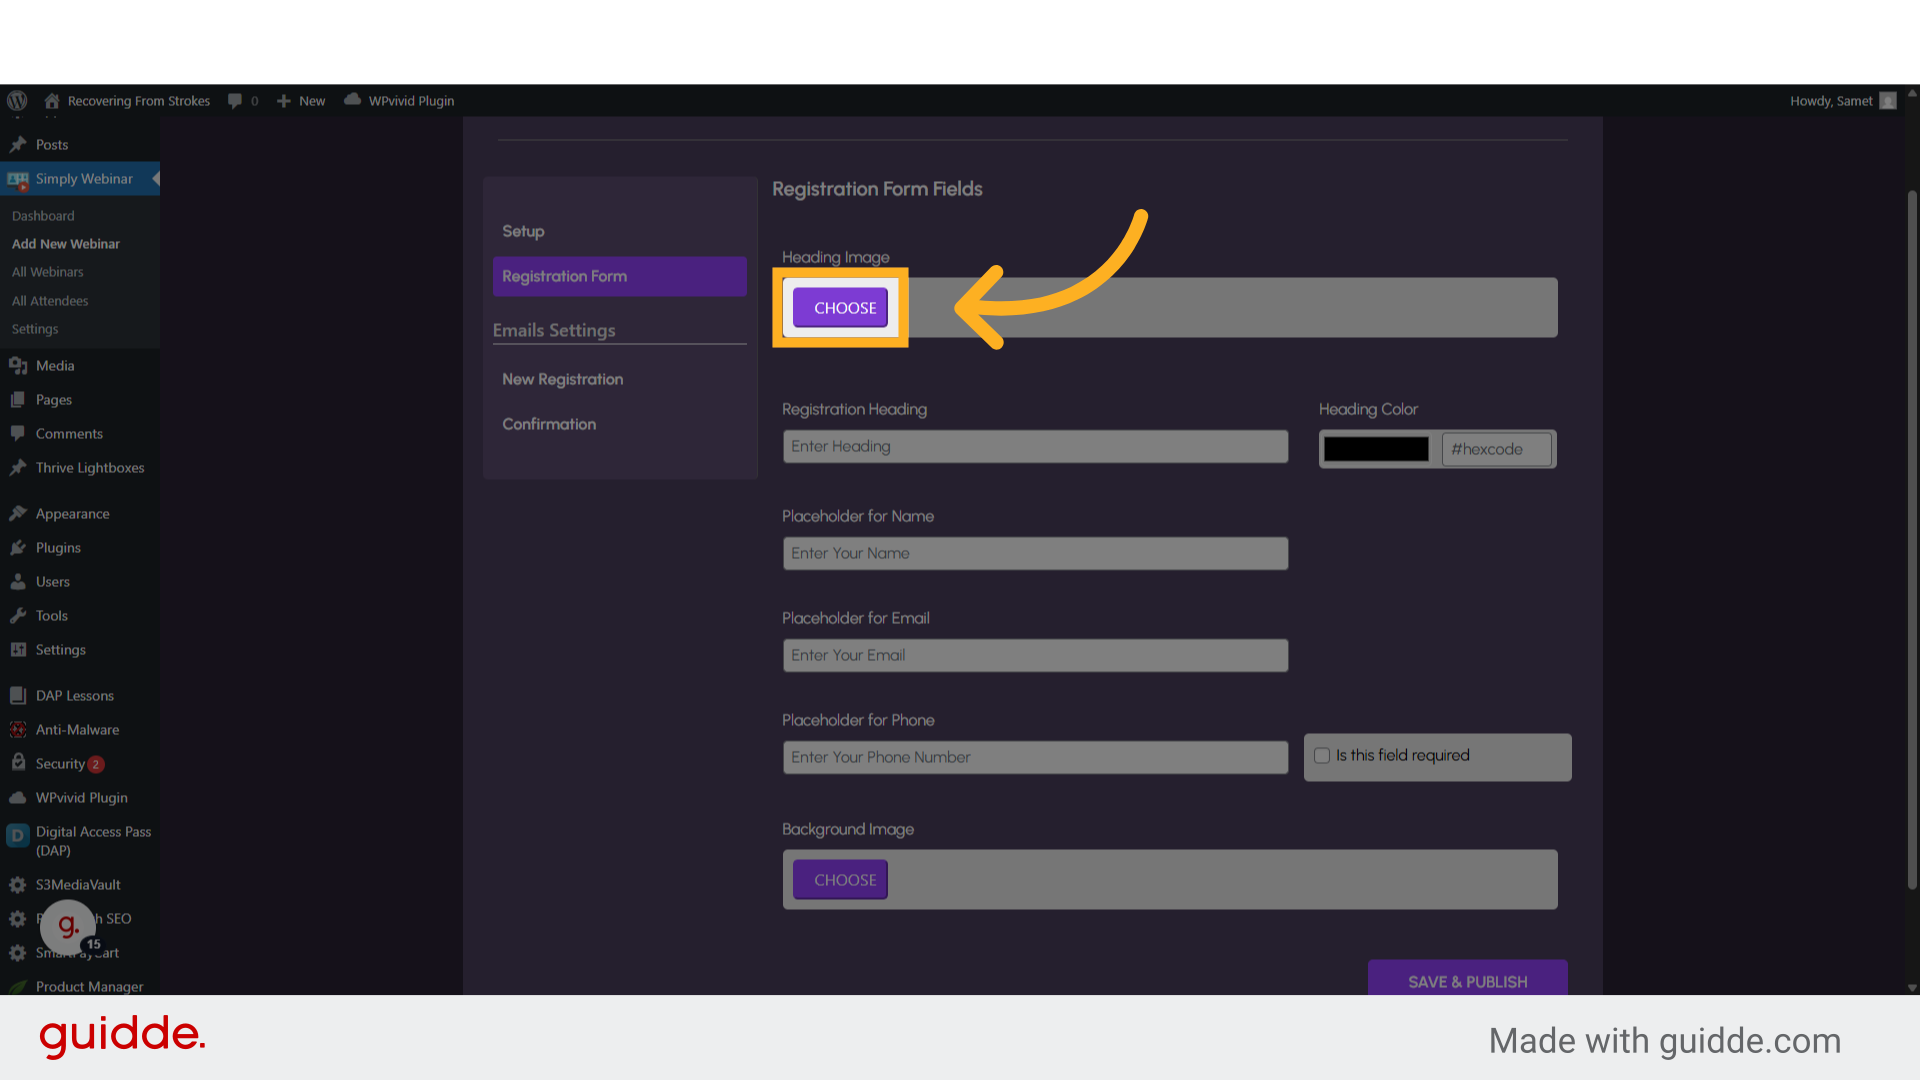
17. Click here
Click on any image you would like 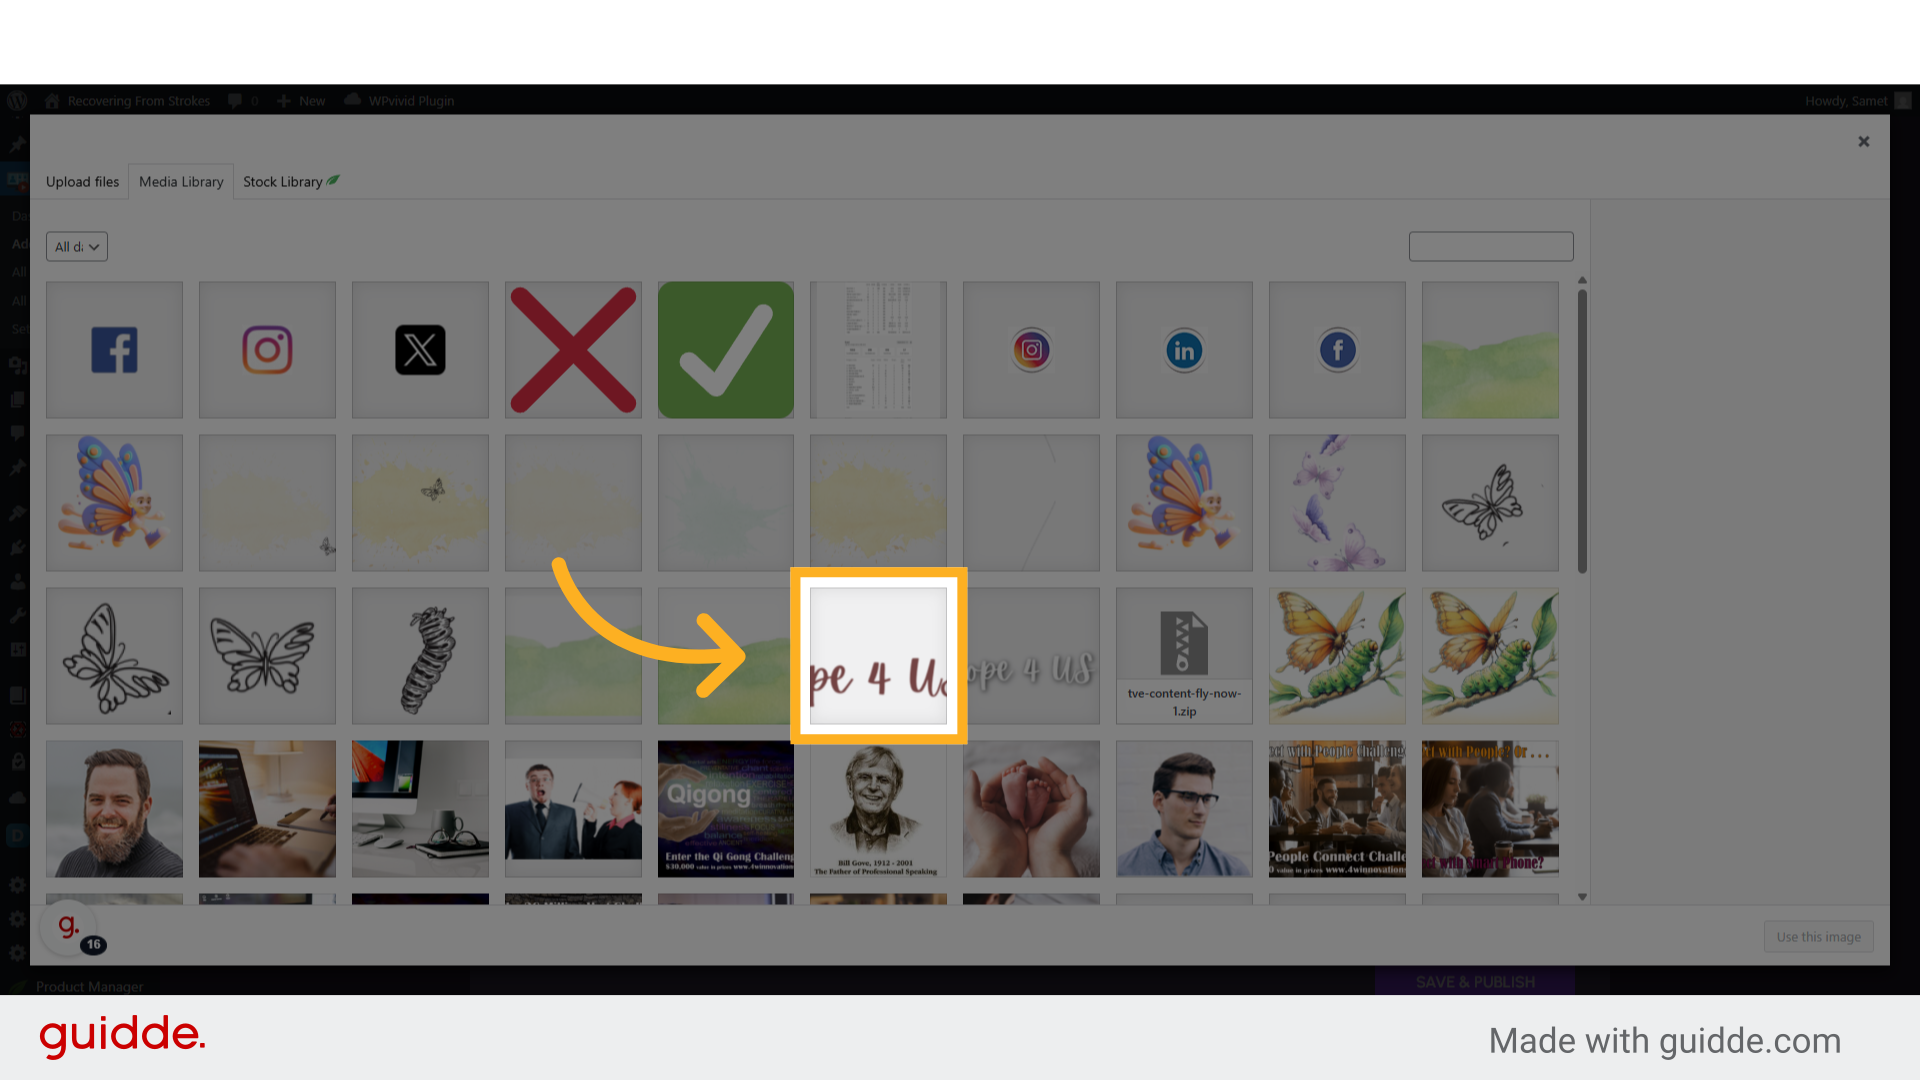
18. Click “Use this image”
Choose the “Use this image” option 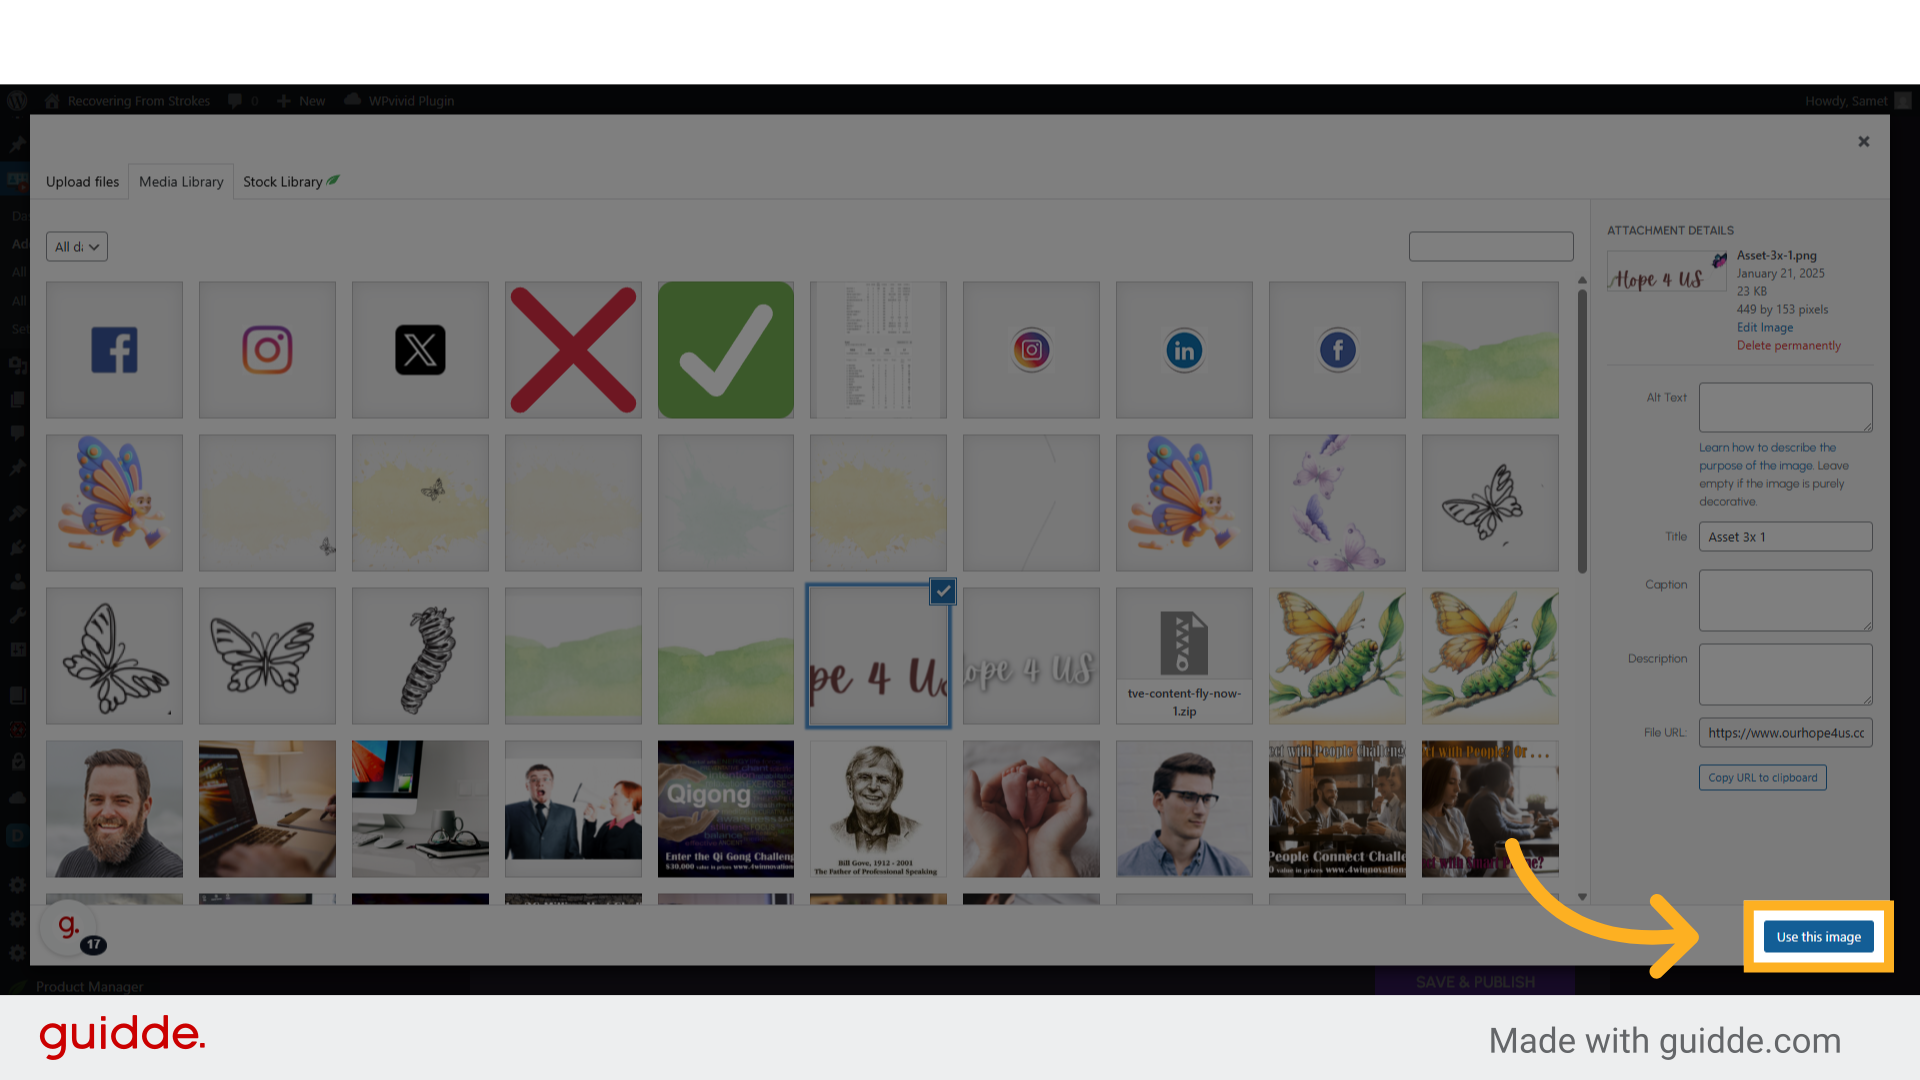
19. Click “Registration Heading”
Click on the “Registration Heading” field 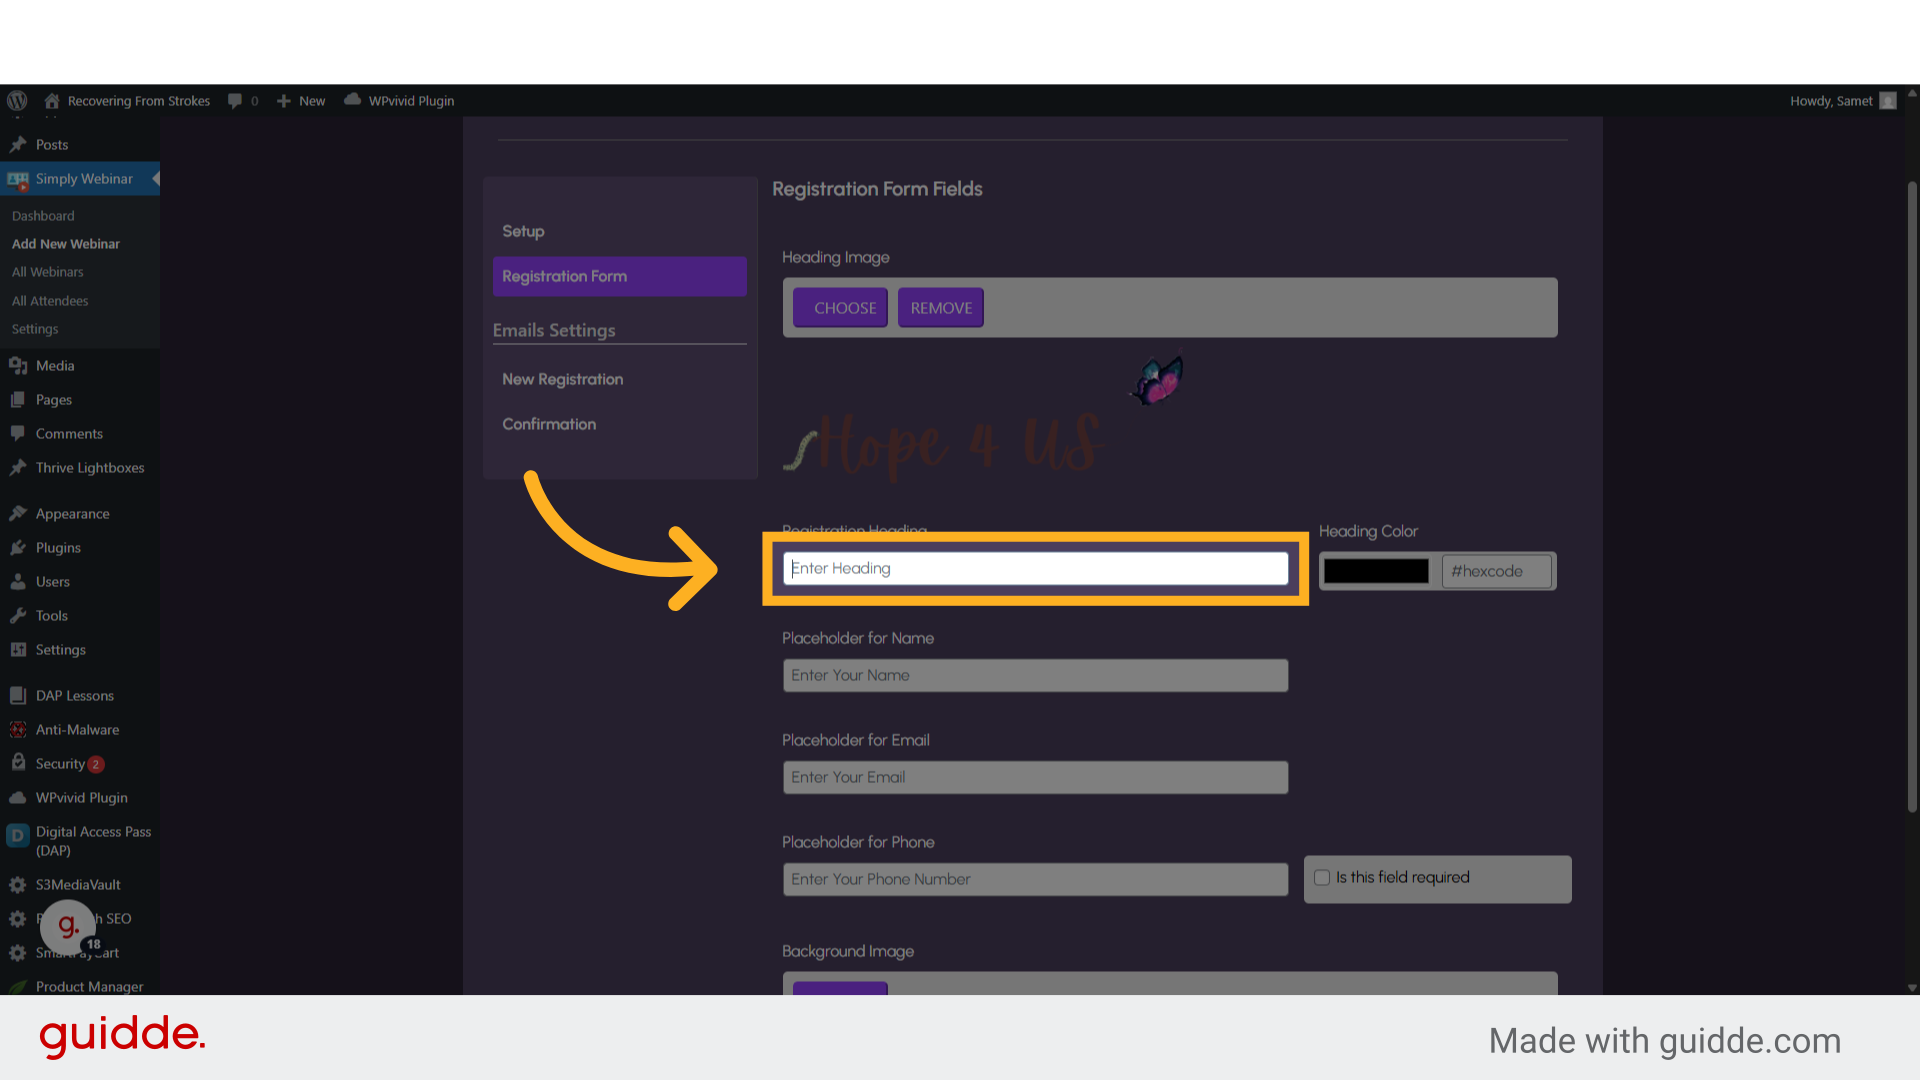
20. Fill “The heading for waiting area about your webinar”
Enter the heading of the webinar registration page 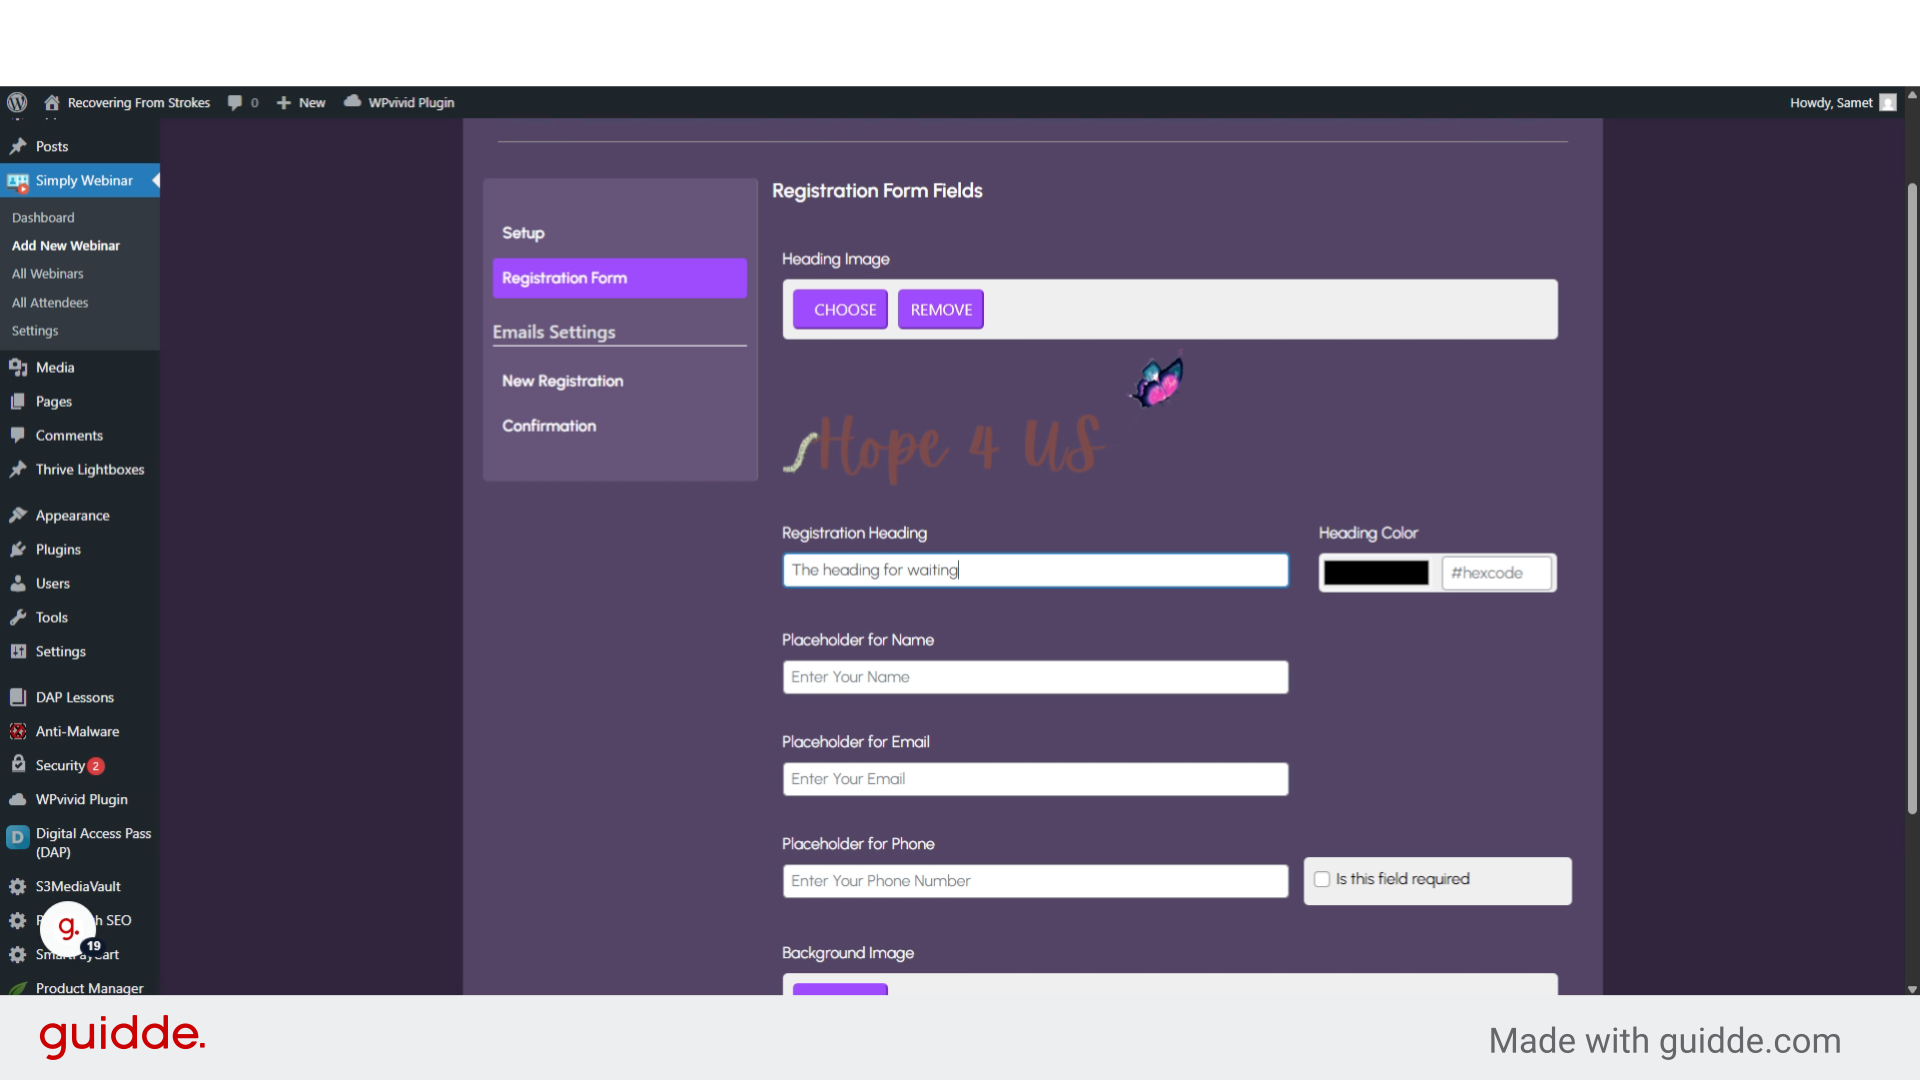
21. Click on the color picker
Choose your desire color code for registration title 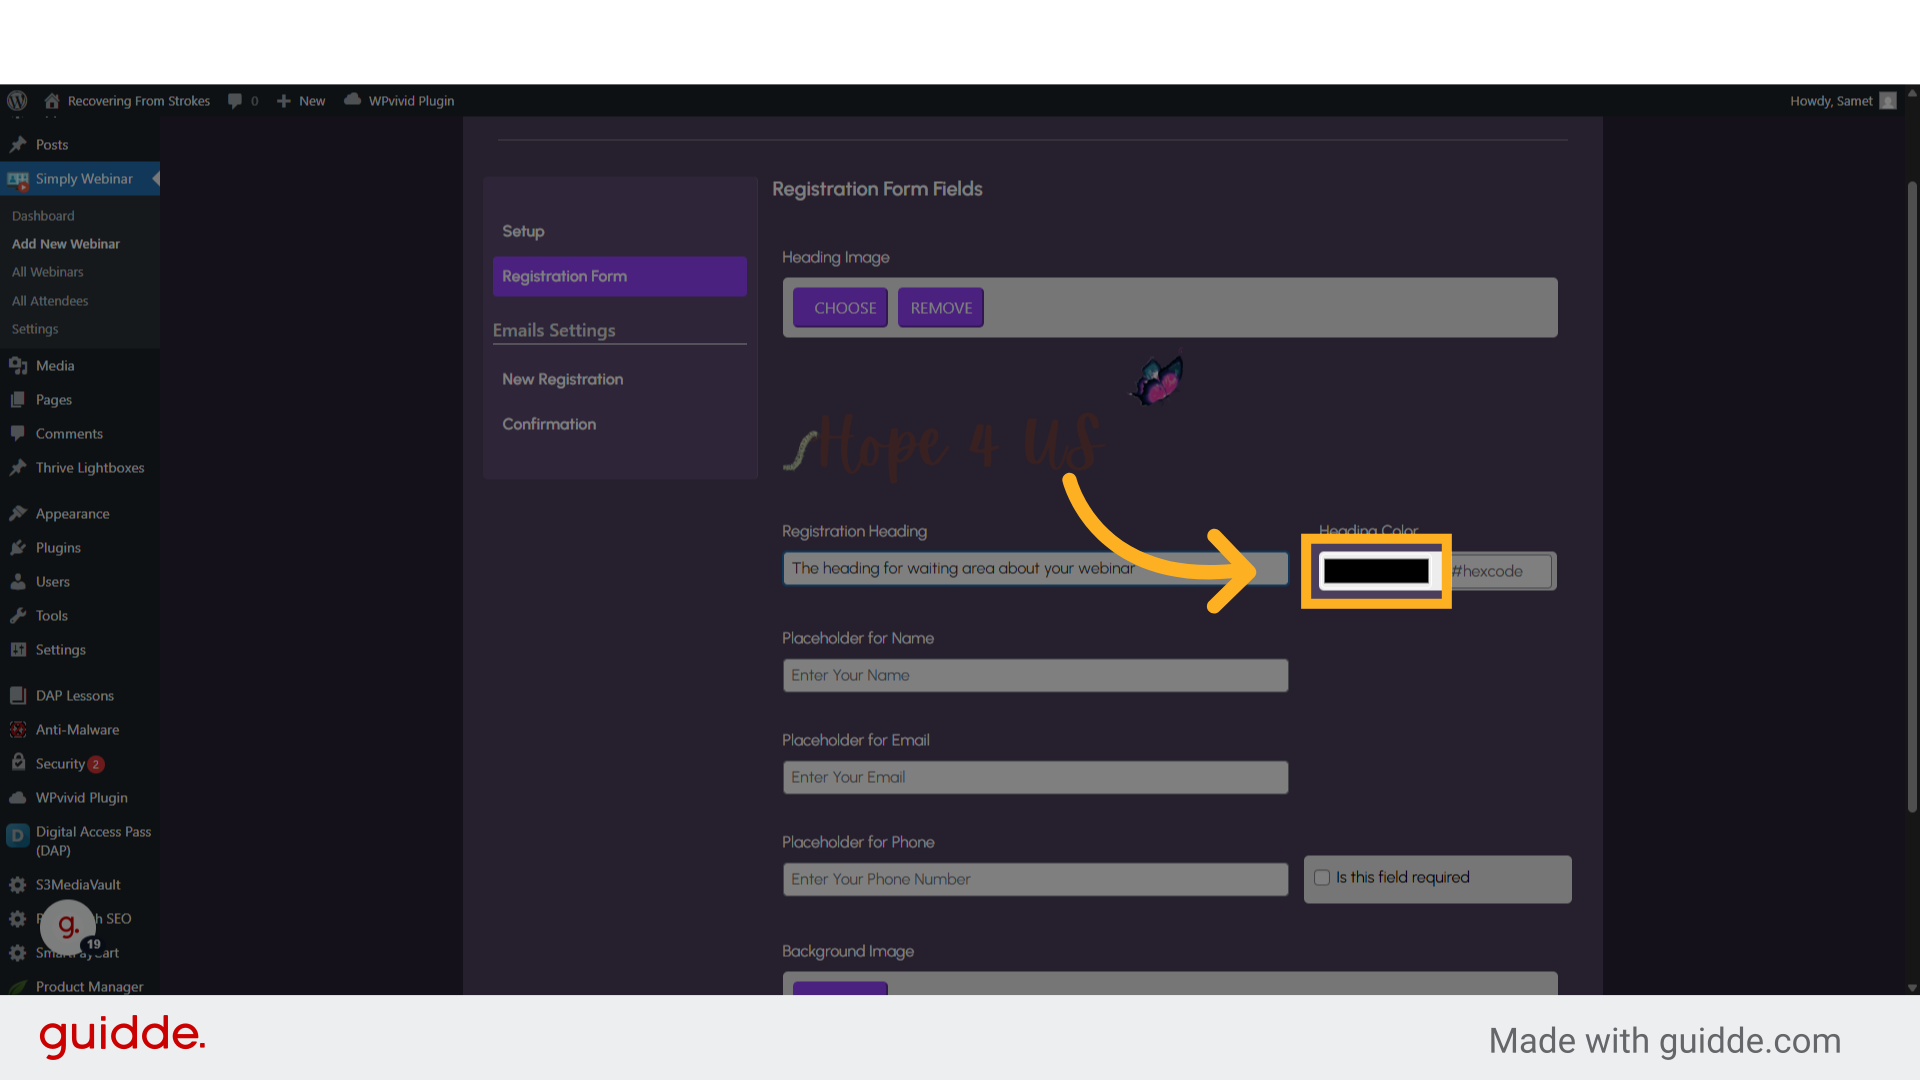
22. Fill “#7445f7”
Color code can be choose as RGB or HEX color code 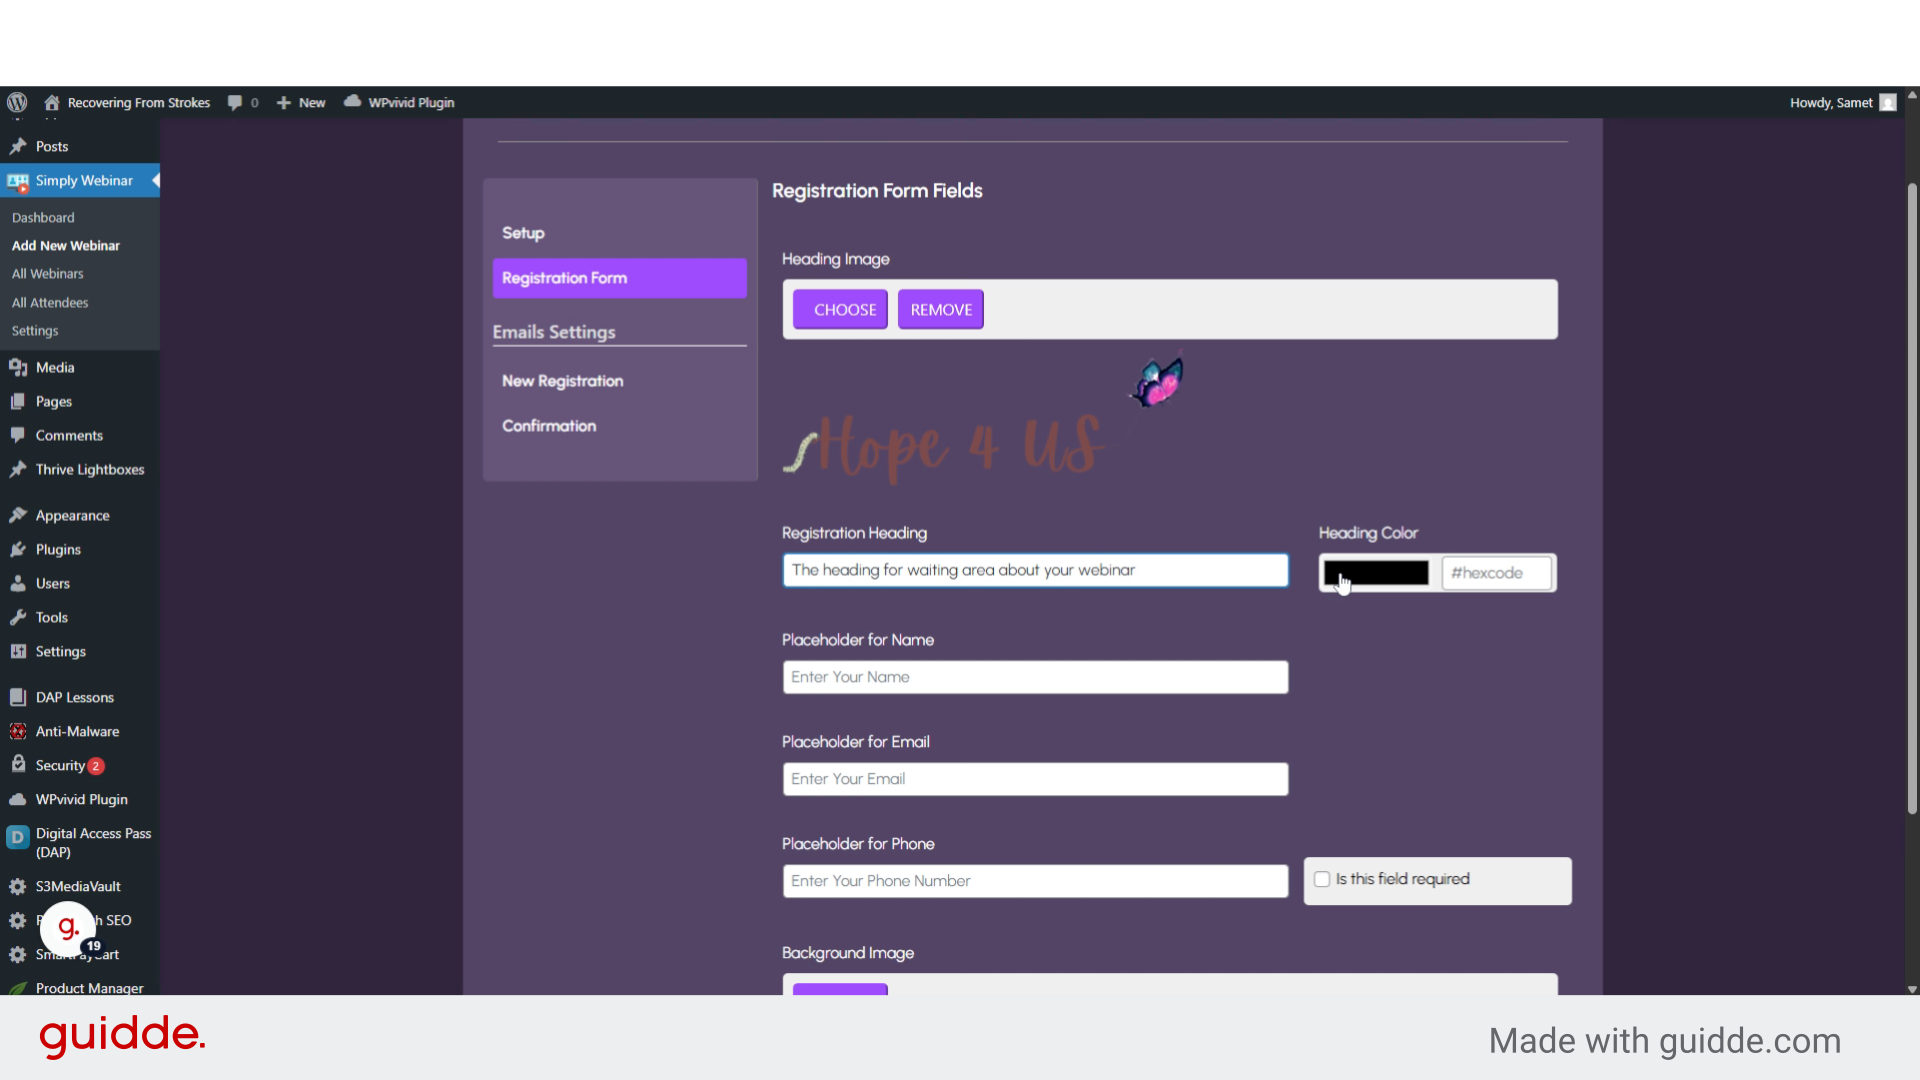
23. Click “Heading ImageCHOOSEREMOVE”
Navigate to the “Heading ImageCHOOSEREMOVE” section 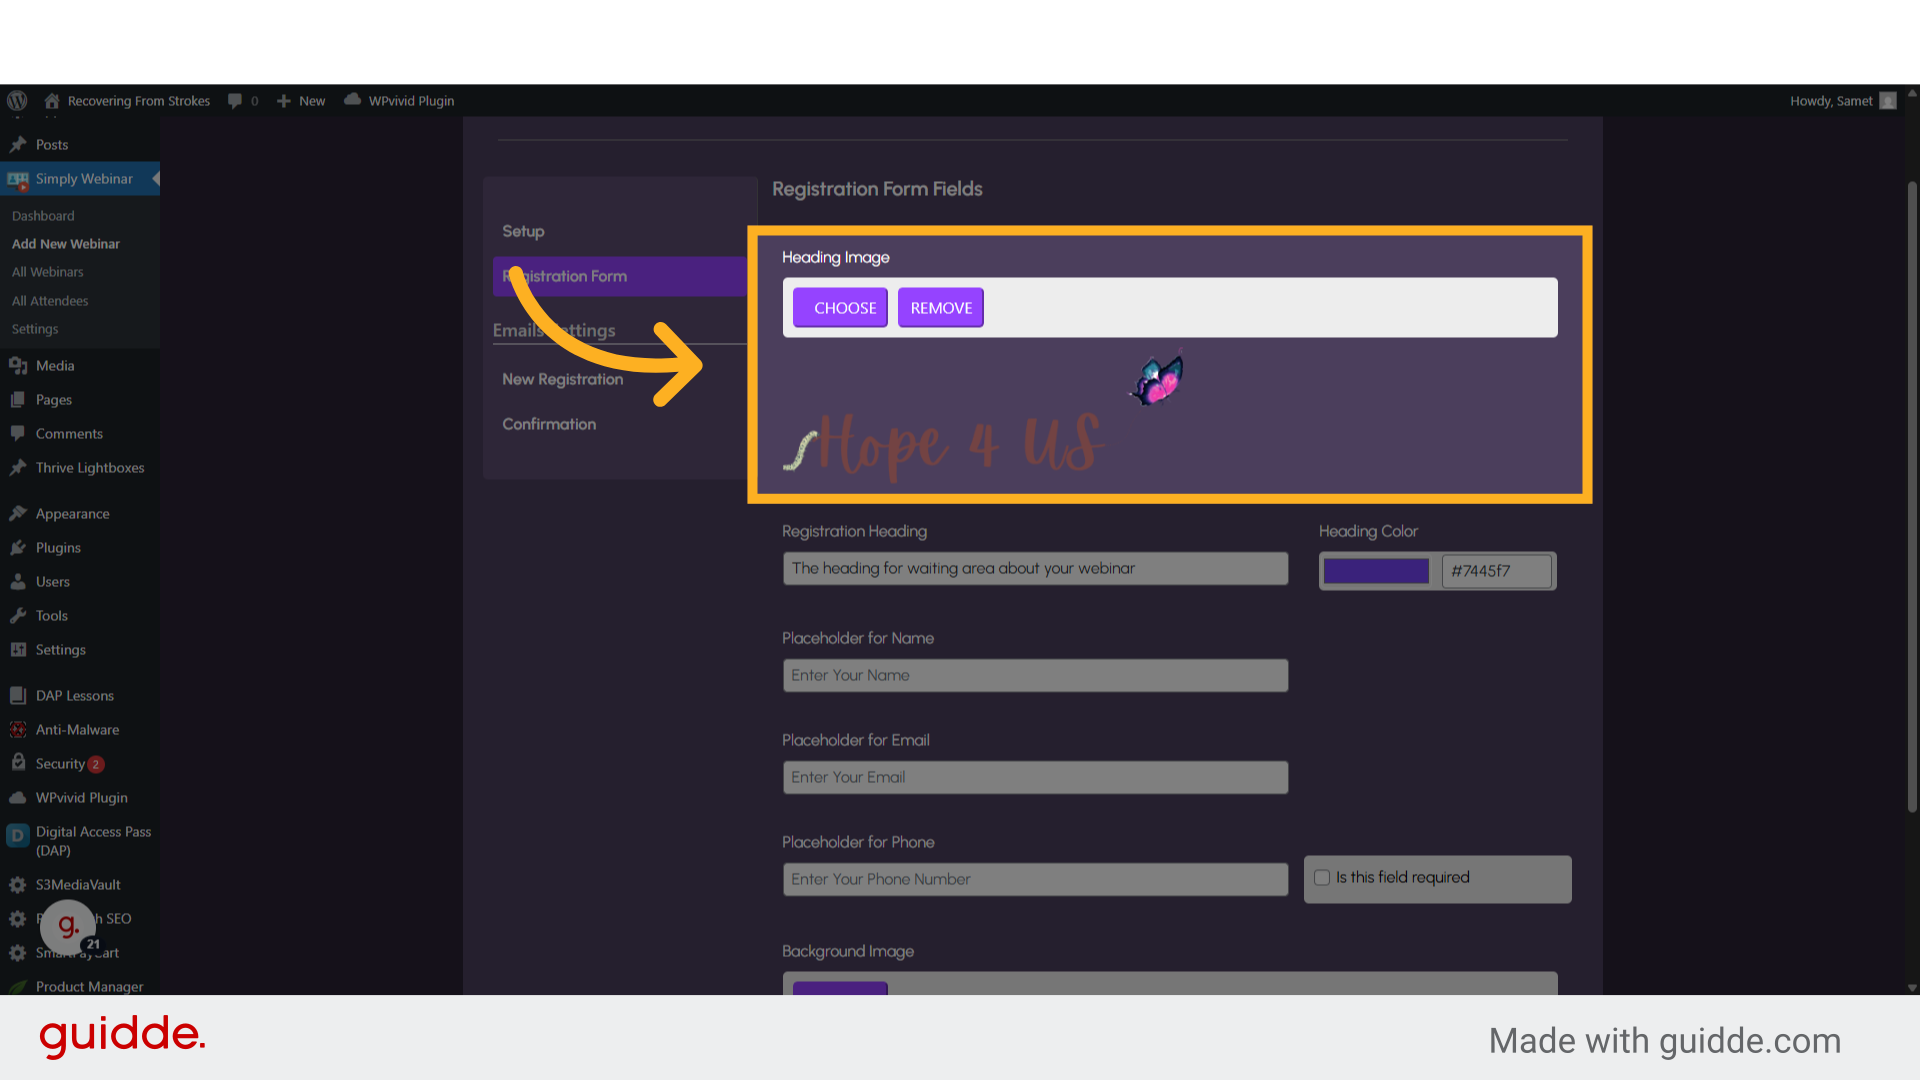
24. Click “Placeholder for Name”
You can change the placeholder of the name field. 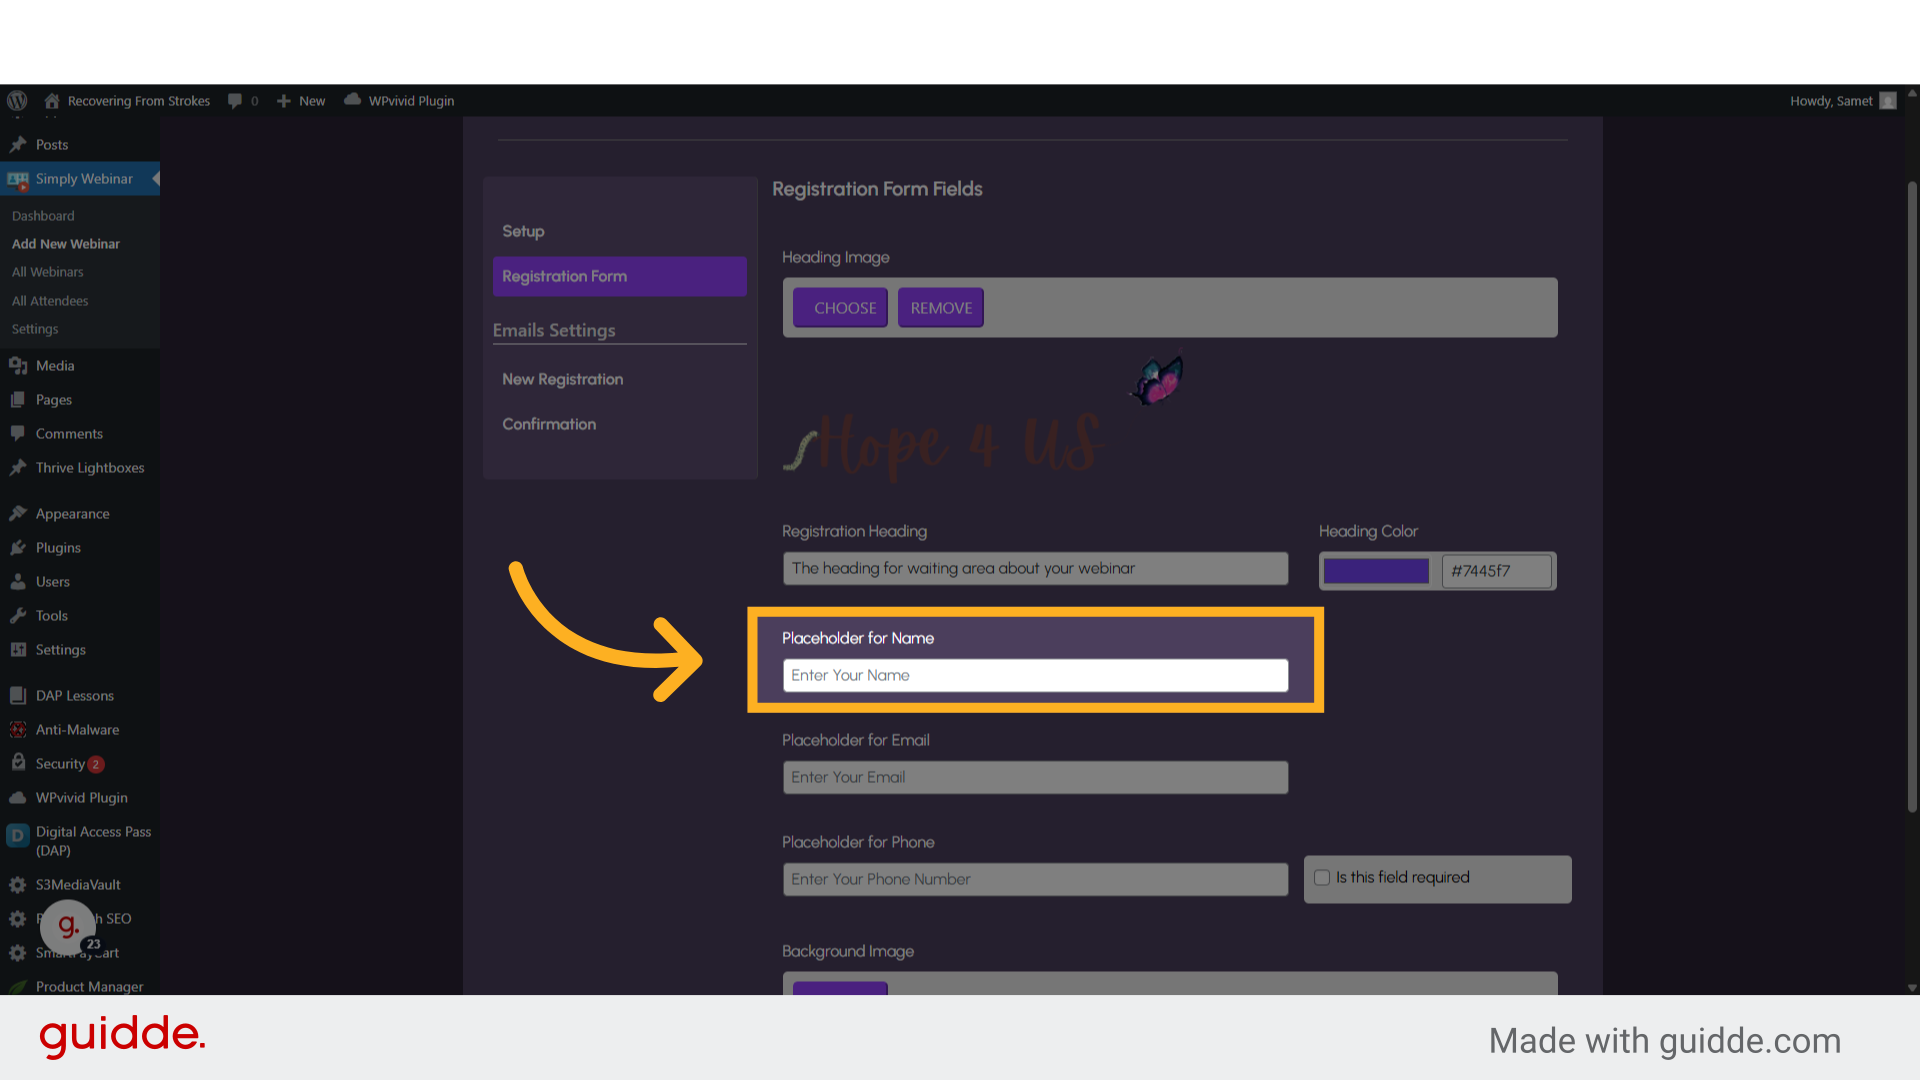
25. Click “Placeholder for Name”
Write suitable text for the placeholder 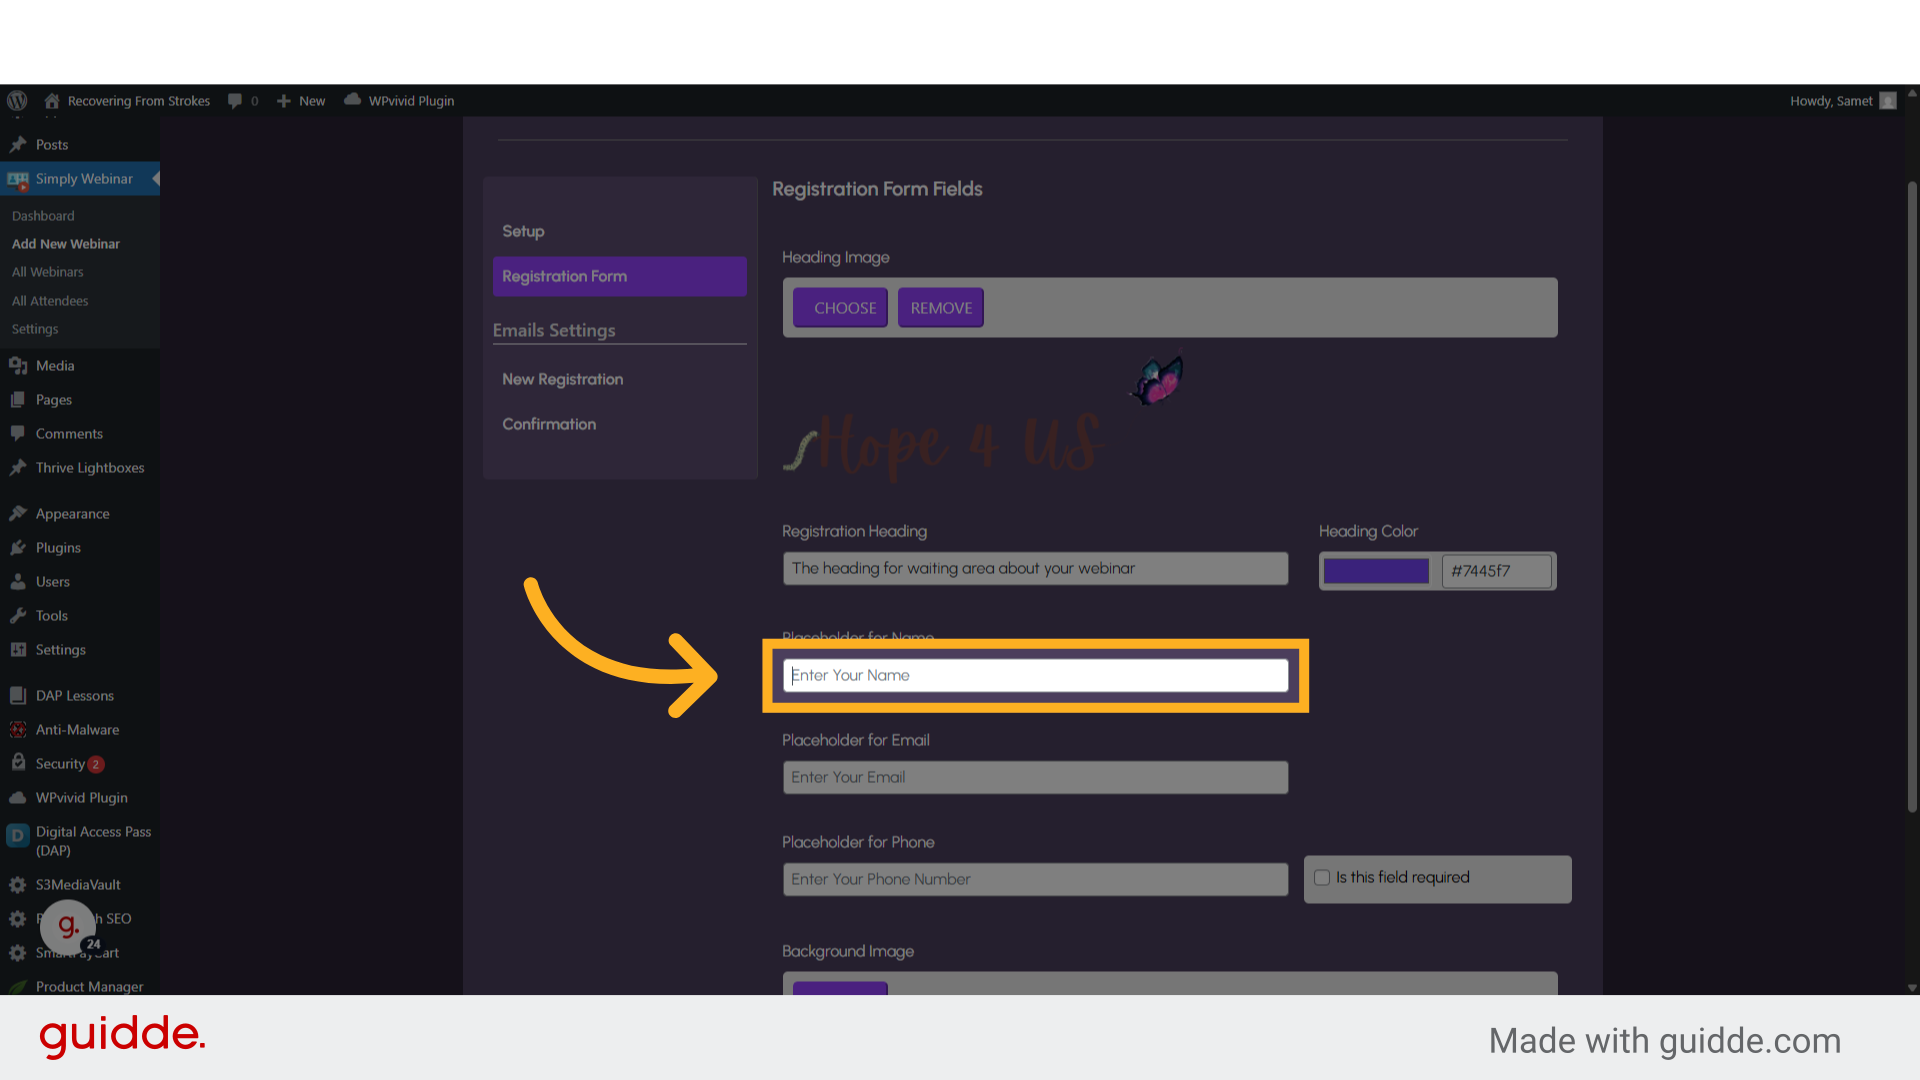
26. Fill “Enter fullname”
Submit “Enter fullname” in the appropriate field 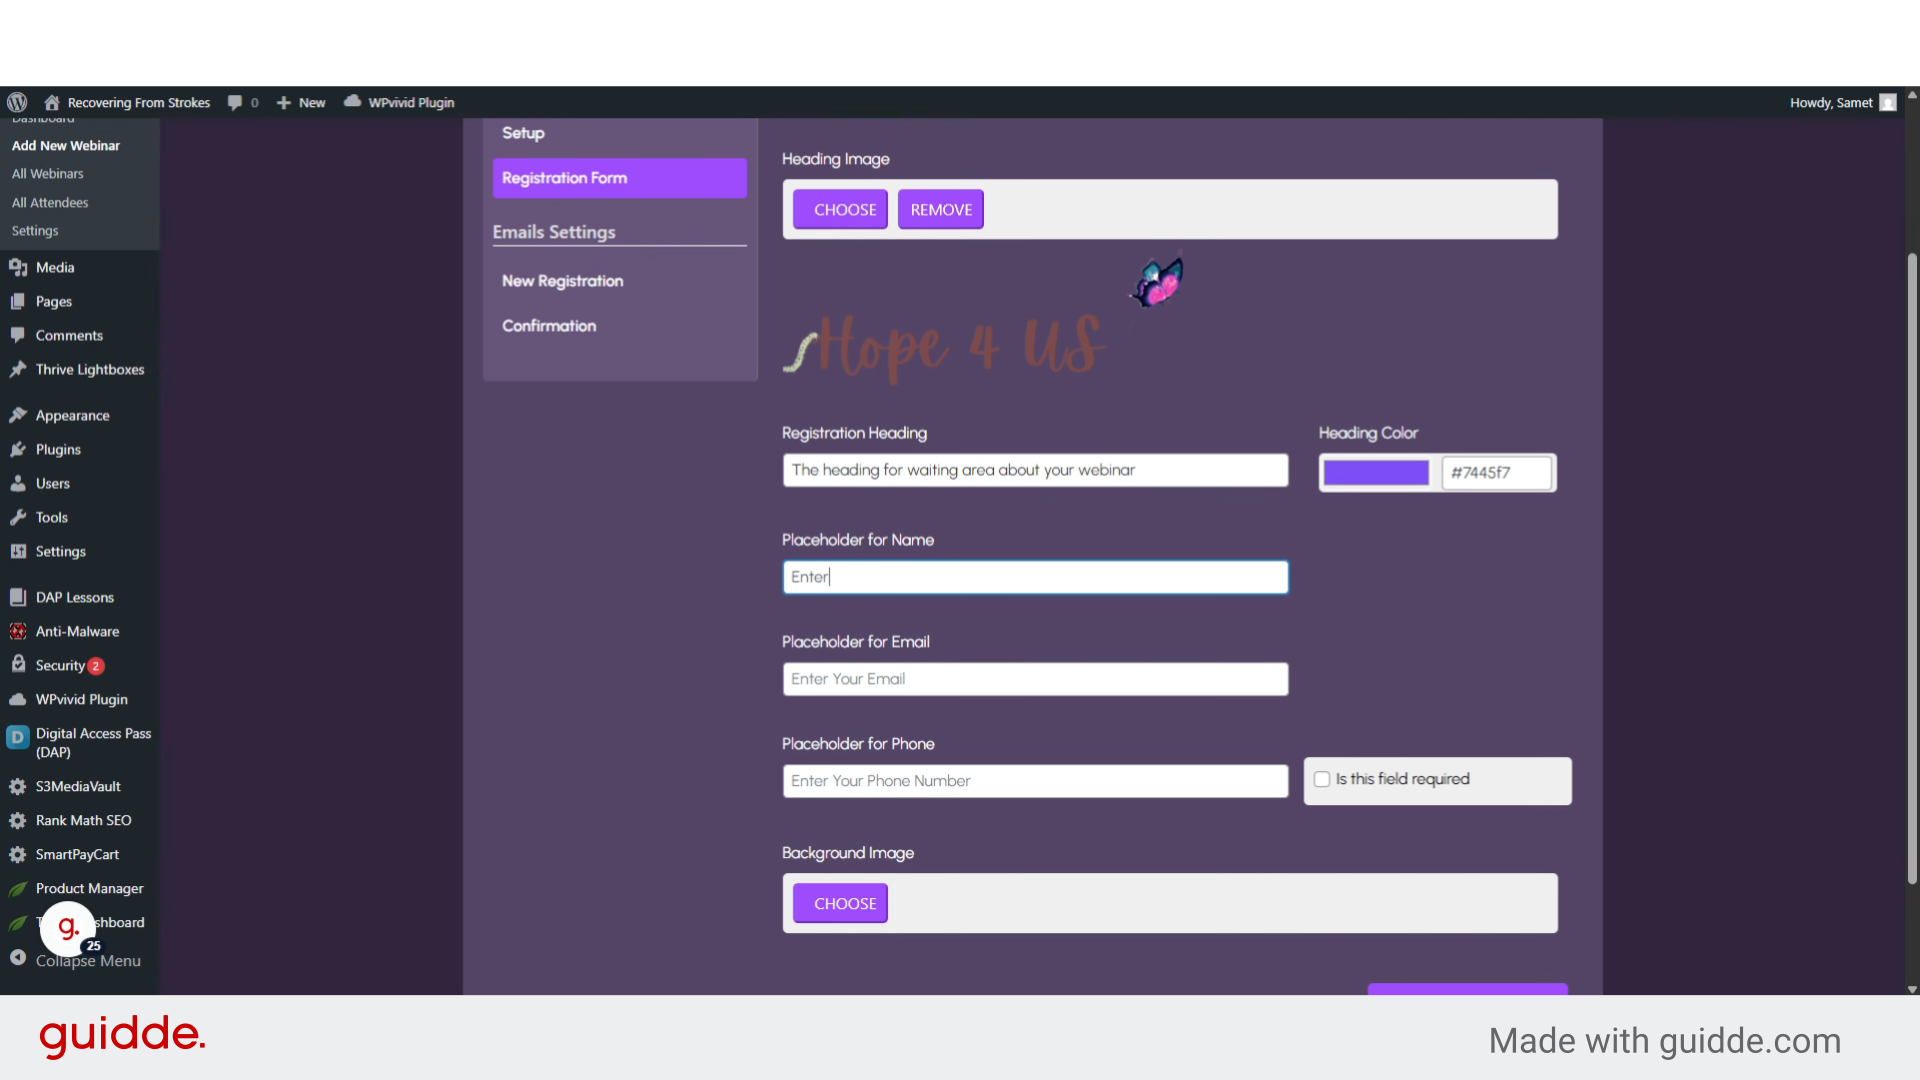
27. Click “Placeholder for Email”
You can change the placeholder of the email field too. 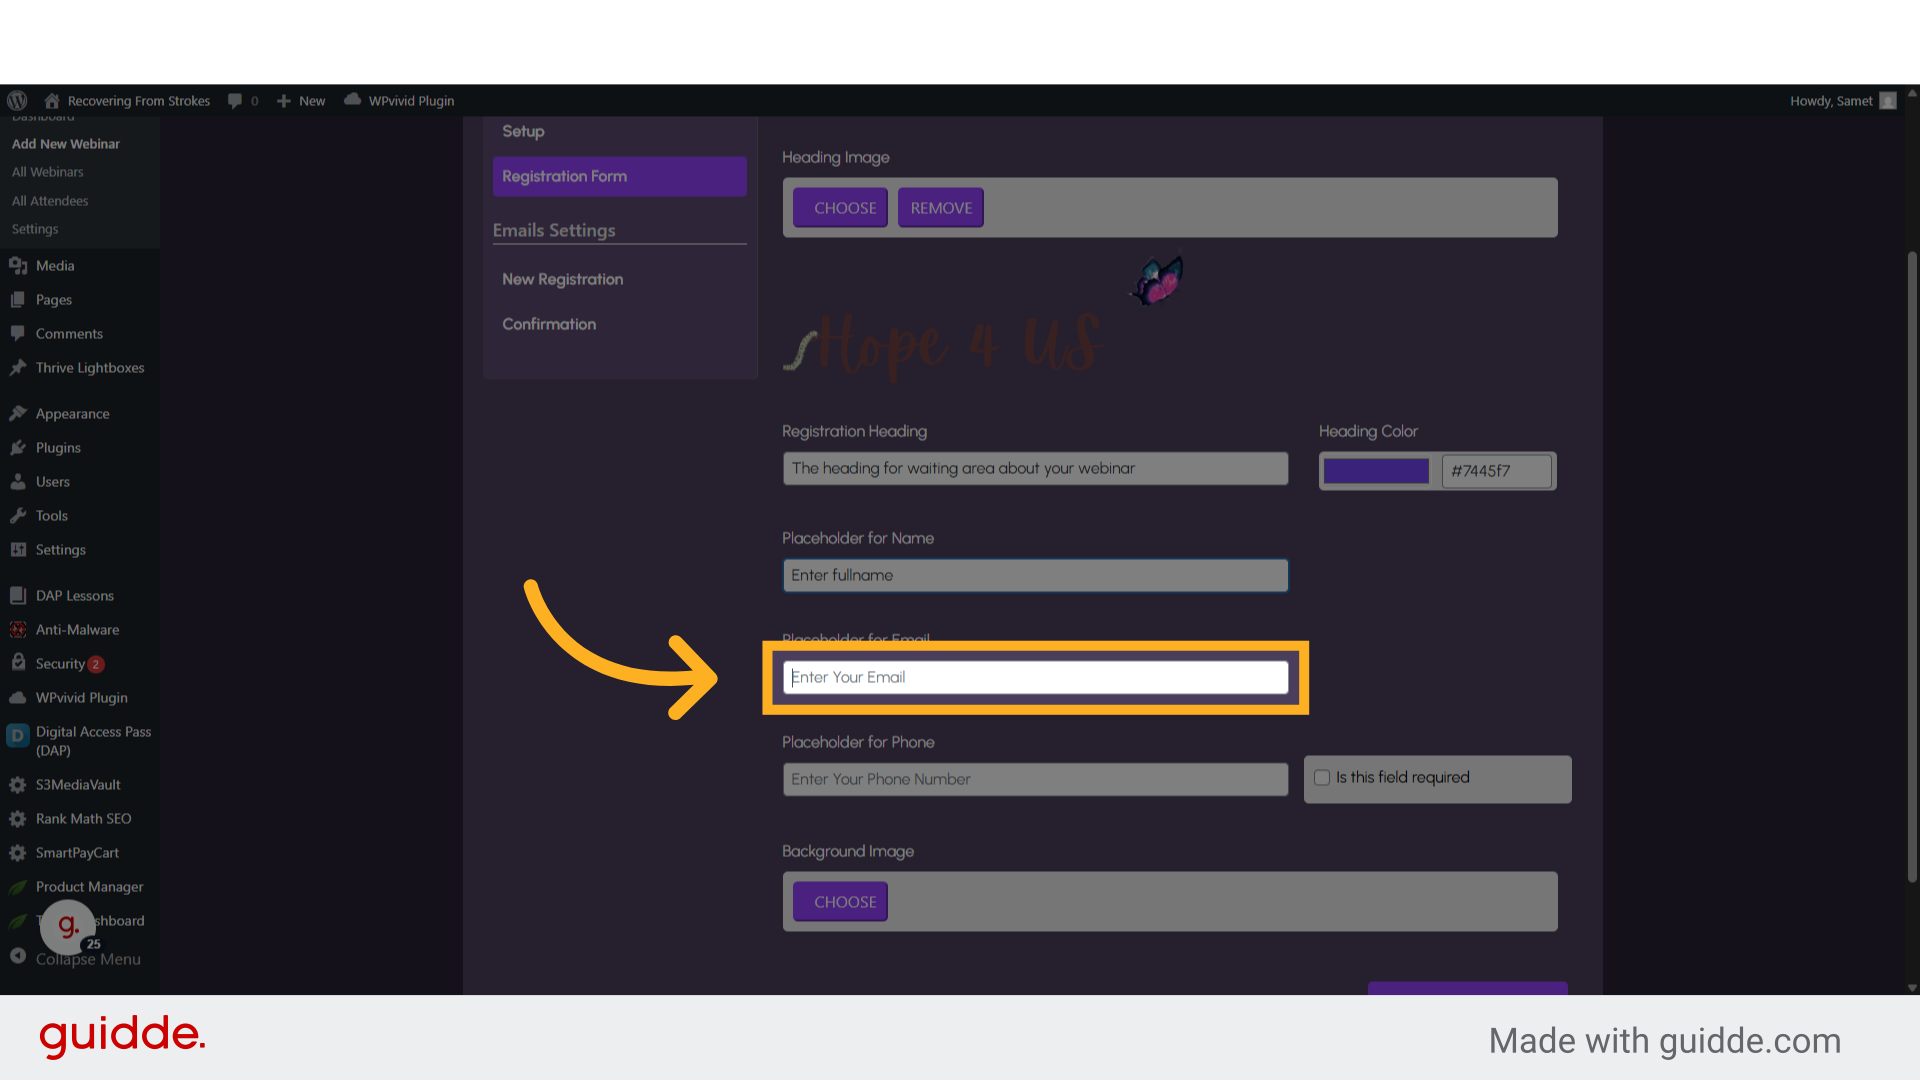
28. Fill “Enter valid email”
Input the desired text 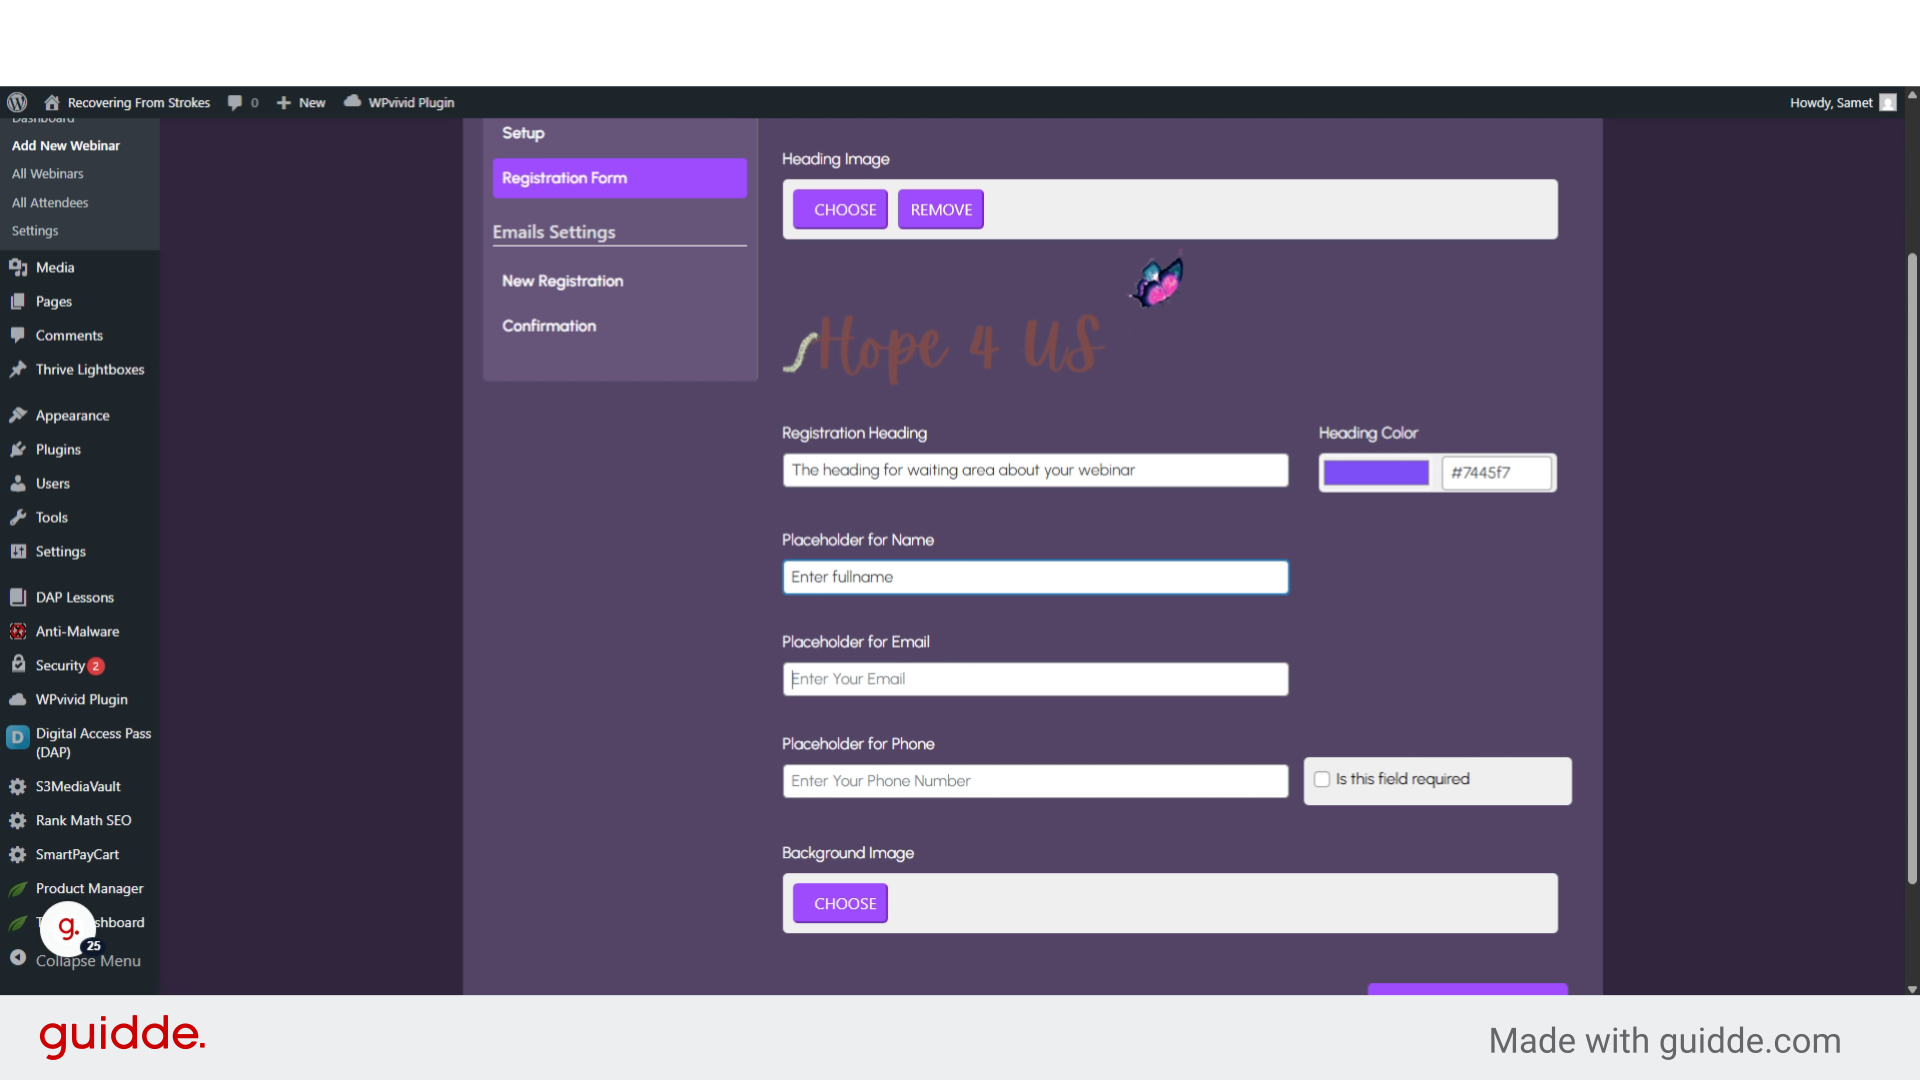
29. Click “Placeholder for Phone”
Select the “Placeholder for Phone” option to change the placeholder of the phone field. 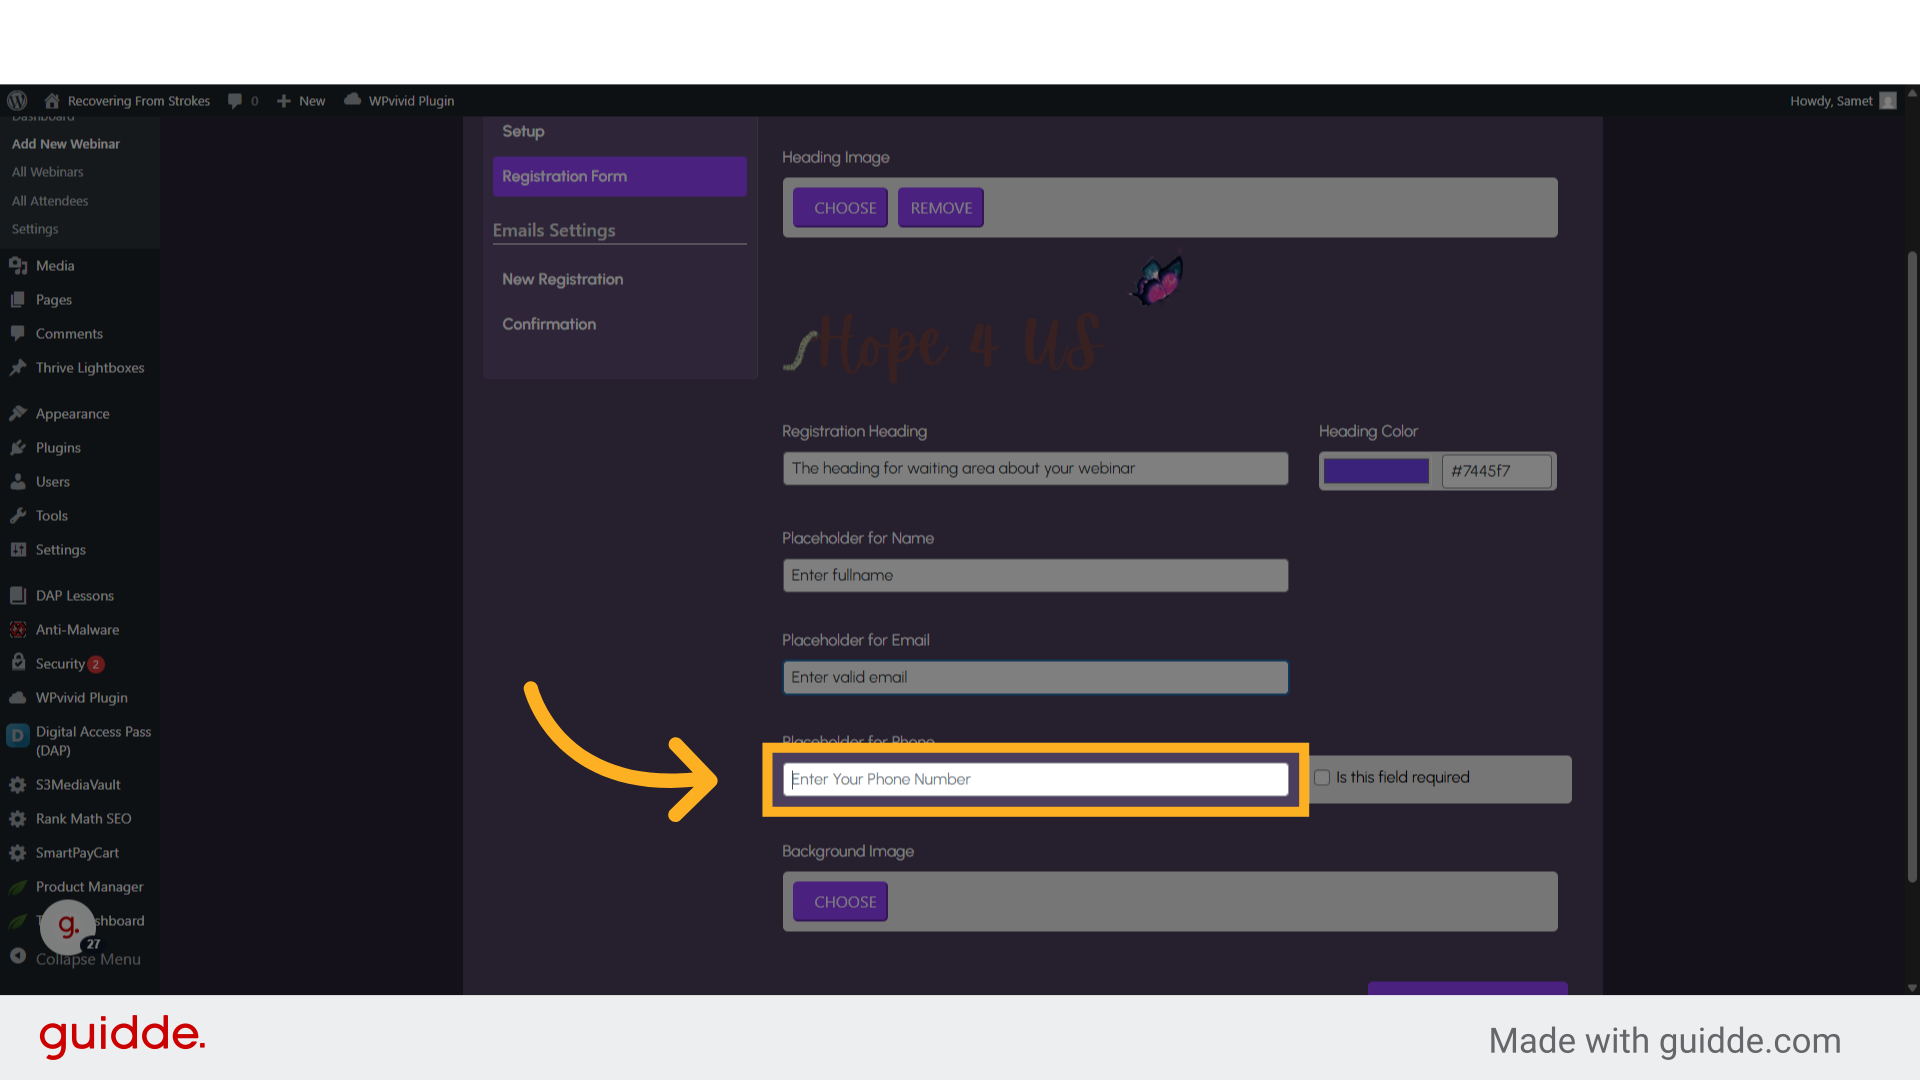
30. Fill “Enter mobile number”
Write your desired text. 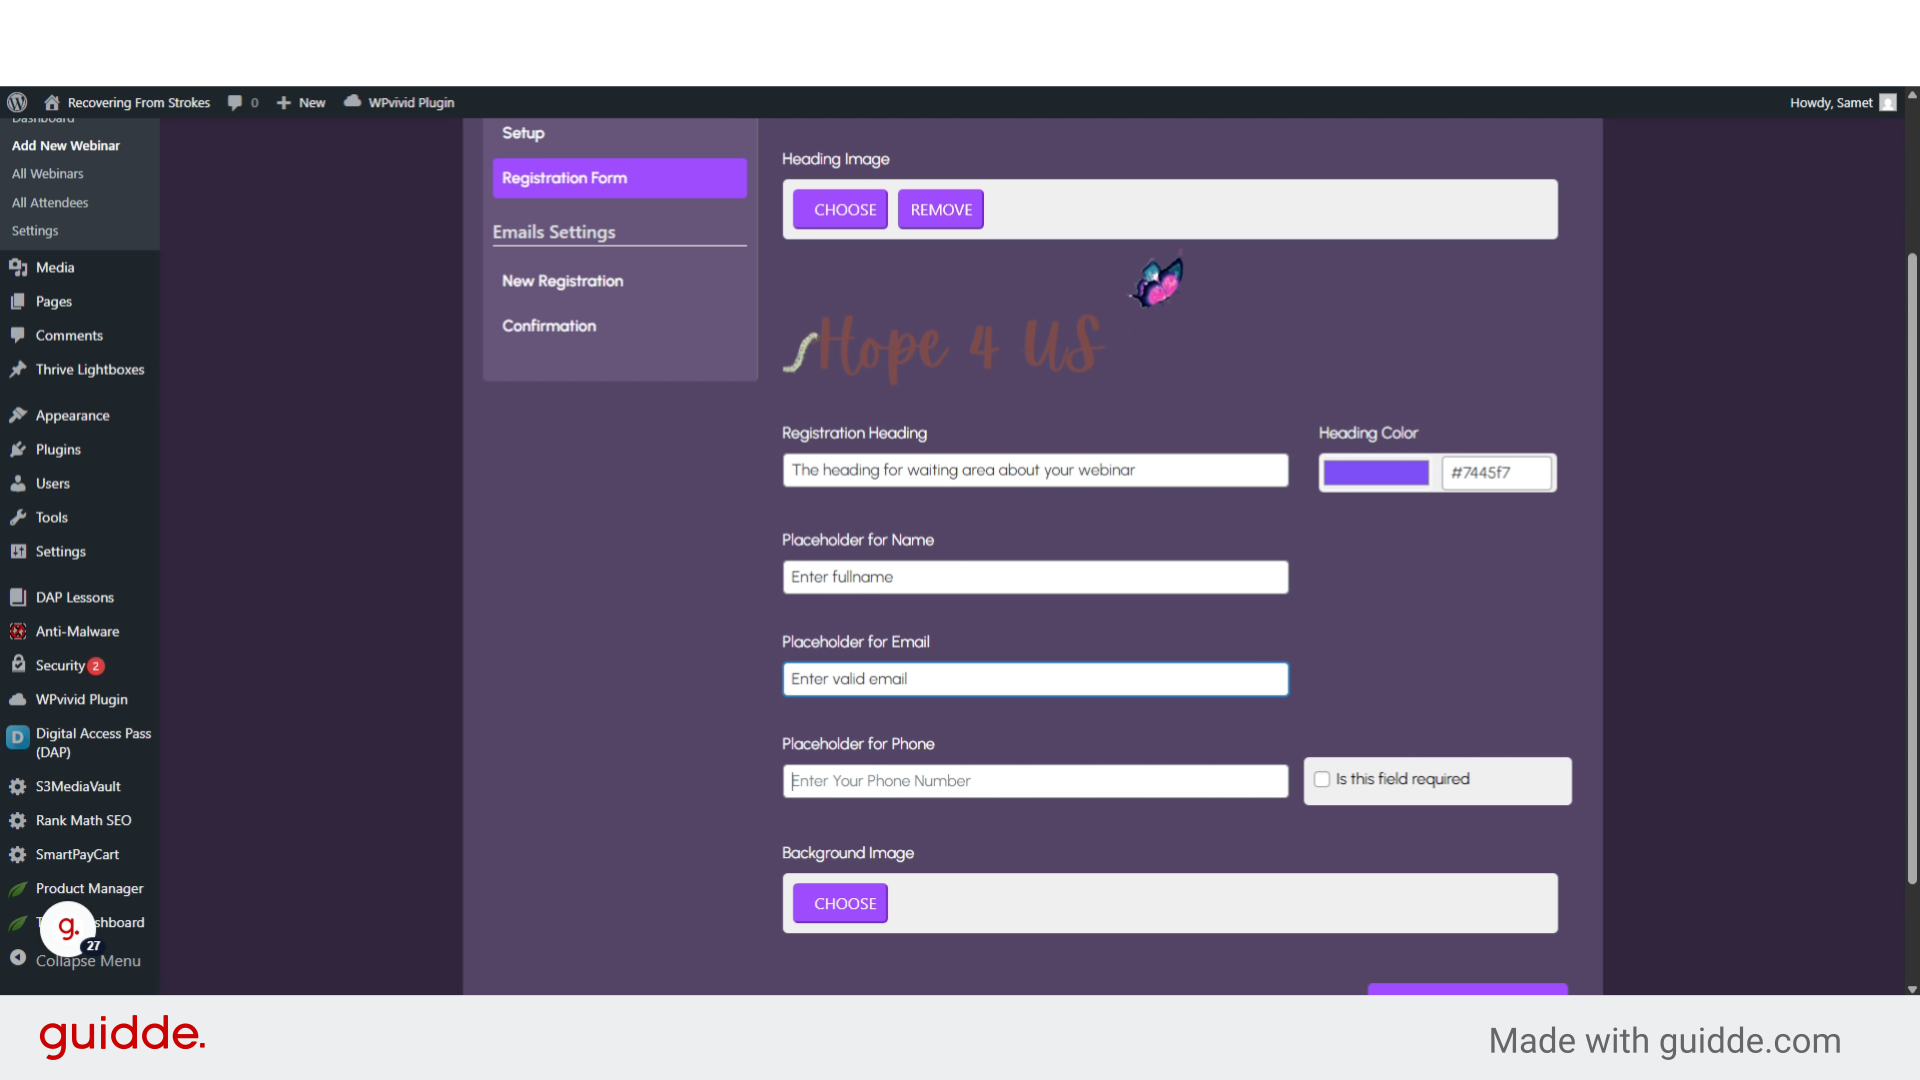
31. Click “Is this field required”
You can choose if the phone field should be required or not 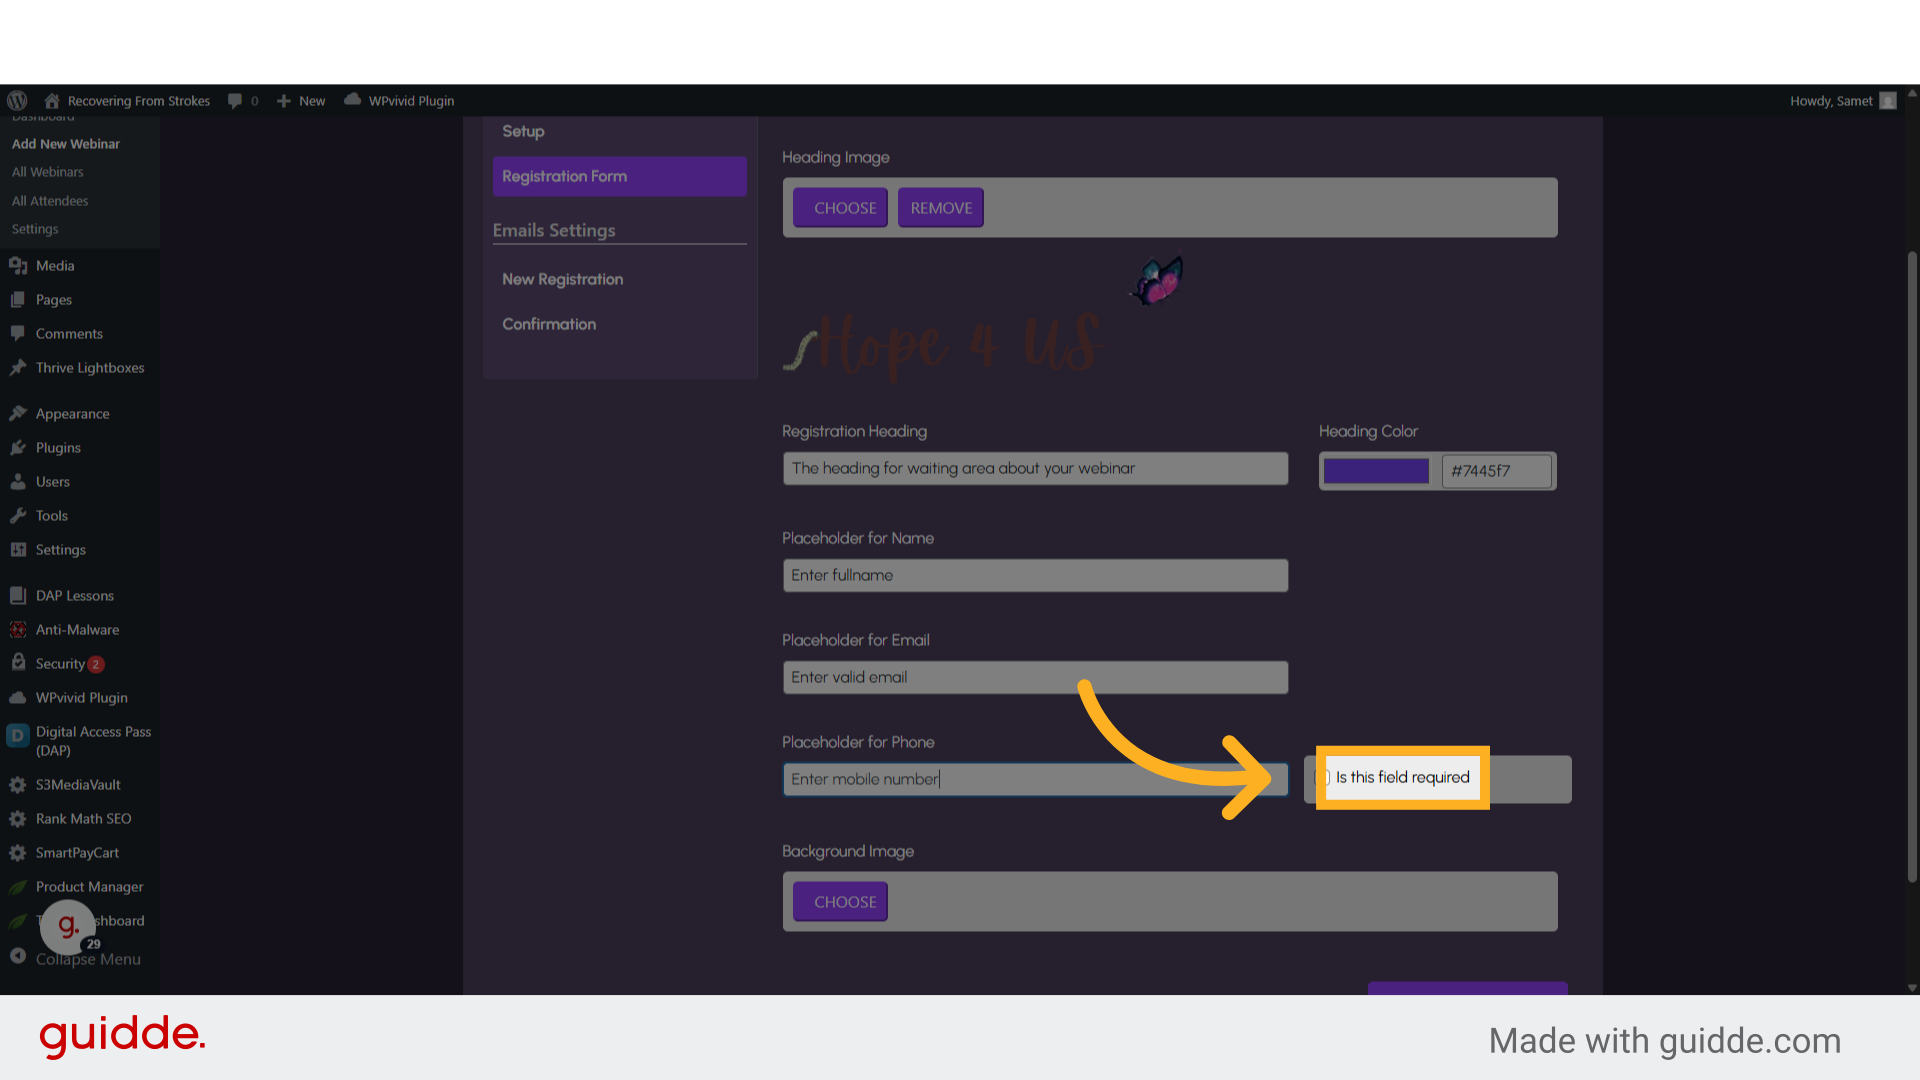
32. Fill “1”
Fill in “1” 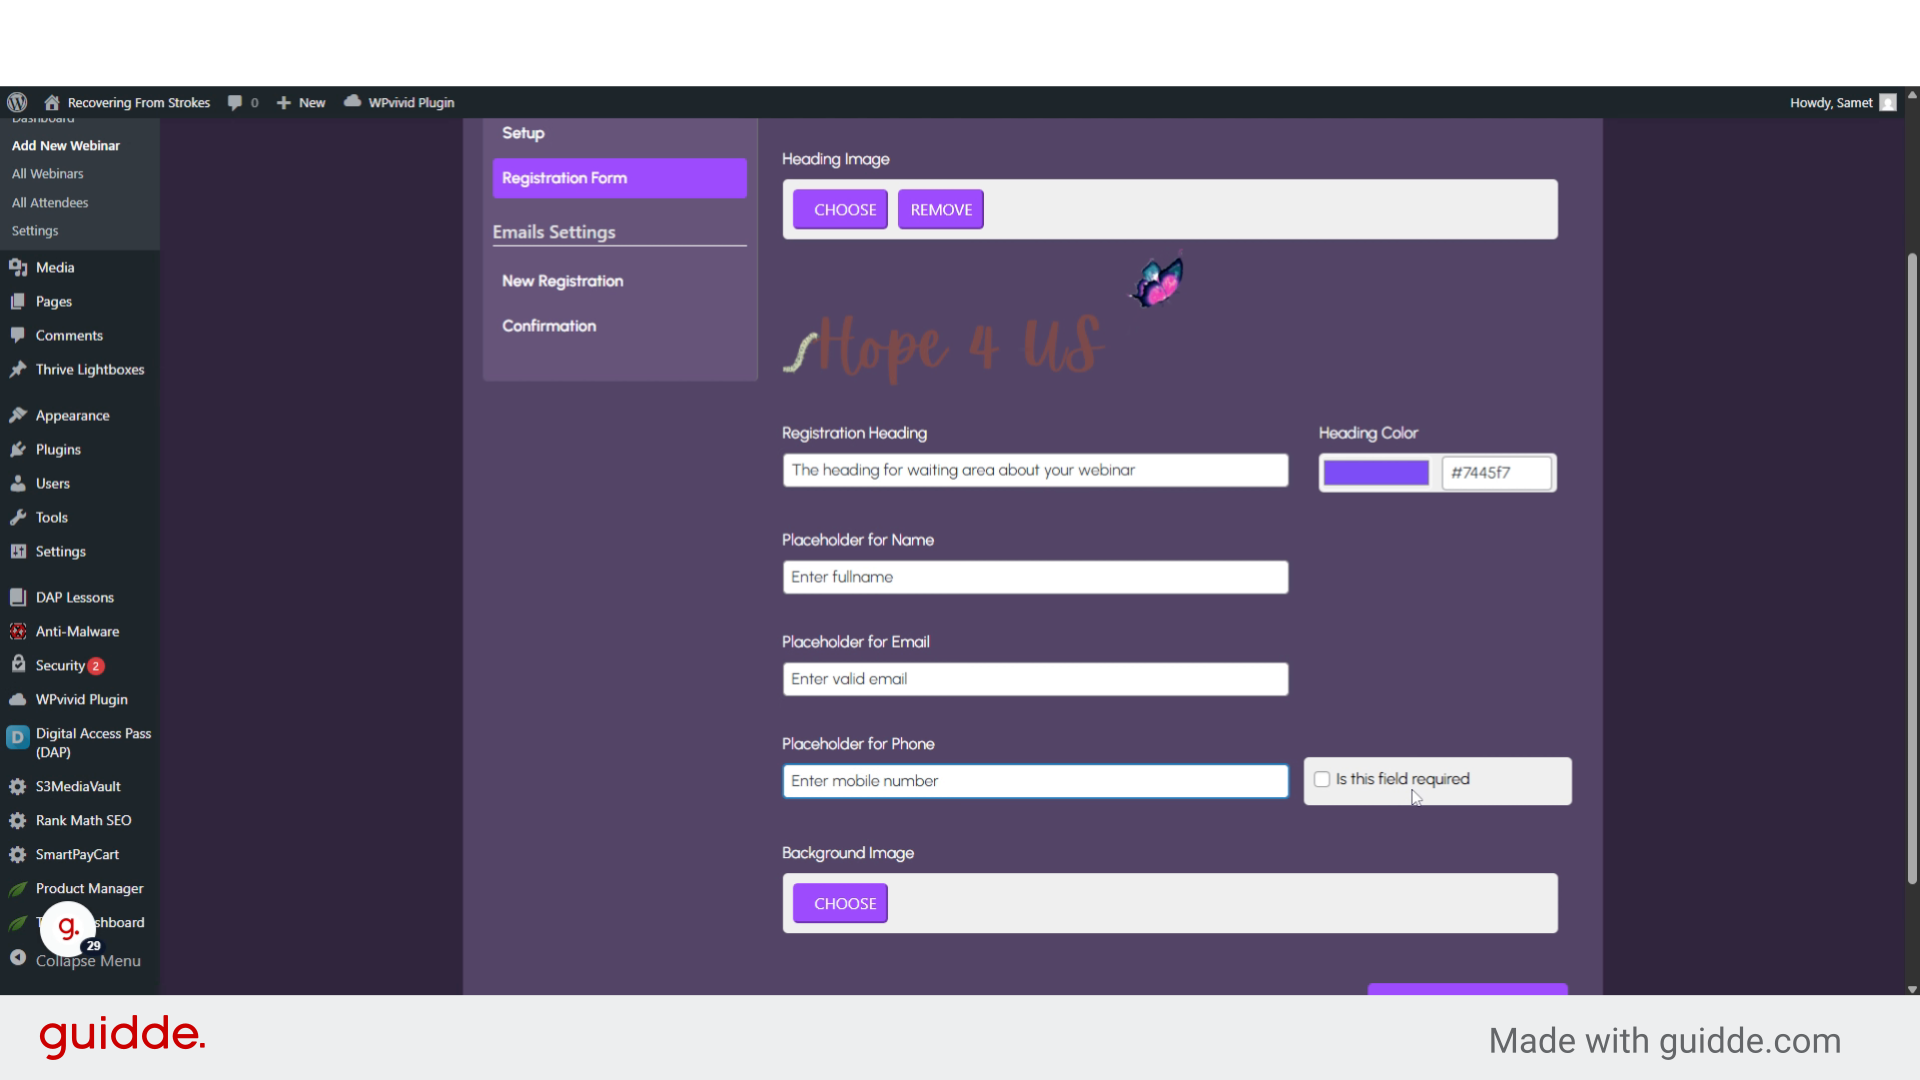
33. Click “CHOOSE”
You can change the registration form background color by Clicking on the “CHOOSE” field. 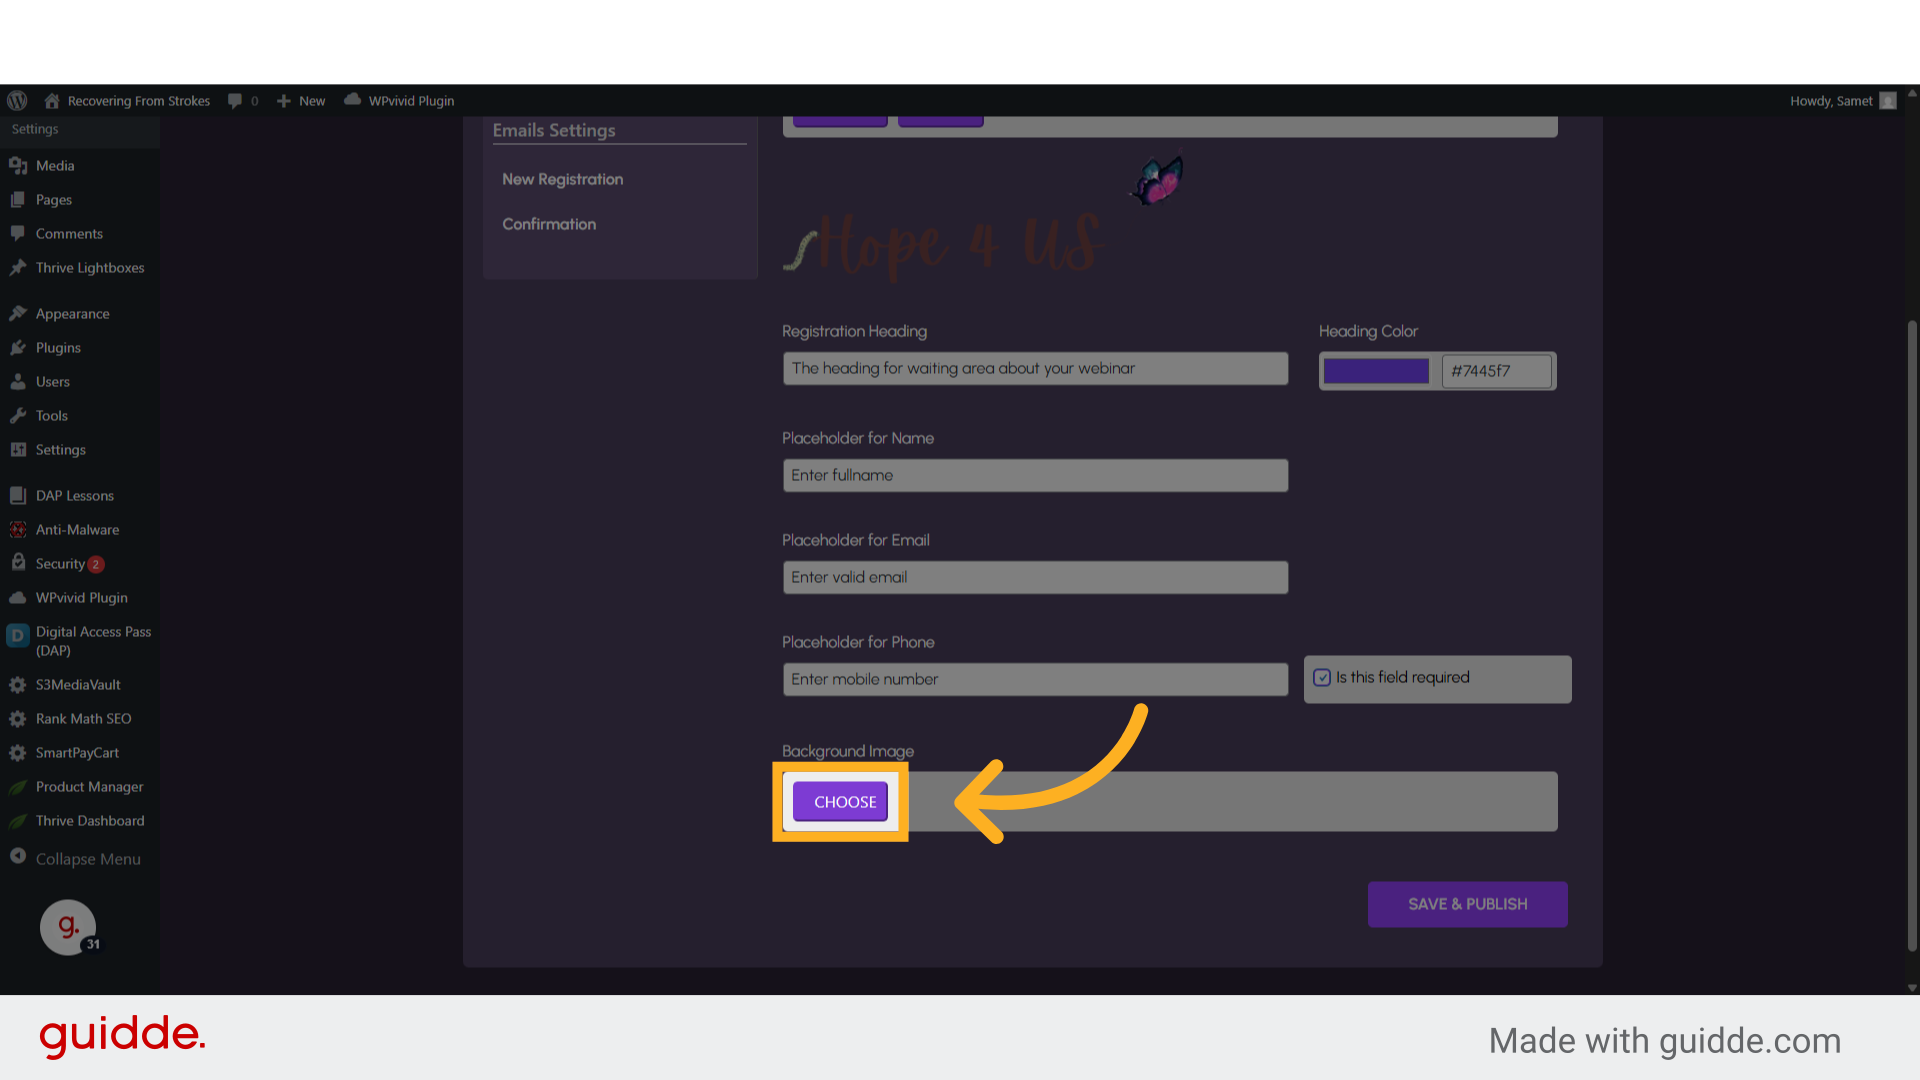
34. Click here
Choose any desire image 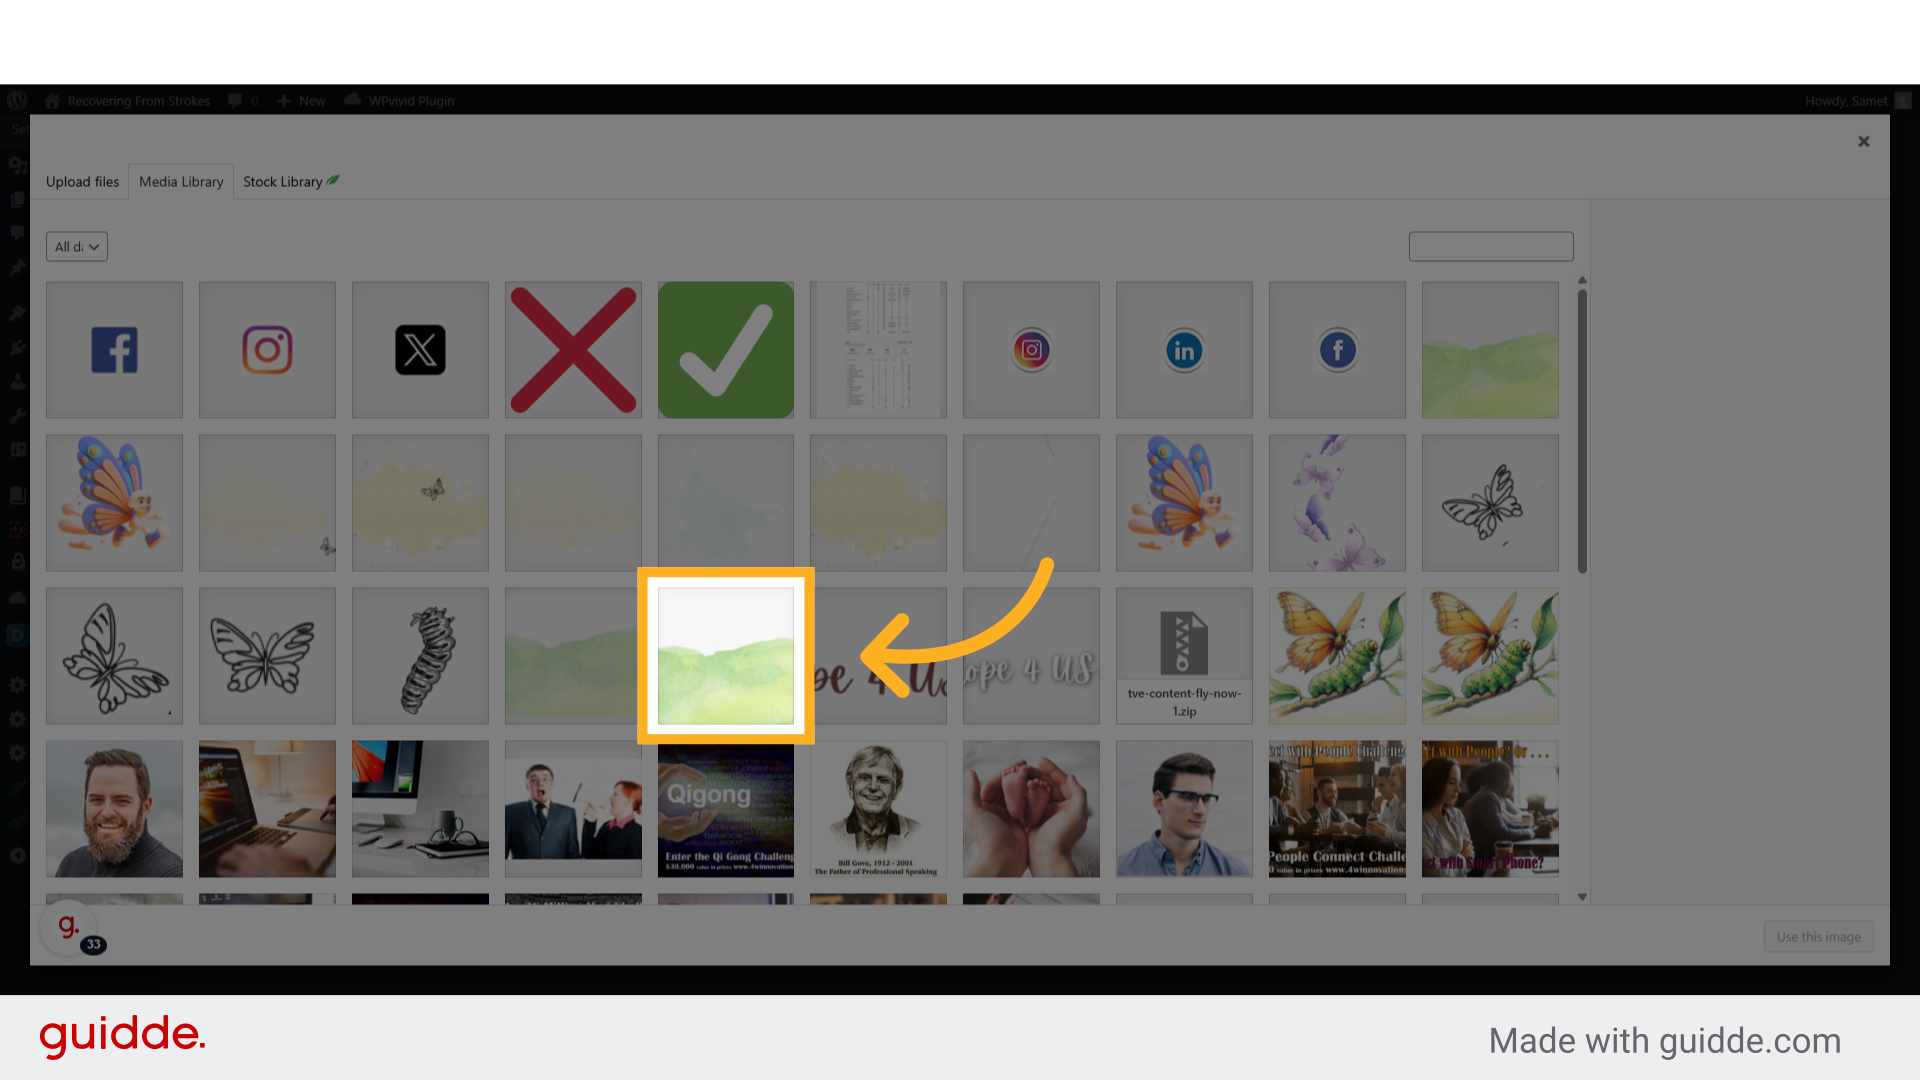
35. Click “Use this image”
Select the option to “Use this image” 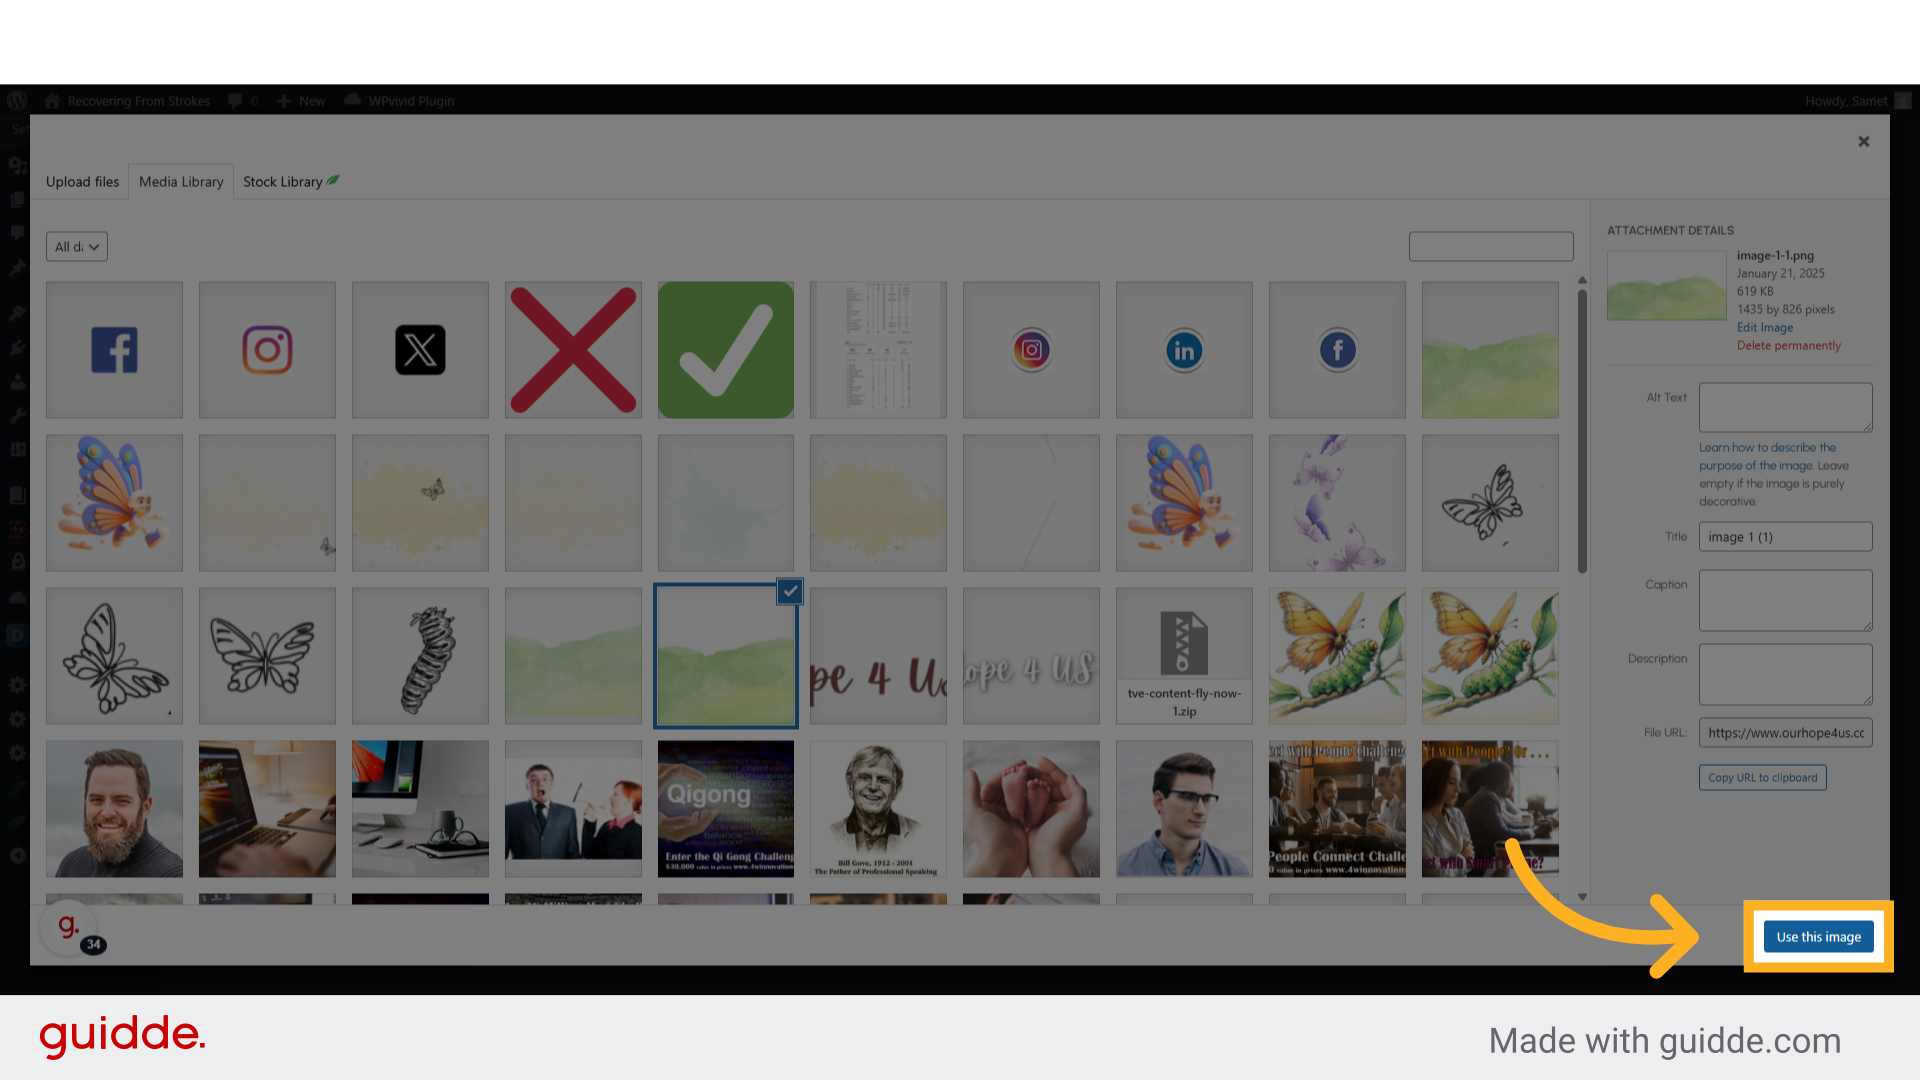
36. Click “New Registration”
Navigate to the “New Registration” section 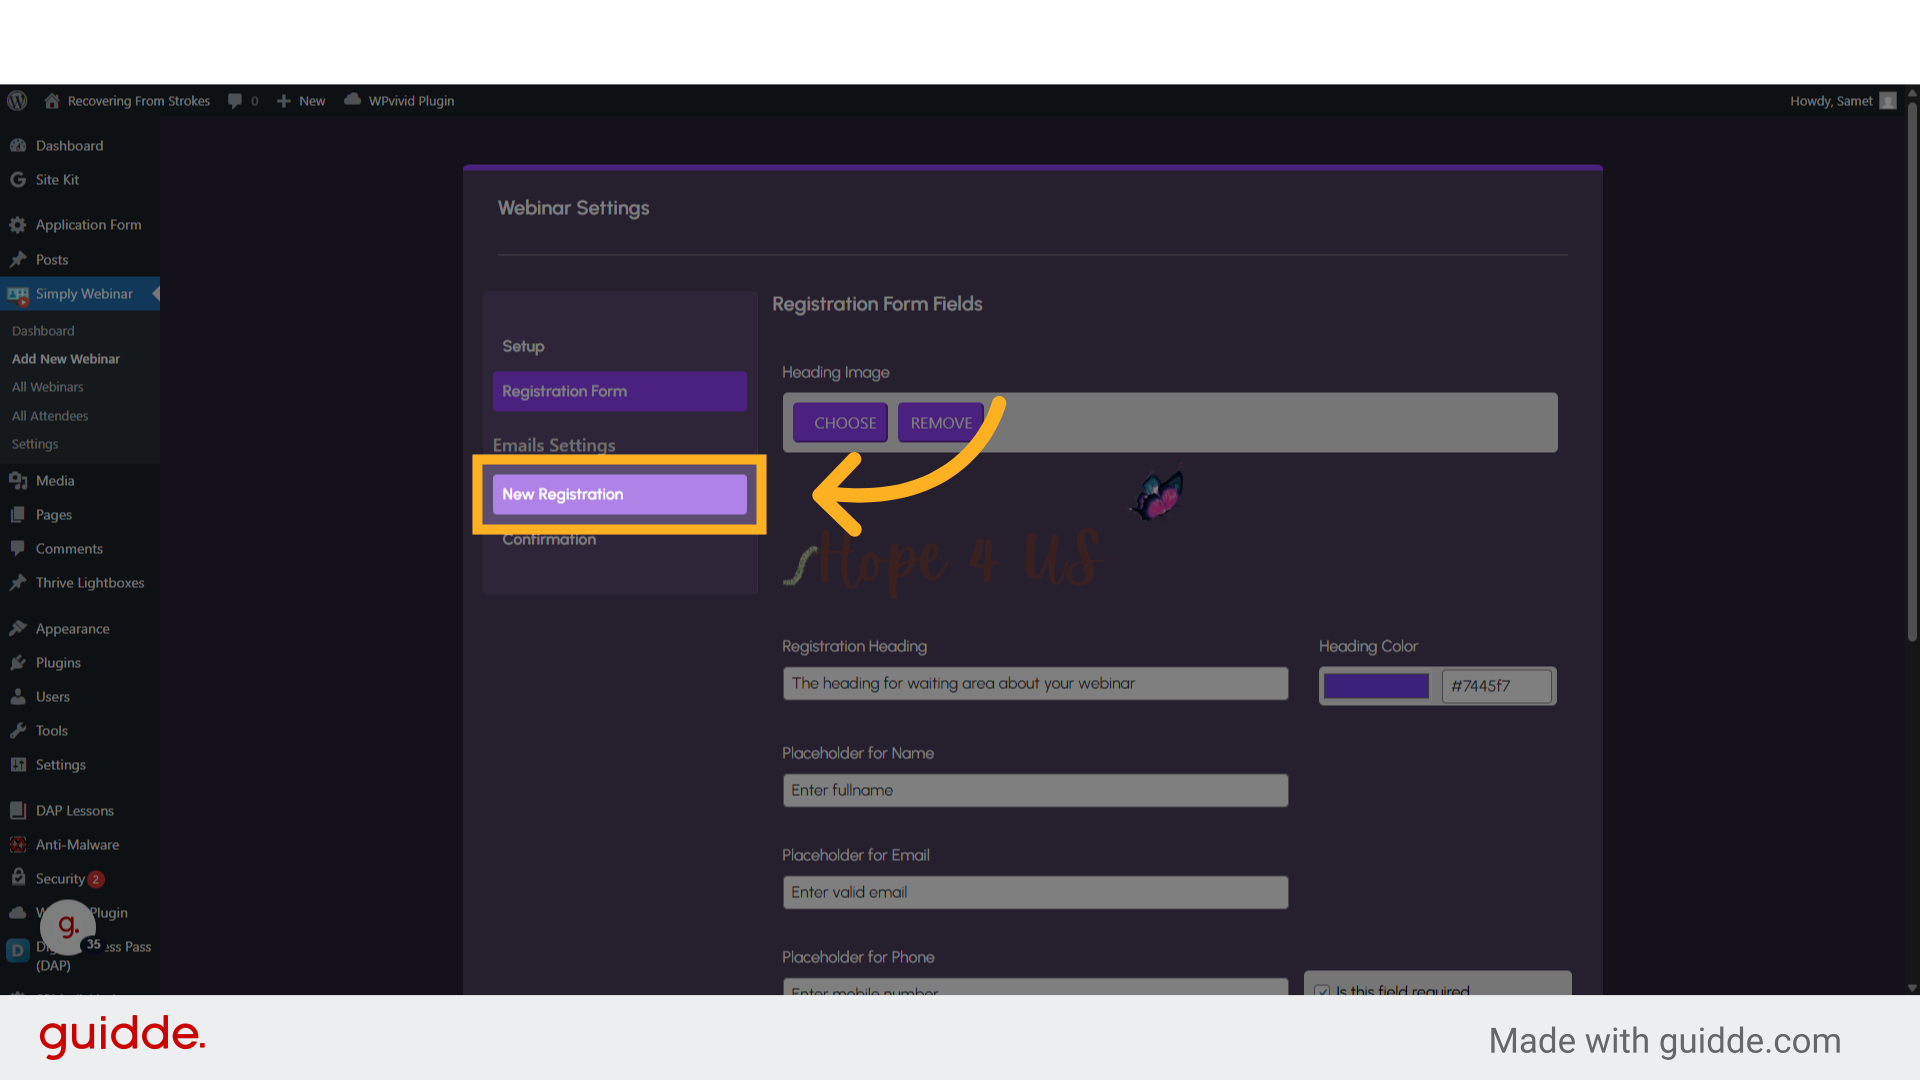
37. Click “No”
Here you can choose if you want to receive an email on a new registration, Change the toggle to Yes 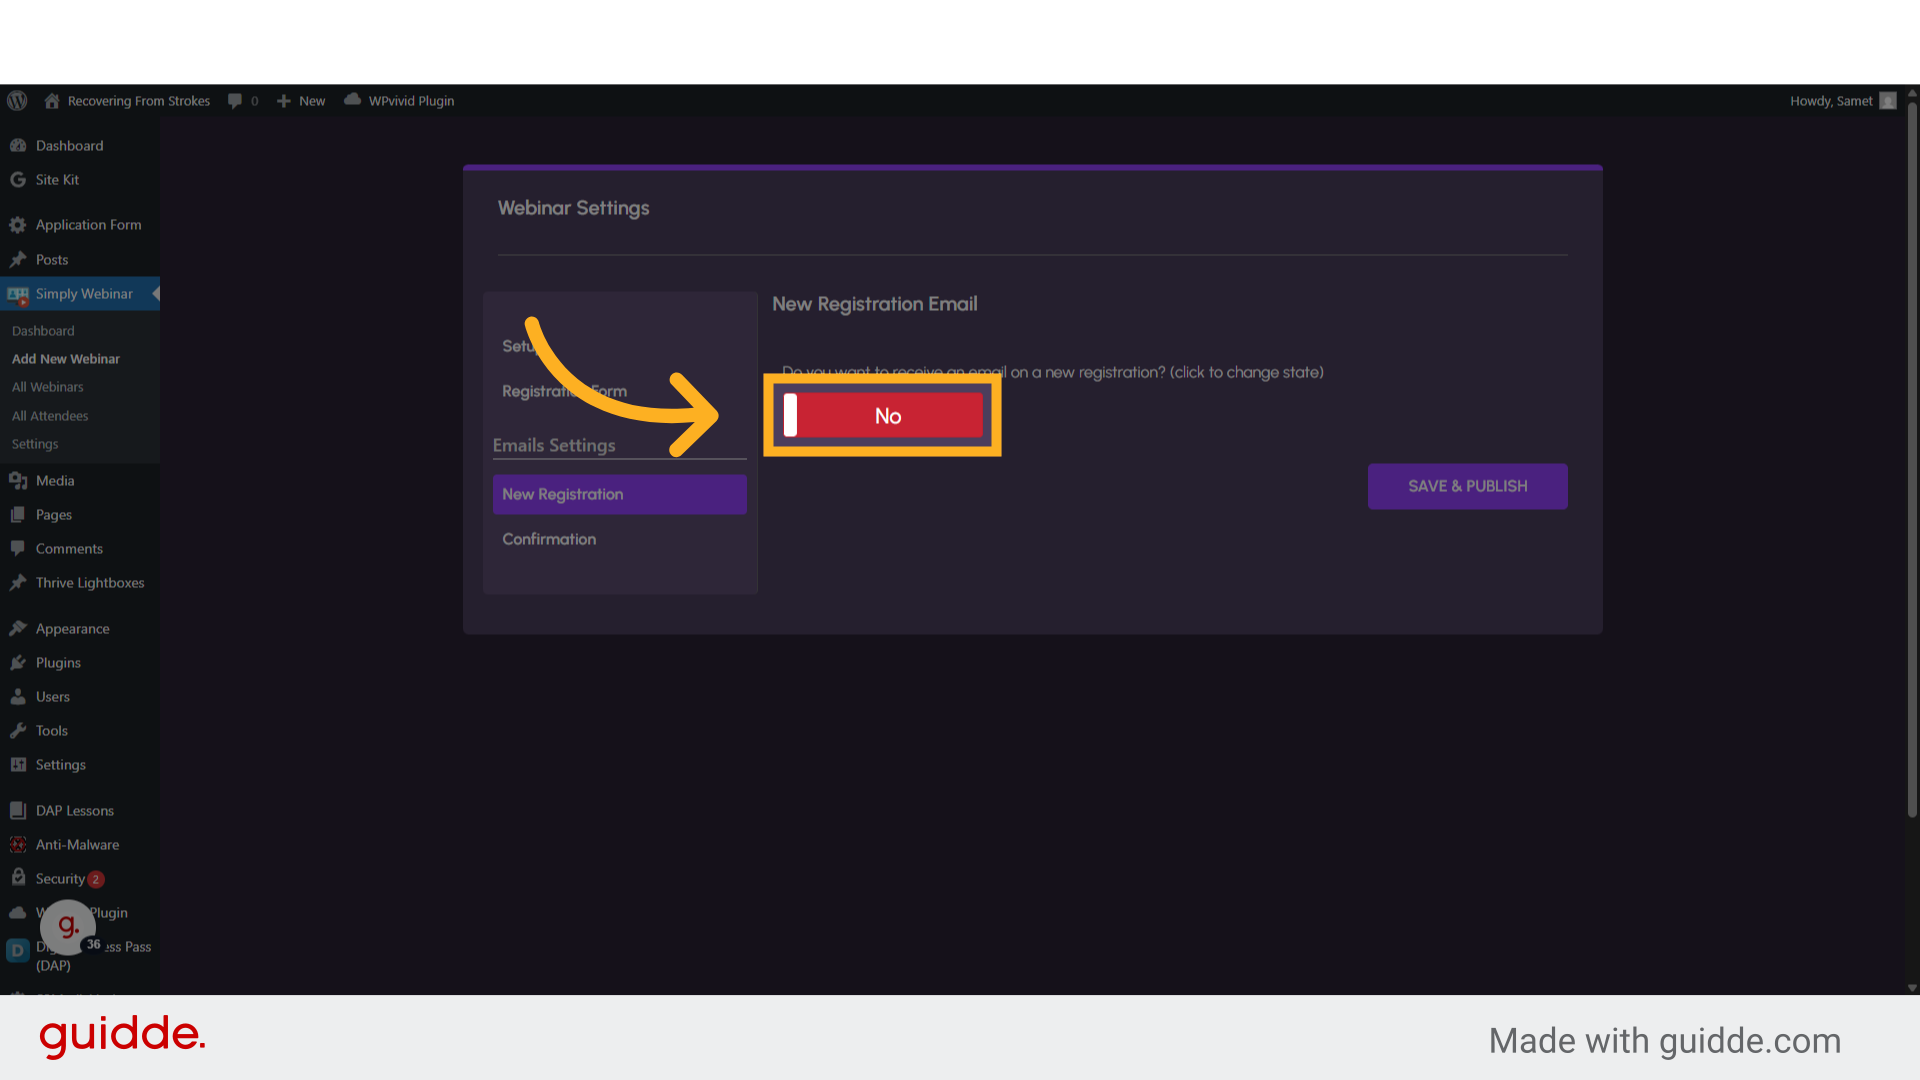
38. Click “Confirmation”
Click on “Confirmation” 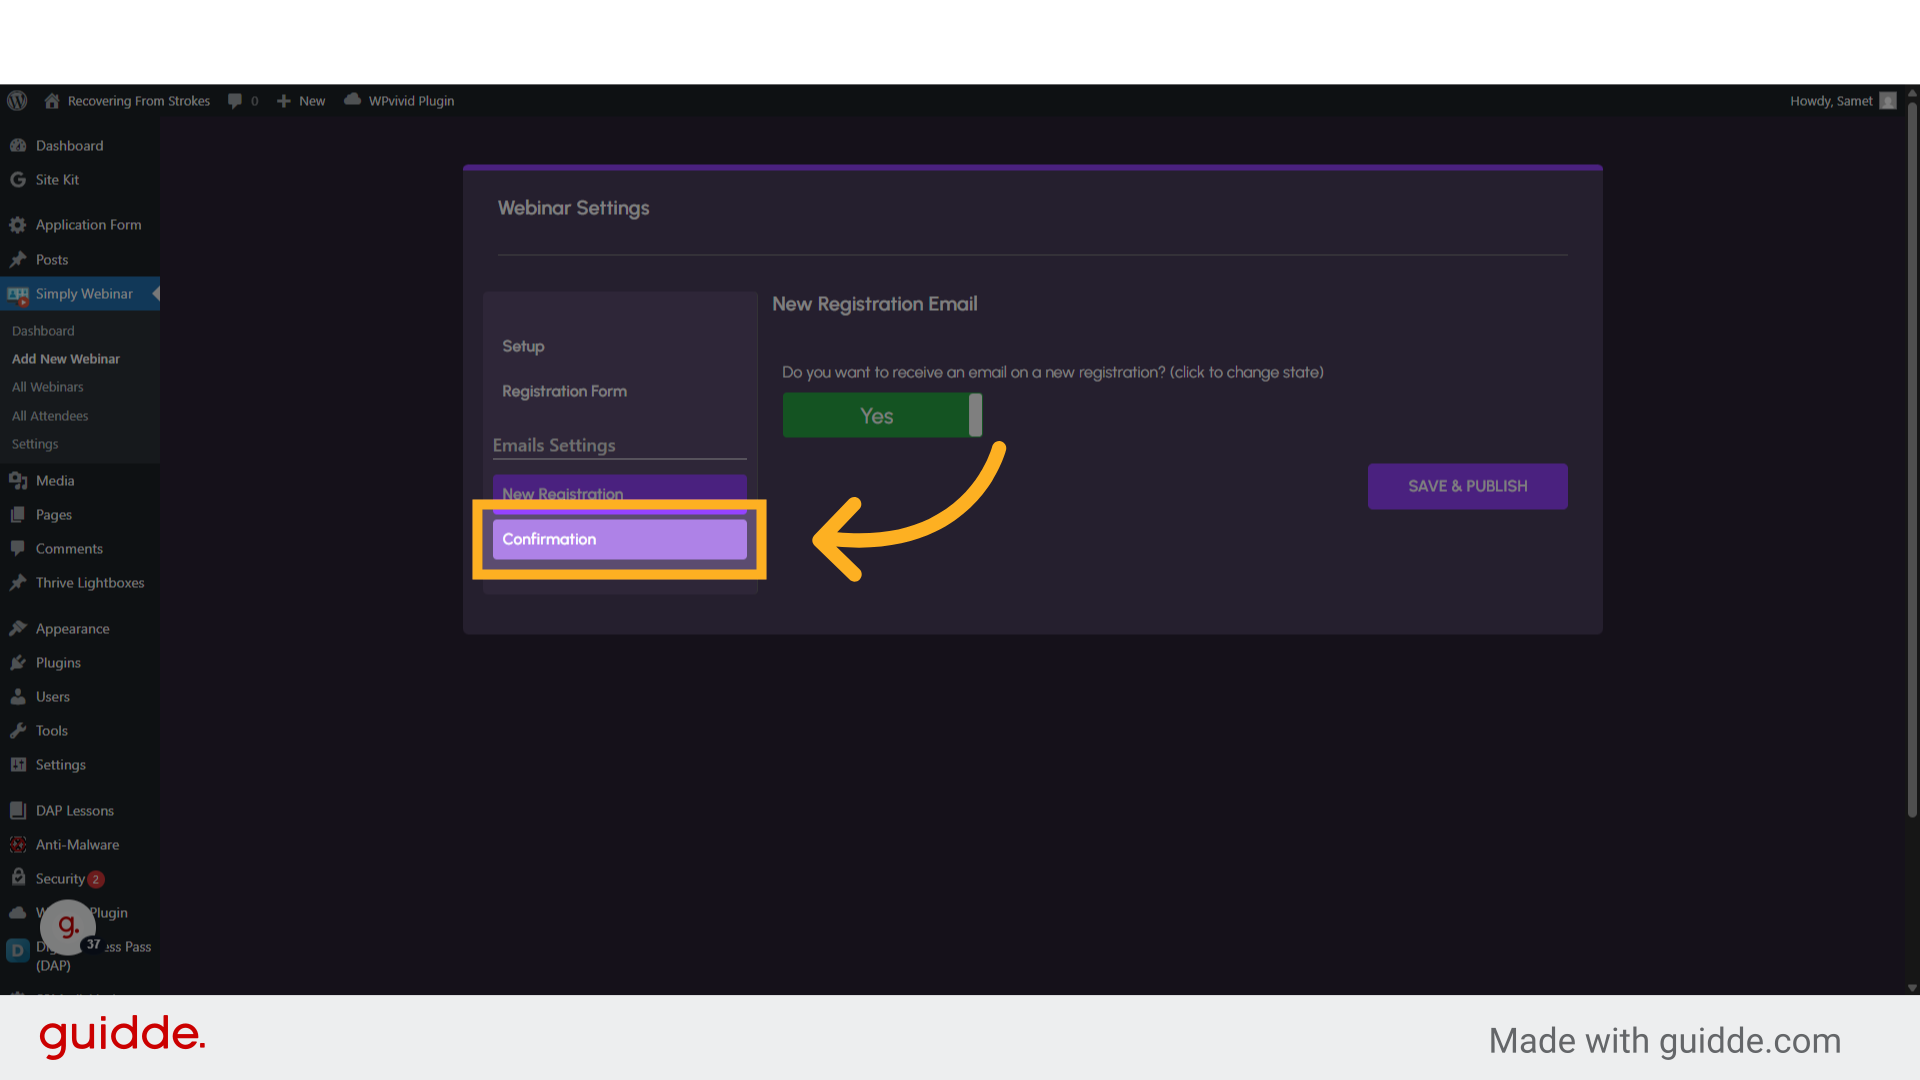
39. Click “No”
Here you can choose if you want to send an email to a new registrant, Change the toggle to Yes 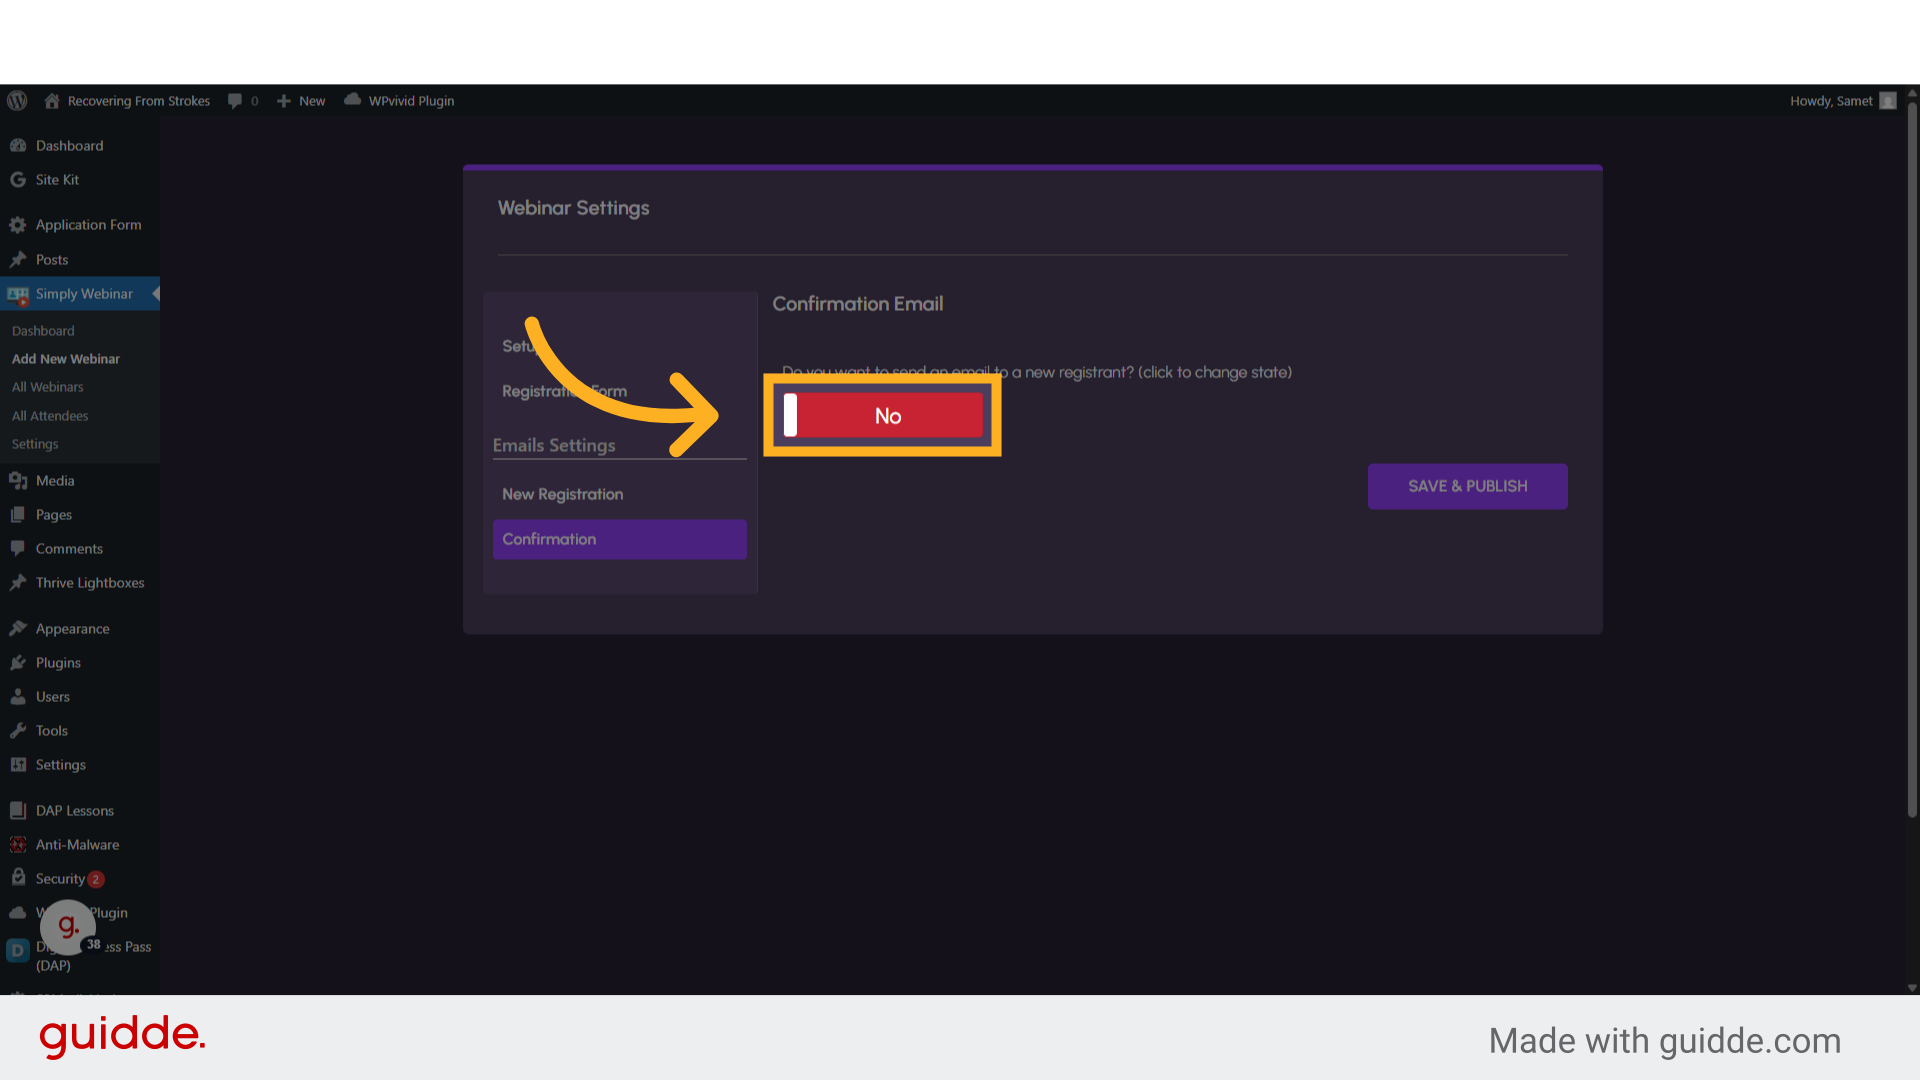
40. Click “Save & Publish”
Click on “Save & Publish” button. And here you go. Your webinar is published 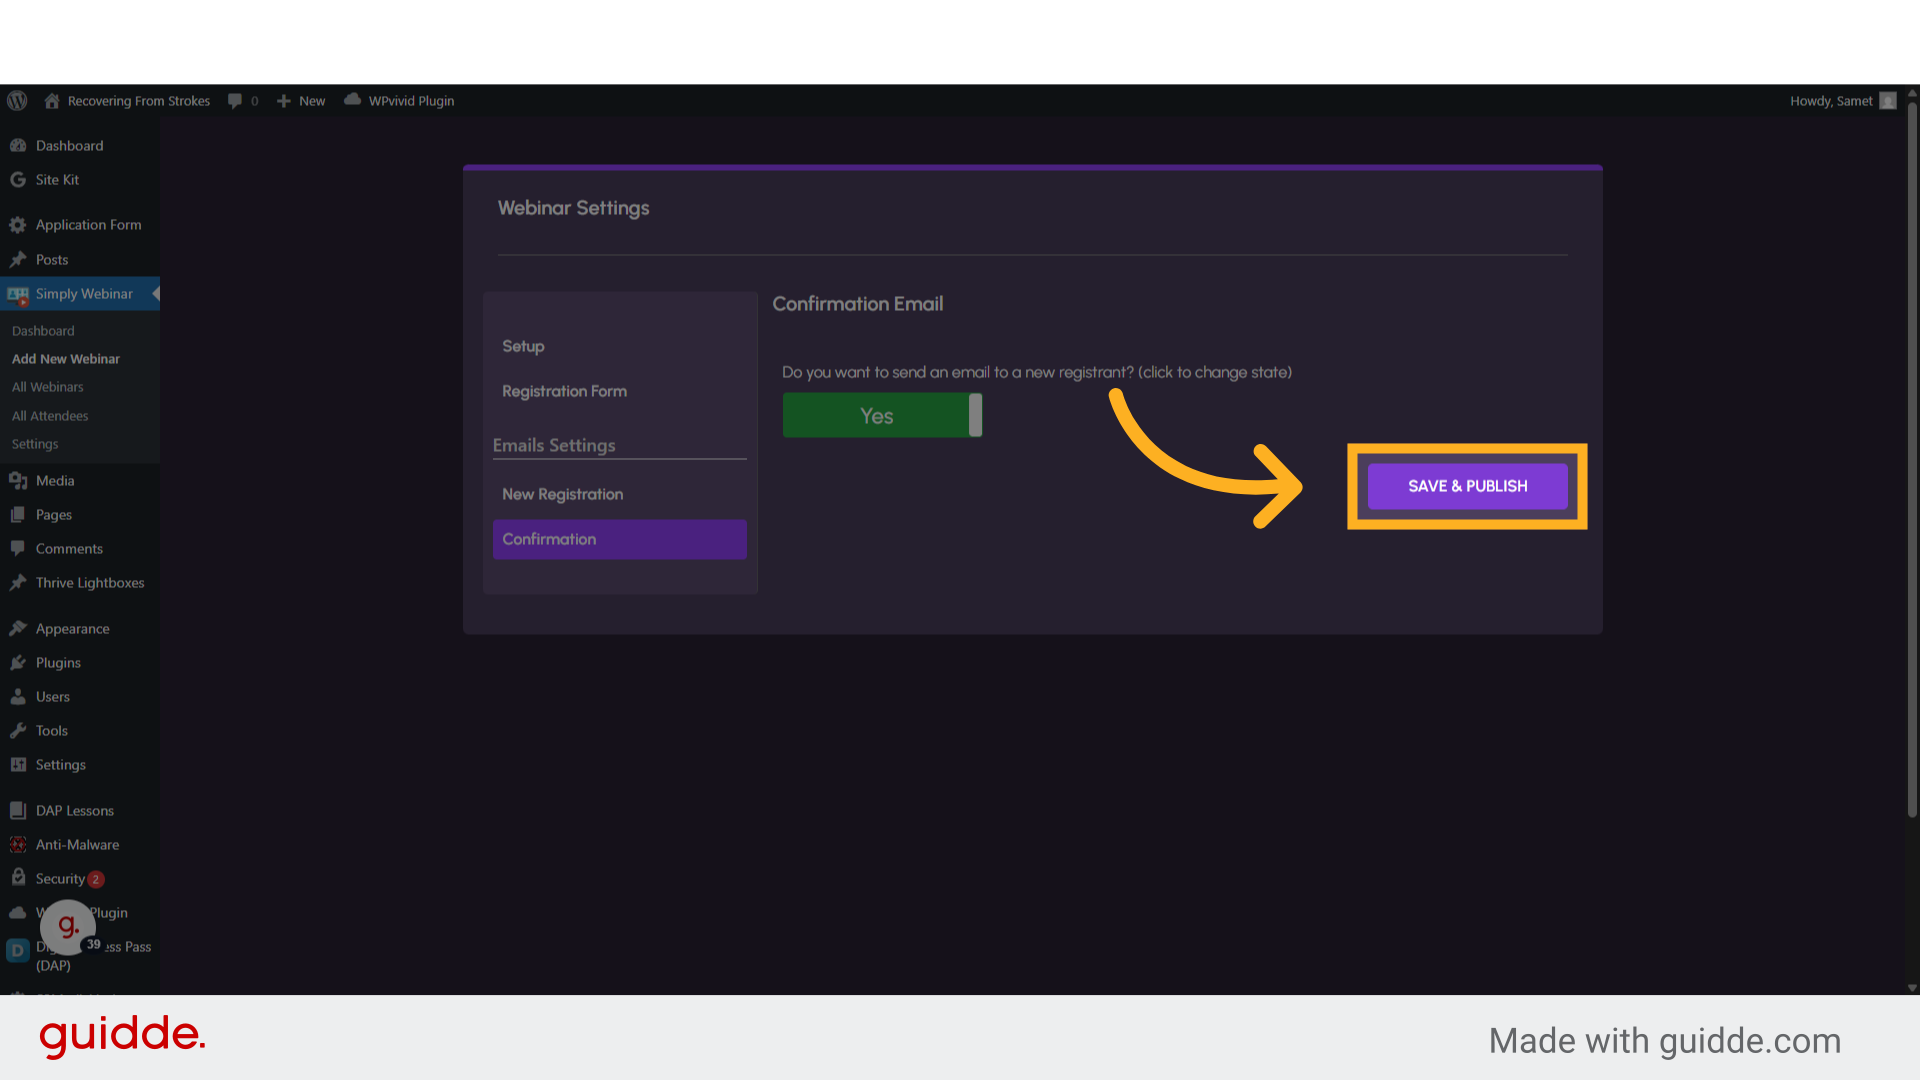 This guide covered the steps to Simply Webinar Plugin create and publish webinar.